This is a sponsored post written by me on behalf of Hippo Sak®. All opinions are 100% mine.

Quite a few years ago, I learned that the only place on our lot that gets sun all day is the driveway. Since my husband refused to dig up the driveway and relocate it, I was forced to consider other options – Bucket Gardening was really my only option.
I grow tomatoes and peas yearly, but I like to throw in something new every year. I’ve tried gourds and pumpkins – those didn’t work so well. Sunflowers grew nearly higher than my house, forcing me to use a ladder to photograph them. Last year I grew corn in buckets. That was different. It worked well, but I think large storage containers would be better than the buckets. Also, my children learned a new phrase; ‘sexing the corn,’ which means manually pollinating the ears. That phrase and knowledge helped my oldest daughter get a nice grade in science.
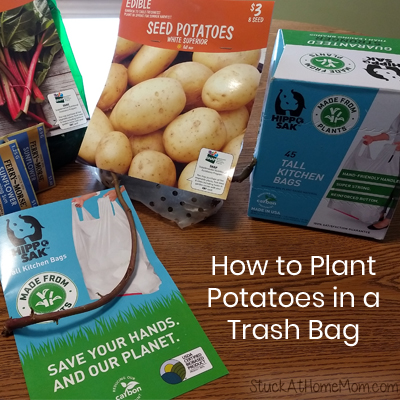
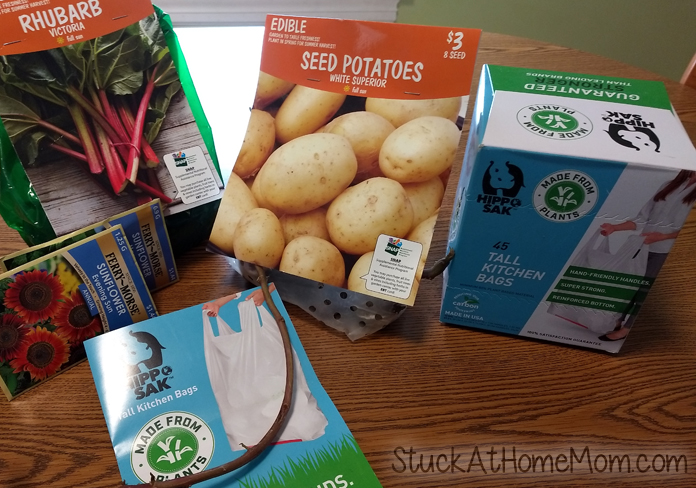
This year my children suggested potatoes and rhubarb. Ok, rhubarb will probably grow in a bucket, but potatoes? I knew from the start that potatoes would need a bit more creativity. Who would have known, there is an entire line of videos dedicated to growing potatoes in garbage bags. No Joke!
Here’s the problem… Typically, garbage bags are flimsy. Who hasn’t pulled a garbage bag out of the kitchen trash can only to have it rip down the side leaving your trash strewn across the floor? If I was going to grow potatoes in garbage bags, I need something a tad stronger than the typical generic super saver bag.
Enter the Hippo Sak®!
Hippo Saks are strong, durable, and eco friendly. While other trash bags are made using fossil fuels, the Hippo Sak kitchen trash bag is made from 80% sugar cane plant material, making it much better for the environment. This bag is also recyclable, so I don’t feel like I am being irresponsible. When I finish using the bags, I can simply recycle them and know that I did the right thing for the planet. With a reinforced bottom that helps prevent leaks, The Hippo Sak is guaranteed to be much better than other trash bags. I feel confident this will make them perfect for my potato plants! Another great thing about the Hippo Sak is the ergonomic handles that make them much easier to tie and carry than other bags. (You can use code HSPB4MOM at Get Hippo Saks on Amazon to save 5%!)
To start, I grabbed some seed potatoes from the local garden center. Since this is my first year, I figured buying the starter potatoes was probably best.
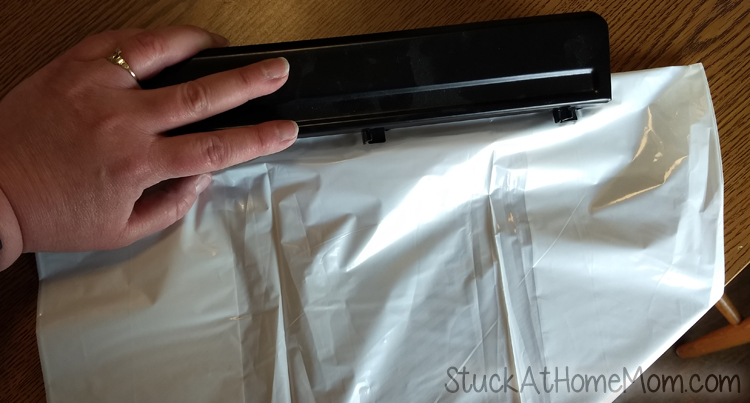
Next I took my trusty paper punch and punched holes in the Hippo Sak trash bags for drainage. Drainage is very important. Without drainage your plants will rot. I folded the bags in half and punched holes in the bottom. Then about 5 or 6 inches up (yeah, I eyed it) I folded the bag again and punched more holes.
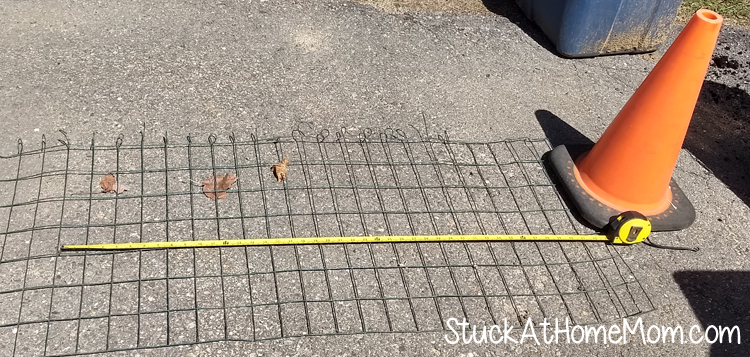
I took some old chicken coop style fencing and cut it to 43 inches long. I left the ends long so I could twist the ends around the other end of the fencing making a cylinder out of the fencing.
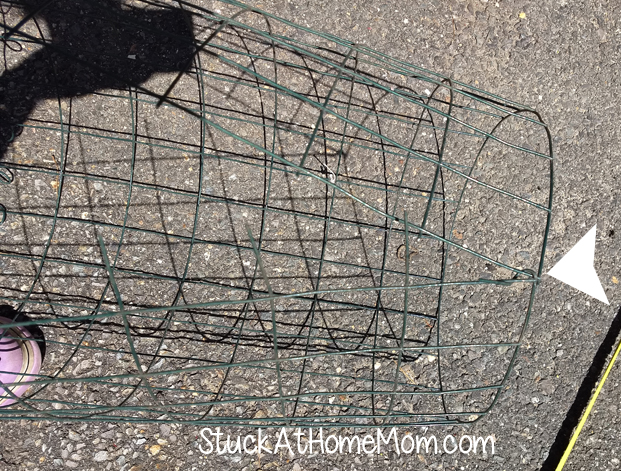
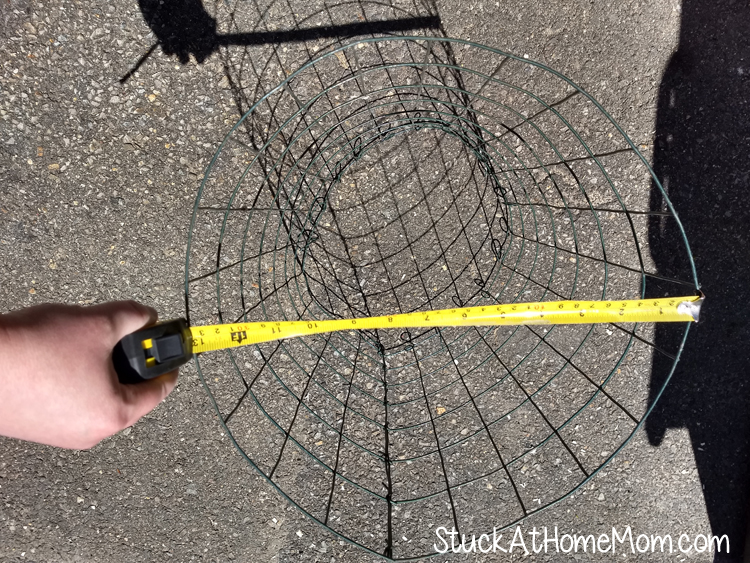
I tied the handles to the cylinder to keep the bag from falling in when filled with soil.
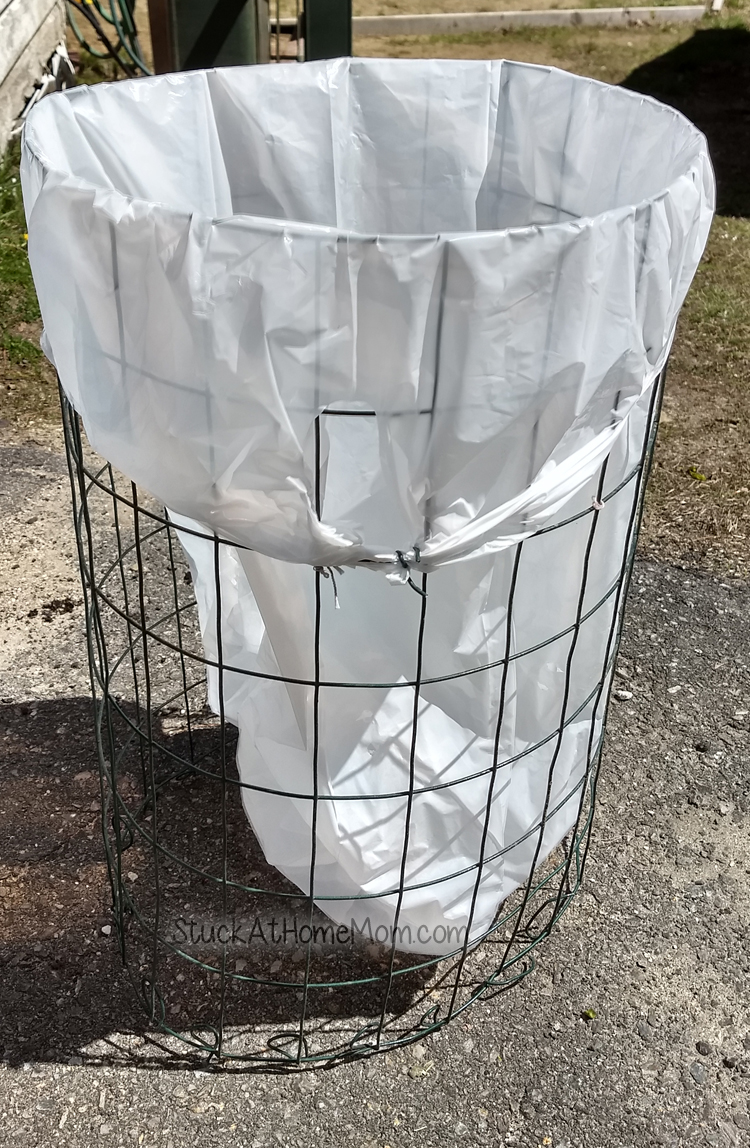
Next I filled the bags with a combination of soil and Moo Doo. I LOVE Moo Doo! I grab it from Broadway Gardens, but you can pick it up at just about any local garden center.
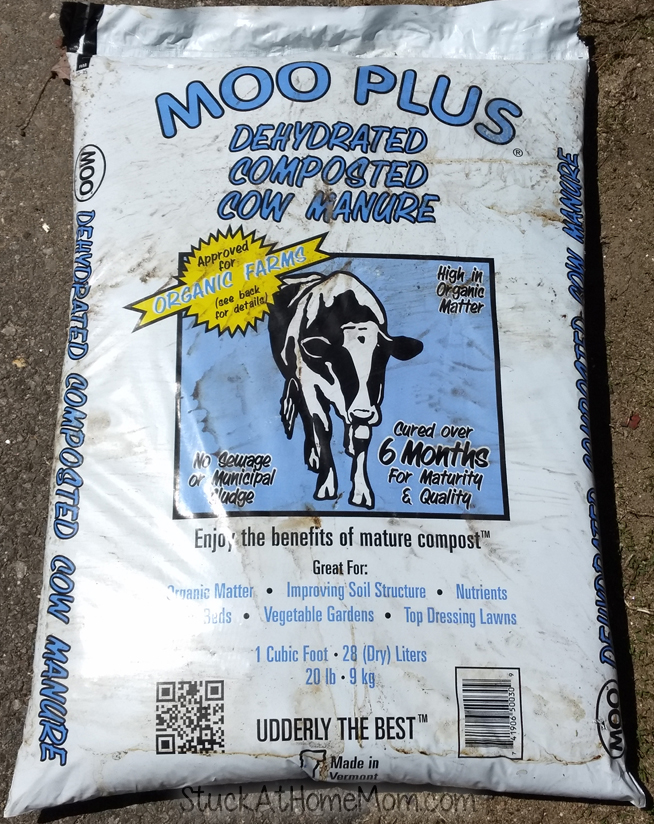
I do a combination of half soil, and half Moo Doo. Not sure if this is the best combination, but it has worked with other vegetables in the past, so I’m confident this will work well.
Once I got about 4 inches of soil/poop mix in the bottom, I put 3 seed potatoes evenly spaced.
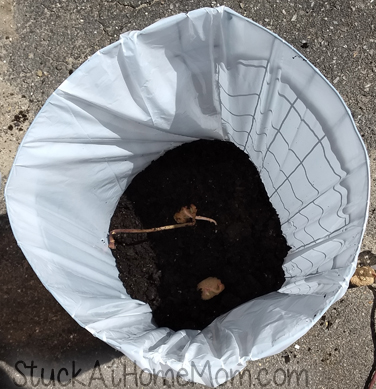
NOTE: I looked at several different packages of seed potatoes and none of the packages had lucid instructions on planting potatoes. This is why I am addicted to YouTube!
Anyway, I put 3 seed potatoes into the soil and spaced them out. Then I covered them with 4 inches of soil/poop mix.
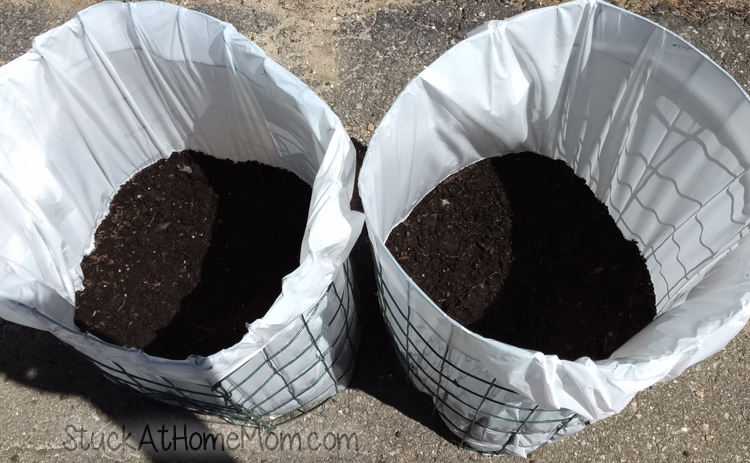
Then the real test… Watering! I figured the bags would hold the soil and the plants, even with holes, but water adds a lot of weight. I am happy to report watering wasn’t an issue. Thus far the Hippo Sak trash bags are holding up and everything looks stable.
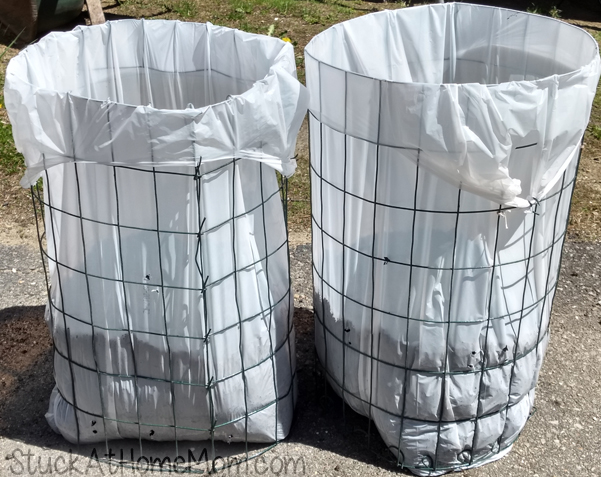
NEXT!
I grew up in Maine, so I’ve done my fair share of digging potatoes from neighbor’s gardens as a kid. However, bags! According to the videos, the potato plant will grow out from the soil. Once the plant is about 6 inches tall, I am supposed to cover it with another 4 inches of soil and so on until I reach the top of the bag. This should give me a good crop of potatoes.
Once the leaves start to turn yellow is it’s time to slice open the bag and see what’s inside.
If you’re follow me on any of my socials you know that I update with photos weekly (if not hourly!)
Right now, I have bags of dirt with potatoes in the middle, but I am confident that in a week or so I will have little sprouts and will be posting images regularly. So, follow along with me!
