Crochet Snowman Pattern
This Snowman Crochet pattern is pretty easy.
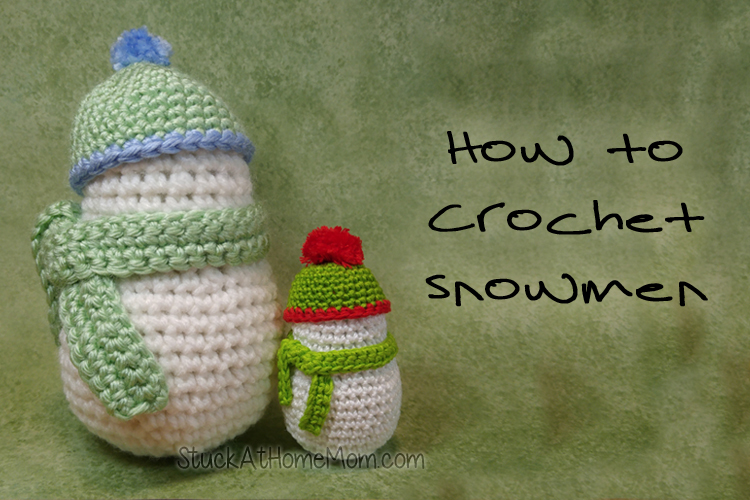
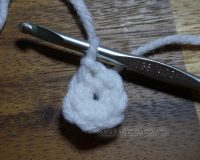
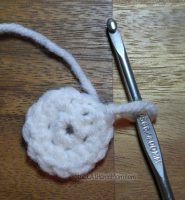
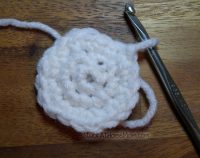
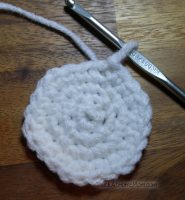
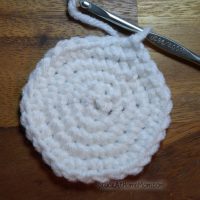
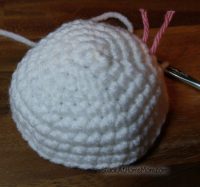
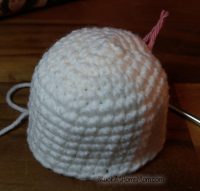
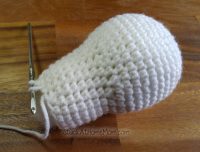
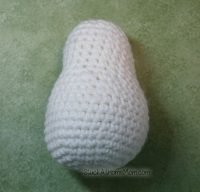
The Snowman pattern starts with the first 17 rows of ‘How to Crochet a Ball‘
If you need/want nice large pictures to follow along you can go by the first 17 rows of How to Crochet a Ball. I do include pictures in this article, but you must click on the images in this article to enlarge. This is to make printing easier.
Supplies:
Stuffing, what other people call Fill.
Large Snowman
Red Heart Yarn: White, Light Green & Blue – the ever popular inexpensive no frills kind. For the body (white) I would suggest getting sparkly yarn, it looks better for gifts, but it’s harder to photograph so I used the plain white.
Hook: G6.
Small Snowman
Aunt Lydia’s Crochet thread Fashion 3 size – again the cheap stuff. However, if these are for gifts I suggest the sparkly stuff for the body of the snowman.
Embroidery Floss – the cheap stuff in the large bag. Come with like 2 sets of 15 or 20 different colors that will last you for years. That stuff.
Hook 4 a.k.a 2mm
You can purchase Aunt Lydia’s Crochet thread in just about any color, but I crochet a lot with embroidery floss and found that it costs a lot less to use the embroidery floss and it’s easier to store.
Legend:
** = repeat whatever is in between the stars all the way around
ch = chain (always counts as first single crochet)
sc = single crochet
scinc = increase single crochet (a.k.a single crochet twice in one space)
scdec = decrease single crochet (a.k.a make 2 sc into 1 sc – don’t worry there’s a picture)
space = the space from the row below it
Note: Every Row starts with ch 2, every row ends by slip stitching into that first 2 chains.
Note: You will notice that the pattern doesn’t come with a pompom pattern – I can’t make a decent pompom, sorry. The pompoms on the top of my snowmen are the 5th or 6th try and I got lucky.
Body:
Row 1
Using a magic circle make 6 sc in the ring. Slip stitch into first sc
Row 2
ch 2, sc in same space
*2 sc in each space*
Slip stitch to complete row.
Row 3
ch 2, sc in same space, sc in next space
*scinc, 1 sc*
Slip stitch to complete row.
(Beginners: between the ** means 2 sc in one space and then 1 sc in the next space and repeat that all the way around.)
Row 4
ch 2, sc in same space, sc in next 2 spaces
*scinc, 2 sc*
Slip stitch to complete row.
(Beginners: between the ** means 2 sc in same space, then 1 sc in the next space and then 1 sc in the next space.)
Row 5
ch 2, sc in same space, sc in the next 3 spaces
*scinc, 3 sc*
Slip stitch to complete row.
Row 6
ch 2, sc in same space, sc in the next 4 spaces
*scinc, 4 sc*
Slip stitch to complete row.
Row 7 – 14
ch 2, sc around (do Not sc in same space)
Slip stitch to complete row.
Row 15
ch 2,
*scdec, 4 sc*
Slip stitch to complete row.
(Beginners: between the ** means decrease by bringing together 2 sc from the row below, then sc normally 4 times all the way around.)
Row 16
ch 2
*scdec, 3 sc*
Slip stitch to complete row.
Row 17
ch 2
*scdec, 2 sc*
Slip stitch to complete row.
Row 18 – 23
ch 2
*sc in each space around*
Slip stitch to complete row.
Add stuffing
Row 24
ch 2
*scdec, 3 sc*
Slip stitch to complete row.
Row 25
ch 2
*scdec, 2 sc*
Slip stitch to complete row.
Row 26
ch 2
*scdec, 1 sc*
Slip stitch to complete row.
Row 27
ch 2
*scdec*
Slip stitch to complete row, tie off and hide tail within body.
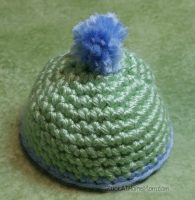
Hat: (Pretty much like the snowman pattern lol)
Row 1
Using a magic circle make 6 sc in the ring. Slip stitch into first sc
Row 2
ch 2, sc in same space
*2 sc in each space*
Slip stitch to complete row.
Row 3
ch 2, sc in same space, sc in next space
*scinc, 1 sc*
Slip stitch to complete row.
(Beginners: between the ** means 2 sc in one space and then 1 sc in the next space and repeat that all the way around.)
Row 4
ch 2, sc in same space, sc in next 2 spaces
*scinc, 2 sc*
Slip stitch to complete row.
(Beginners: between the ** means 2 sc in same space, then 1 sc in the next space and then 1 sc in the next space.)
Row 5
ch 2, sc in same space, sc in the next 3 spaces
*scinc, 3 sc*
Slip stitch to complete row.
Row 6 – 11
ch 2, sc around (do Not sc in same space)
Slip stitch to complete row.
Row 12
Repeat row 6, but with a different color.
NOTE: Measure! When making the hat, measure it to the snowman each time as you’re making the hat. I’ve gone by the pattern and the hats usually fit, but sometimes they are to big. No idea why. So measure as you go.
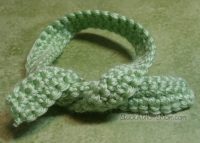
Scarf:
Large Snowman:
Row 1: ch 61
Row 2: turn, sc in second ch from hook, sc in each space across
Row 3: turn, ch 2, sc in each space across
(you can do a forth row repeating row 3 for a thicker scarf)
Tie off.
Small Snowman:
Row 1: ch 51
Row 2: turn, sc in second ch from hook, sc in each space across
Row 3: turn, ch 2, sc in each space across
(you can do a forth row repeating row 3 for a thicker scarf)
Tie off.
Note: Measure! I swear every time I make the scarf I end up doing either more or less than I put in the pattern. So measure around the neck of the snowman once you’ve crochet the chain. Make sure you’ll have enough to tie at the end.
Note: Every time I put eyes on the snowmen they look demonic! I swear, I don’t know if I just have demonic beads or what. That’s why my snowmen don’t have eyes. If you can do, please snap a picture, put it on Pinterest and email me a link, I’ll even repin it.
It’s a good idea to tack everything down with a little white thread. I do that a lot with the little snowmen, but I don’t always with the larger snowmen.
