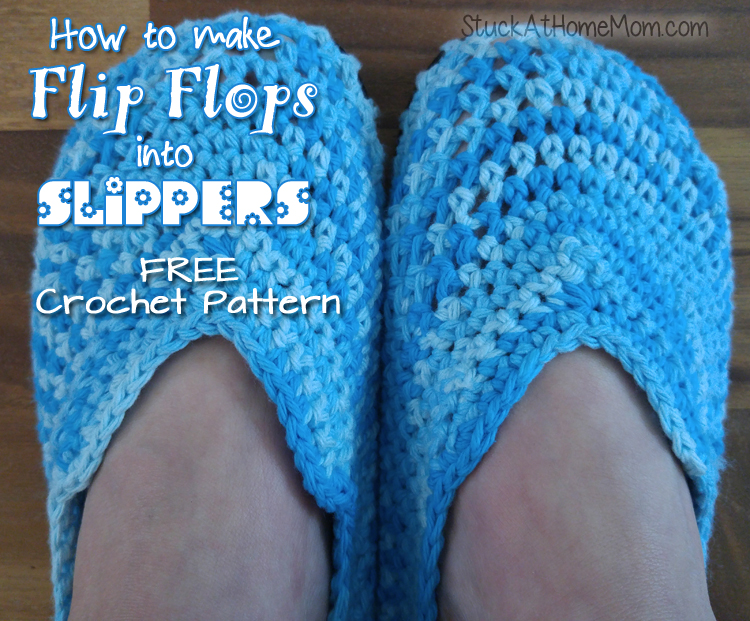
How to make Flip Flops into Slippers
– Flip Flop Slippers –
Crochet Pattern
Thank you to Charlotte for sending me a Crochet Challenge Picture. Charlotte sent me a picture of crochet slippers with flip flop bottoms that she found on flicker and no link to a pattern. The image she sent had a strange half double crochet pattern on the front that was so incredibly difficult that I created something much easier and looks much nicer.
You will need:
Pair of Flip Flops
4 / 2mm hook
1 skein of sugar and cream dishrag yarn (you should pick up 2, but I actually made both flip flop slippers using 1 skein)
Puncture tool
Hook that fits the size yarn you decide on (if you use the Sugar and Cream yarn that will be a G hook.)
Legend Key:
ch – chain
sc – single crochet
sl st – slip stitch
Start with a new cheap pair of flip flops.
Detach the flip from the flop.
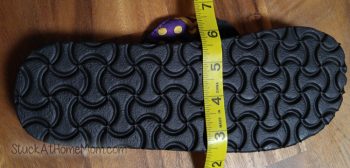
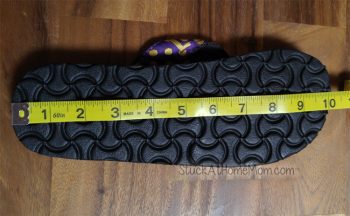
Using a sewing tape to measure, puncture holes diagonally every half inch, between the top and the bottom.
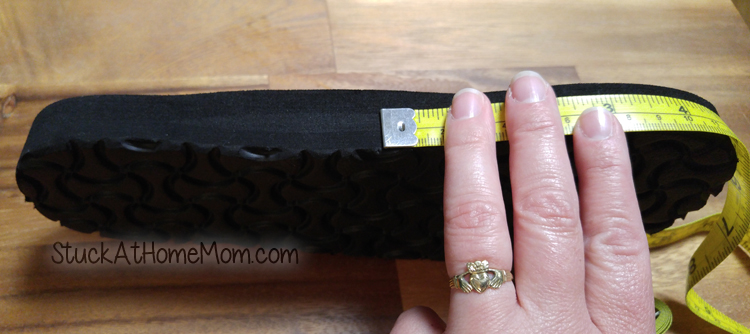
Find the middle of the flip flop, you will start there. Mark the middle on each side (right and left) of the flip flop. You need to start in the middle of the flip flop – it’s very important, if not it won’t come together at the end.
I put little holes that do NOT go all the way through the sole to mark the middle. If you are using a lighter color sole you can mark the middle with a maker, but since I was using a black sole I poked very shallow holes to remember where the middle was.
Now this is the tricky part – Using the size 4 / 2mm hook, slip the hook into the hole at your starting point (the middle point), pull the yarn through the tiny hole in the flip flop and sc. Sc in each hole all the way around. The reason you do this with the smaller hook is because a G hook is far to big and would widen the holes and possibly break them.
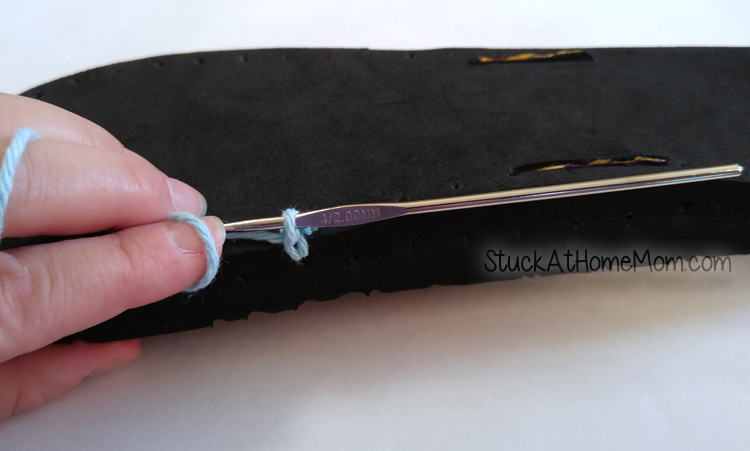
Once you get all the way around sl st in to the original sc.
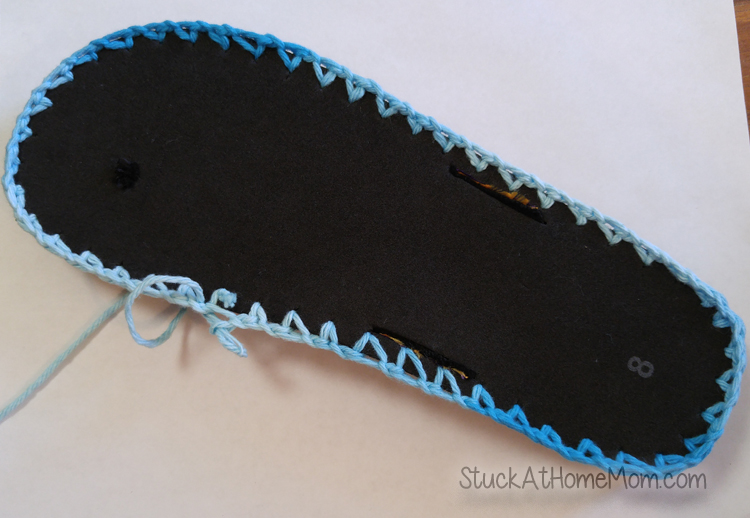
Change to the Larger Hook.
Row 2 – Ch 2 (counts as first sc), sc in each space, until you reach the middle back of the flip flop. Chain 1 and then continue to sc the rest of the way, sl st in to the 2 ch that started the row.
Repeat Row 2, 9 times. You will have 11 rows.
NOTE: If you use heavier yarn you may not need 11 rows, measure to your foot.
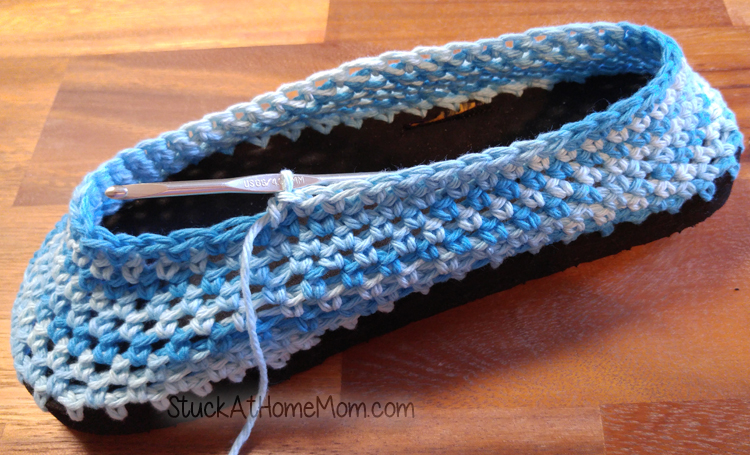
Now the reason you need to start in the middle: Find the middle of the middle. In other words count the stitches around the top row between the 2 front middle points you marked in the beginning. You will only work between those points from this point forward.
So let’s say you have 20 sc on that top row between the 2 front middle points. If so, you will sc 9, decrease single crochets 10 and 11 together and then continue with the sc until you reach the middle point on the other side.
Once you reach the middle point of the sole on the other side you will ch 2, turn and do the same thing again, but this time you will decrease by 3 in the middle. Once you are back to the middle point on the other side of the sole, at the first chained 2, you will ch 2, turn and do the same thing again, but this time you will decrease by 4 in the middle ….. of the middle. Just look at the pictures below.
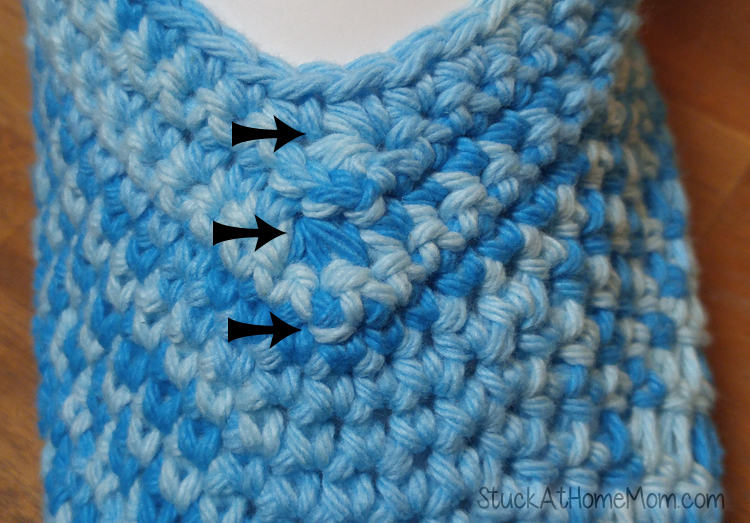
So now you should have completed the last row and you’re at the 2 chains and it’s looking good but a little shabby. Ok, this time don’t chain 2 and don’t turn (do not pass home – do not collect $200 – kidding) Instead you will single crochet twice in that space and then once in each space all the way around except in the corner-ish space you made on the other side made while making the front of the slipper. In the corner-ish space you will sc twice to maintain the corner. Again, just look at the picture.
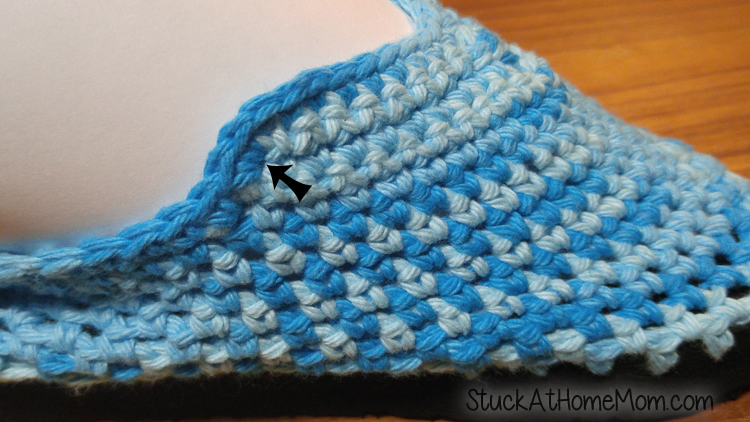
Once you have sc all the way around, Fasten off.
Then start again on the other flip flop!

