How to Move Files (Documents, Pictures, Videos) from a Flash Drive to a Hard Drive.
This Tutorial assumes you are working with any version of Windows from Vista to 10.
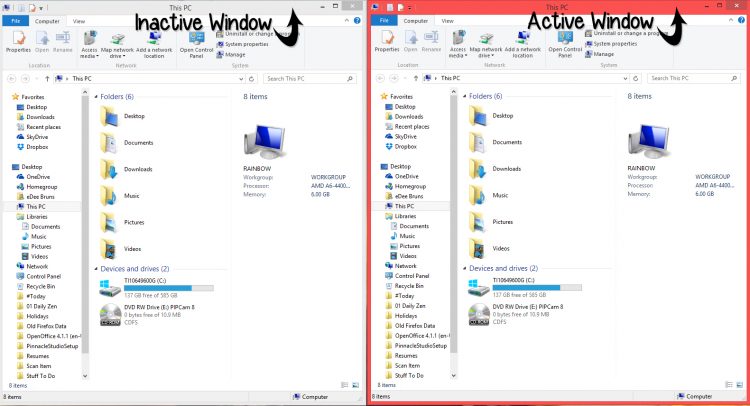
Open 2 file folders – which I usually call a window, but Windows calls it File Explorer.
In this Tutorial the Active Window will always be red. The Inactive Window will always be Gray.
The Active Window is the window you are working with.
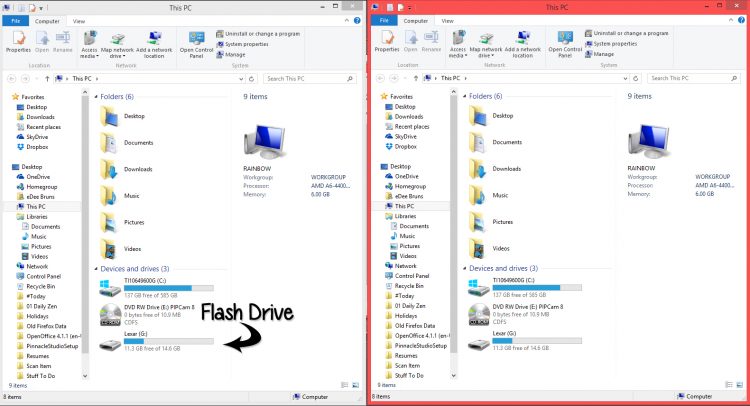
Plug the Flash Drive into the USB port and you will see a new drive appear.
NOTE: Your Flash Drive may not be G.
The Brand name of the Flash Drive I am using is Lexar. Your Drive will be a different name and letter. However, typically the Flash Drive will NOT be C or D (unless you have a techy friend who gave you the computer and he has some kind of superiority complex and changed the drive names.)
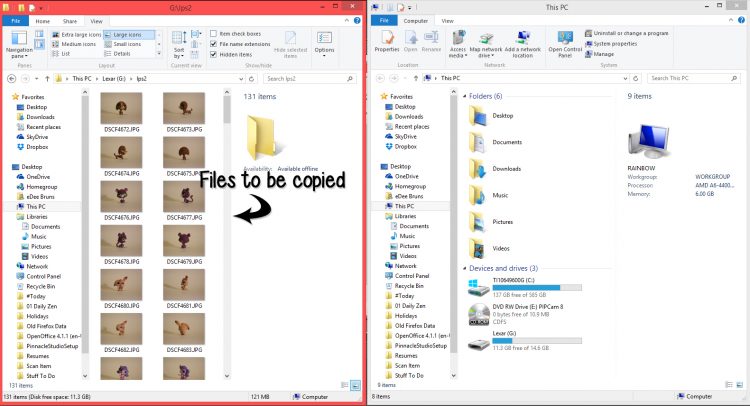
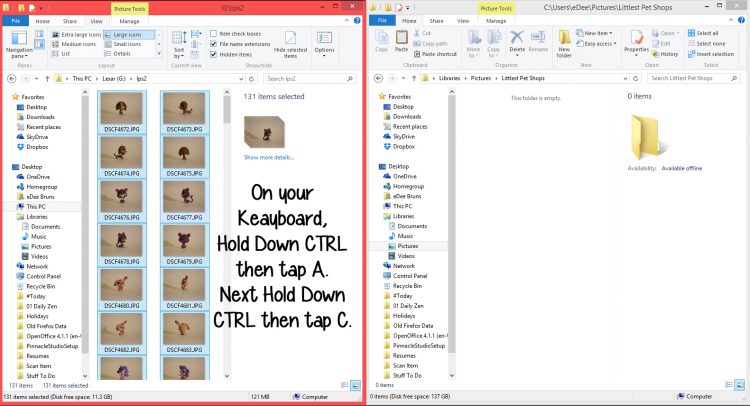
Navigate to the images you want to move. This means open the folder where the files (documents, images or videos) are stored. On my Flash Drive the images are located at G:lps2
(Yes, those are my daughter’s Littlest Pet Shops)
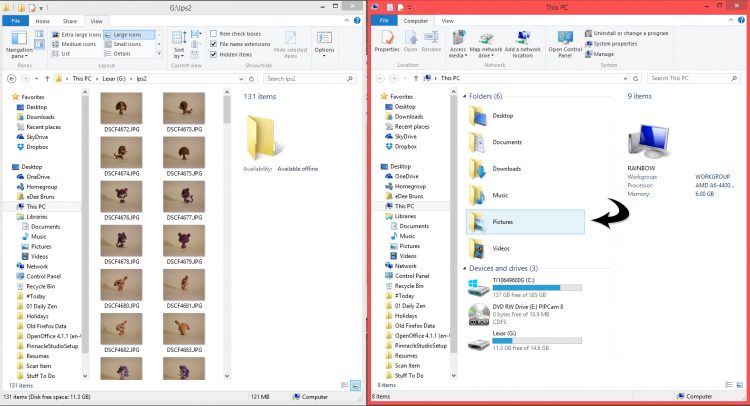
Now in the second window on the right (File Folder, File Explorer) navigate to the folder where you want to paste the files or photos or videos that you are transferring.
You can create a folder if you like or just save the files directly to Pictures (or Documents or Videos, wherever you’ll find them again.)
I created a folder called Littlest Pet Shops, but you do not need to create a folder.
To select all the files, Hold Down CTRL and then tap A.
Hold Down CTRL again and then tap C. That will copy all of the images and hold them in memory until you are ready.
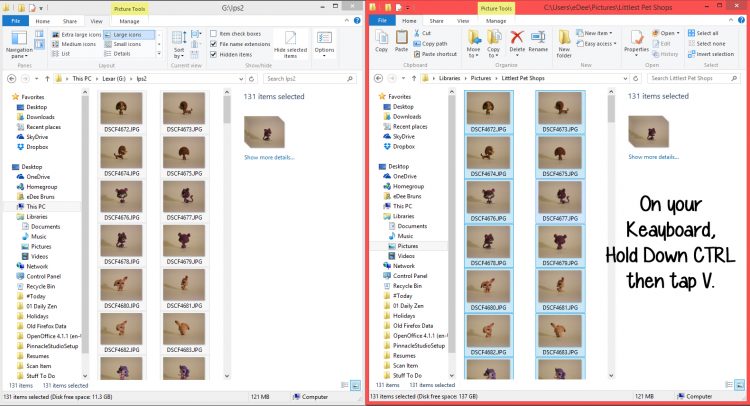
NOTE: Remember that the window (folder) with the files must be the active window before you start. To make the window active just click on it.
Click on the window on the right to make it active. Then hold down CTRL and then tap V. That will paste the files that were held in memory to the folder on your hard drive.
And you’re done!

