[fbshare]
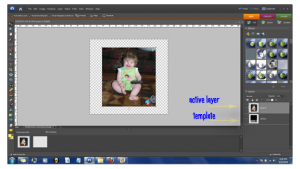
Open your template in PhotoShop (I‘m using Elements)
Open your image and move your image into the same work area.
Placing your image above the template.
Select the top layer (which should be your image)
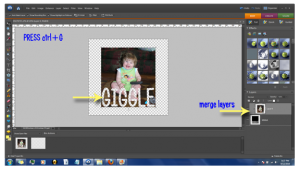
Press ctrl + G
You image should be superimposed onto the template.
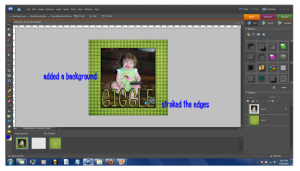
Merge the layers and add a background.
{I added shadowing and stroked the edges}
Elements used to create Featured image Artwork provided by Created by Jill.


