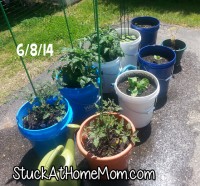
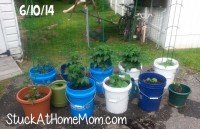
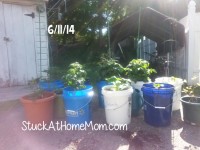
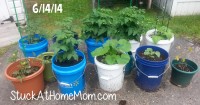
Bucket Gardening for Beginners
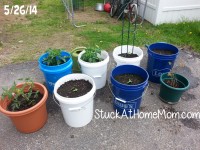
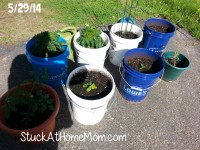
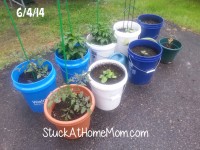
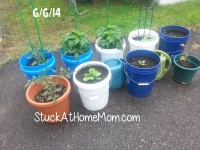
This is what I call Bucket Gardening, but as my grammar proficient friends will tell you that means I’m growing buckets. Others call it a Container Garden, to which I’d assume you would apply the same rule, but apparently not.
Whatever you call it, what you’re doing is the same – you’re growing plants somewhere other than in the ground.
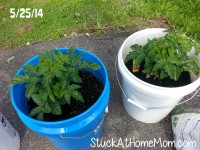
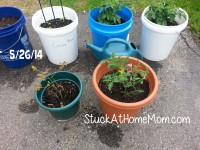
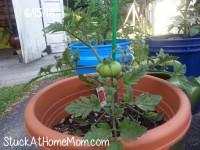
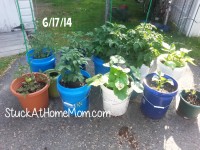
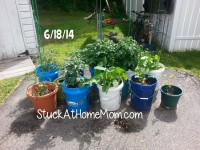
I started my first bucket garden last year using Walmart buckets (they’re like 2 bucks each), Miracle Grow potting mix – which will grow anything, a lot of cow poop, and seedlings that I picked up everywhere: Walmart, Shaw’s, Lowe’s – you name it.
Before you give me a lot of flak for using Miracle Grow, let me just say that this was my first bucket garden! I wanted to grow stuff and come on, it’s Miracle Grow! It may not be the healthiest stuff in the world, but I wanted to grow something! And it wasn’t like I was using organic seedlings or seeds. Just about everything I used was cheap. The point was to learn how to grow something!
This year I’ll probably do half organic and half Miracle Grow. Once I get the hang of the organic stuff I’ll go that route, but until then – Lay Off!
Ok, now that I have that out of my system; I learned something very important. Miracle Grow will grow anything in the beginning, but you need more than that.
So this is how you do it!
1. Grab a bucket from Walmart.
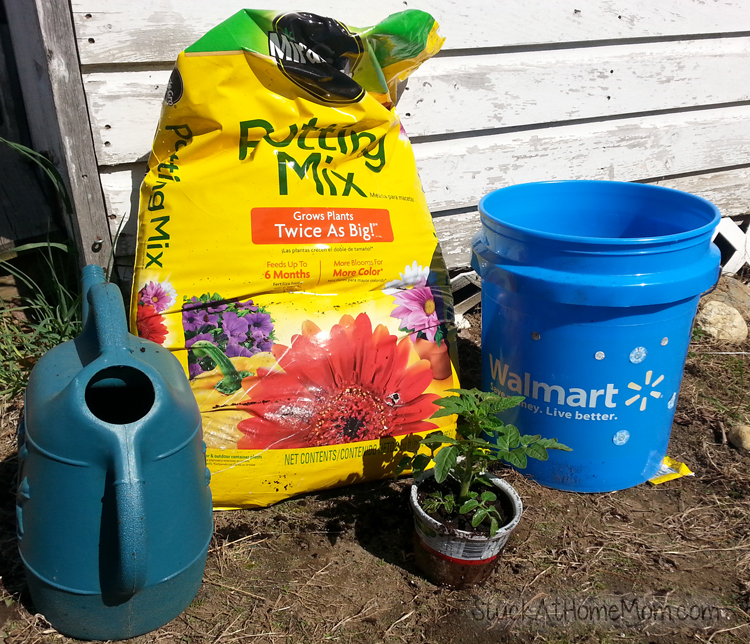
2. Flip the bucket over and drill several holes – I didn’t count, but I know I did more than 8. You NEED holes so the water will drain or you’ll get root rot. Been there, done that, learn from my mistakes – Drill Holes!
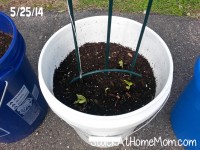
3. Once you have about 8 holes in the bottom fill half the bucket with the soil of your choosing.
4. Now fill the second half of the bucket with cow poop! If you skip this step, you’ll be sorry. Cow poop is cheap. I found 5 or 10 pounds of it at Lowe’s for $2 last year. I can’t imagine it will be more than that this year.
5. Mix! And add a little water. Don’t make it muddy, just make it wet.
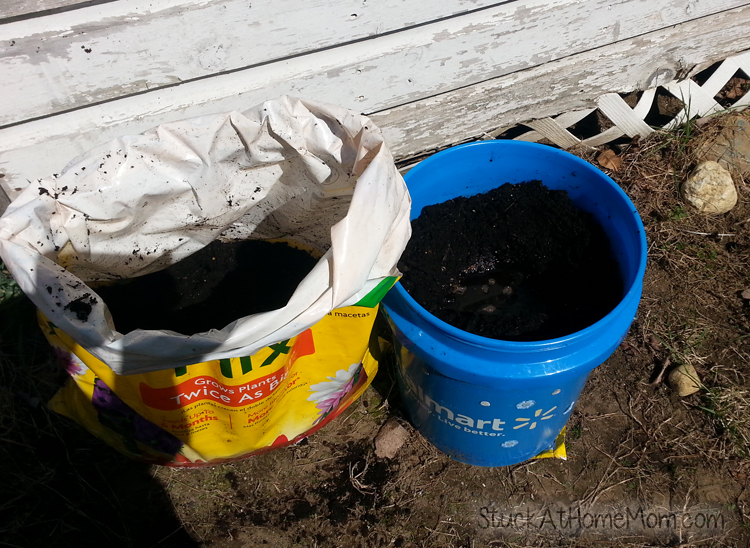
6. Leave an inch of space around the top of the bucket – you’ll need to add more cow poop throughout the summer, so leave a little space.
7. If you’re using seedlings, dig an area big enough for the seedling and place it in your mixture.
Important Note: Don’t cover the seedling all the way to the stem – I have no idea why, but when I filled the new dirt all the way to the stem the plants didn’t grow as fast as the plants where I didn’t.
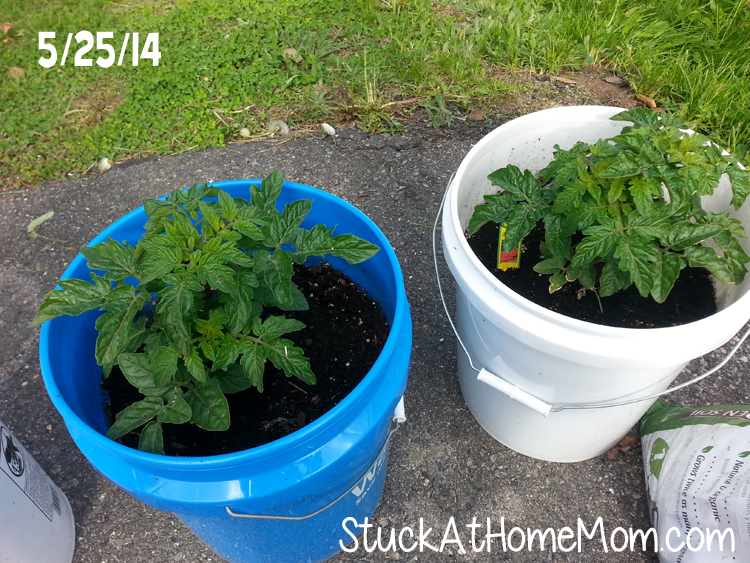
8. “Water! Remember these are buckets and the buckets are exposed to the sun, as are the plants. Most of the summer I had to water every day. I know people say to only water in the morning or at night, but I’m a busy mom, I don’t have that kind of time. I just sprayed everything down with one of my garden hoses whenever I had 2 minutes to spare and everything grew just fine.
There are also holes in the bottom of the buckets so a lot of the water drains out.”
Also, spray the entire plant! I was just watering the roots and the plants didn’t like that. They wanted a good soaking from head to root every day – well when it was hot at least. So keep the garden hoses handy and make sure you cover the entire plant.
9. Every 2 weeks things would slow down. I started adding cow poop to the top of each plant bucket about every other week and that helped keep the plants moving along.
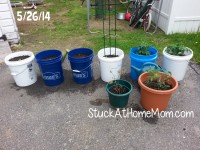
10. SUN! There is one sunny spot on our lot – the top of the driveway. That’s it. Which is why I must have a bucket garden. I’ve tried to put things in the ground, but our lot is mostly a shady area, the only constant sun through the day is in the driveway – so there you are.
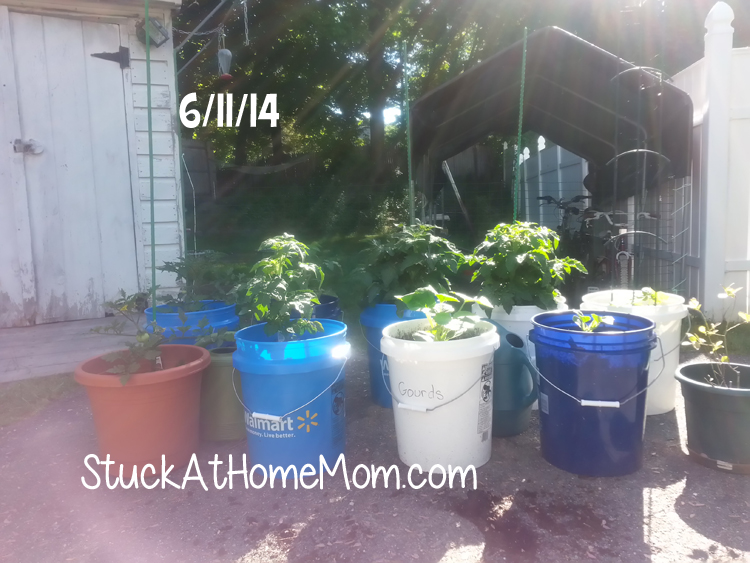
So that’s it. Steps 1 – 10.
I’ll post more starting in May when I start planting. Until then this should get you rolling along. Please post questions on here or on my Fan Page but it’s better if you Friend Me but it’s BEST to Join my group.

