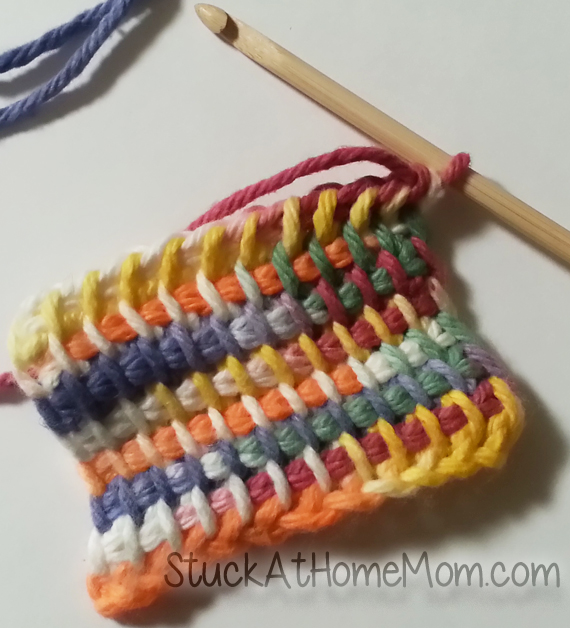
Ages ago I saw a knitting needle with a crochet hook at the end of it. I stood in the little shop completely confused. I knew how to knit and crochet, but never the 2 had met! I loved to crochet, but knitting took too darn long – but this! This was different. This was knitting with a crochet hook, it had to be a faster way to knit.
Though crocheting seemed faster there are always big holes in whatever you’re making. Of course you could make a blanket or a sweater using a half double crochet or a single crochet to reduce the size of the holes, but it never looked like something that was knit.
When I saw this odd looking hooked knitting needle I was intrigued! I began Googling “Knitting Crochet Needle” and “Hooked Knitting Needle” ……. and apparently if you don’t know what it’s called you’re out of luck!
Not too long after I was having dinner with my, then, boyfriend’s family when I happened to start chatting with his mother – an avid knitter/crocheter. She knew instantly what I was talking about and leaped from the table to grab what she called an Afghan Hook, also called Tunisian Stitching. By the end of the evening I had learned several stitches and had finished half a pillow.
I love this craft, but rarely find a good set of directions online, hence this tutorial.
Like all my tutorials just grab something that looks like it will work. An afghan needle and spare yarn that is around the right size for the hook. Remember, don’t purchase an Afghan hook and 15 skeins until you’ve learned the basics and get a feel for it. You may decide you want a larger needle or thinner yarn after you learn the basics.
Make slip knot and place it on the hook.
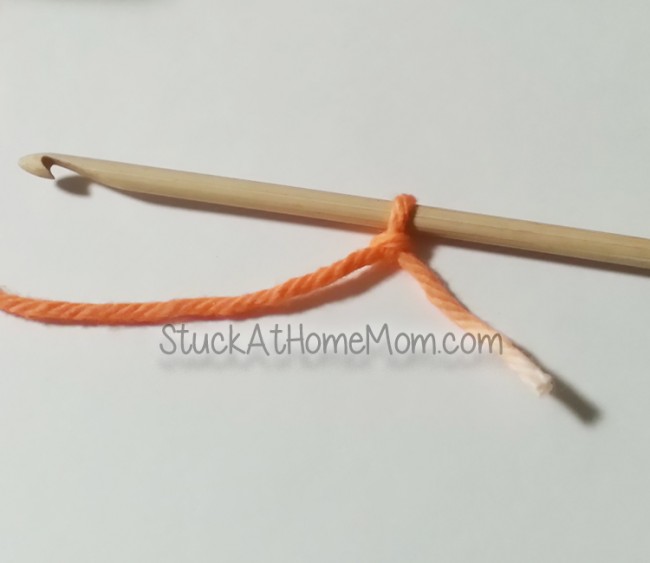
Chain 12
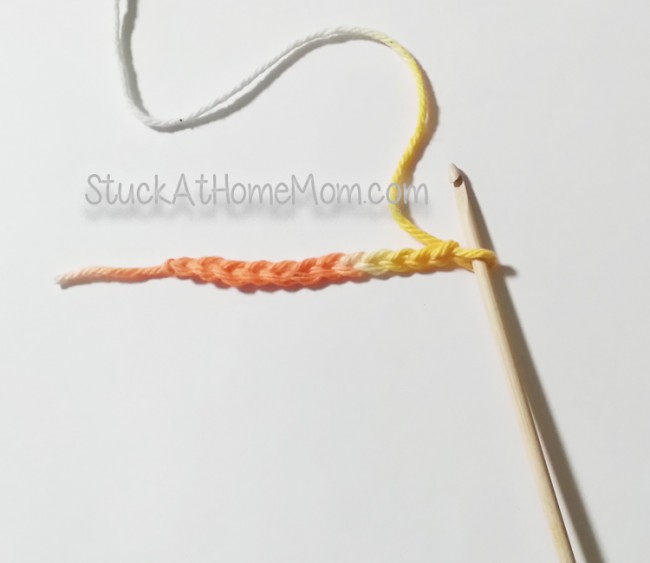
We are going to make the foundation. You will keep ALL the loops on the hook as we go.
Insert the hook into the 2nd chain from the hook
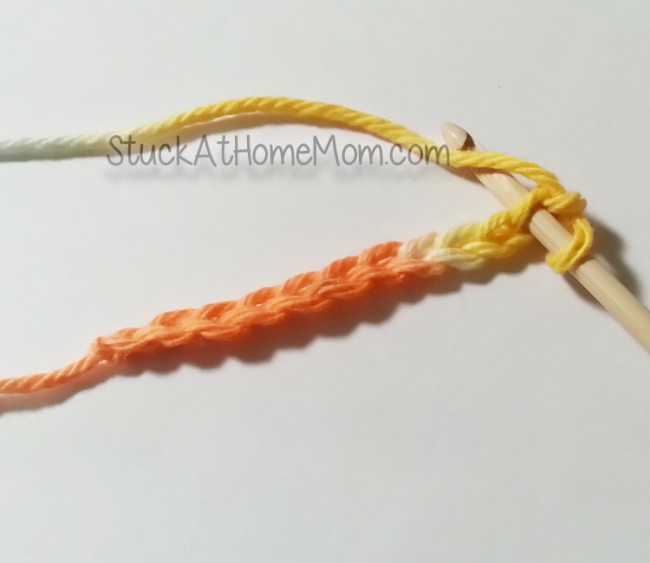
Yarn over and draw the yarn through the chain. Now you have 2 loops on the hook.
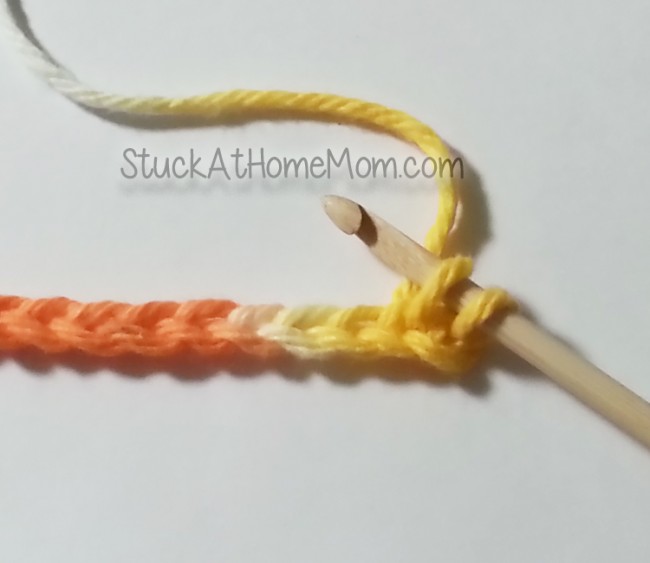
Repeat in the remaining chains. You will have 12 loops when you’re finished.
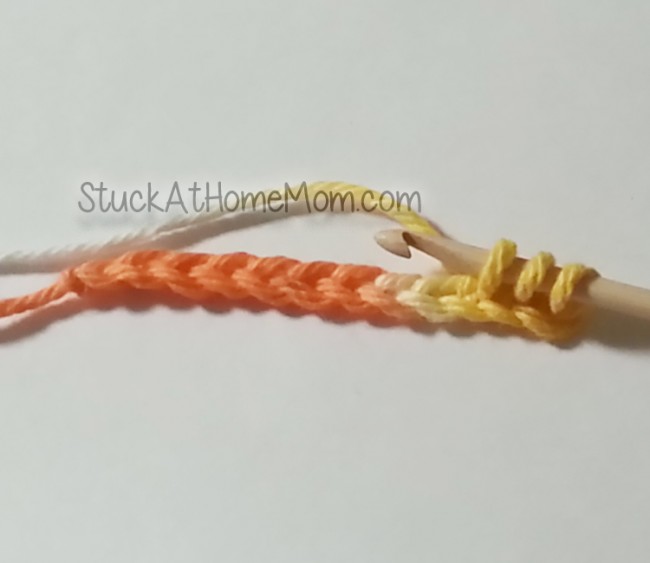
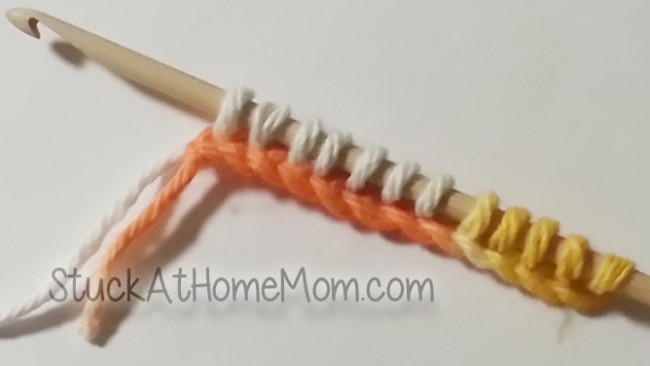
There is no need to turn your work, just keep it right where it is.
Yarn over and pull the yarn through the first loop.
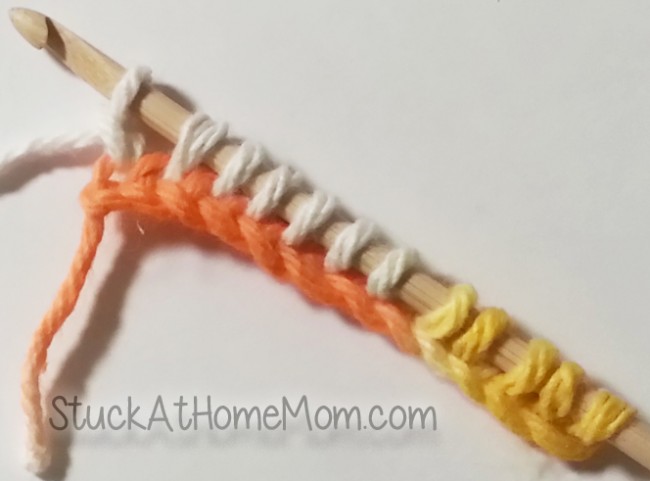
Yarn over again and pull the yarn through 2 loops
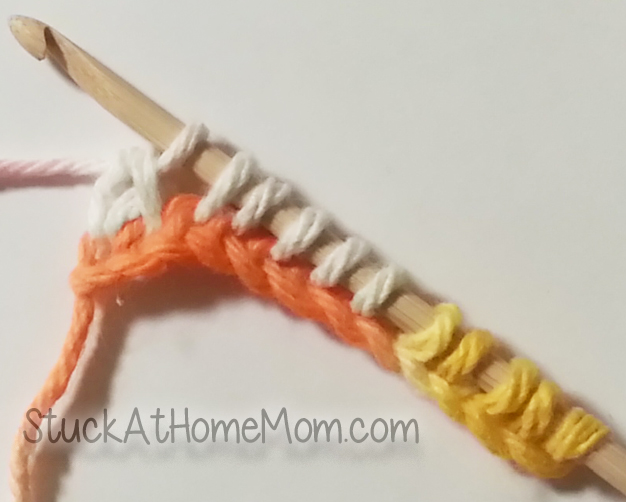
Yarn over and pull the yarn through 2 loops again. Repeat this all the way across.
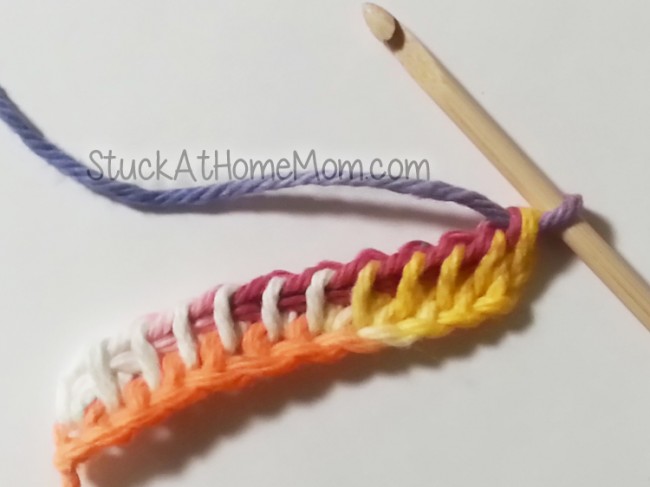
You will see vertical bars from your foundation row.
Skip the first vertical bar. (Which won’t be a problem because the first vertical bar is on the very right edge you wouldn’t ever assume you were going to use it anyway.)
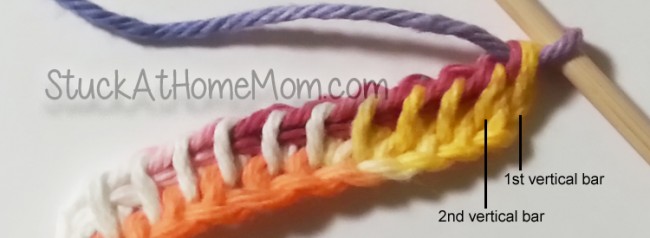
Slip the hook under the second vertical bar from the hook.
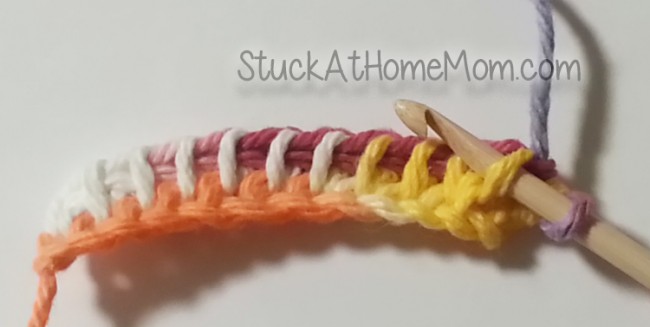
Yarn over and pull the loop up through the vertical bar, and again you have 2 loops on your hook.
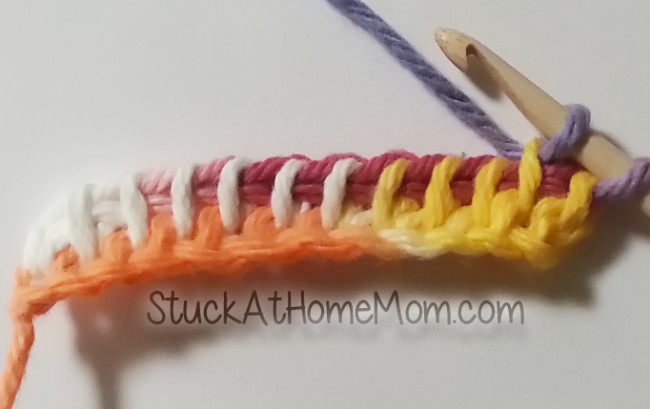
Do it again in the next vertical bar. Repeat to the end of the foundation row.
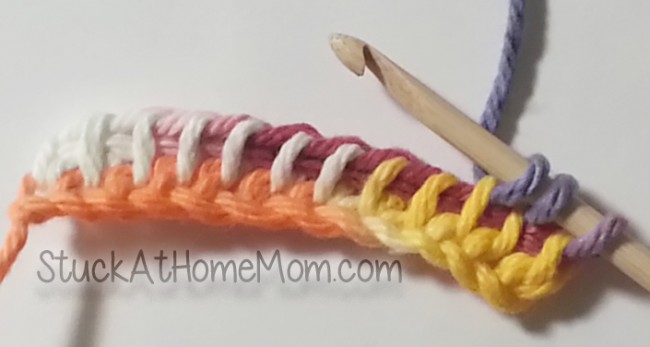
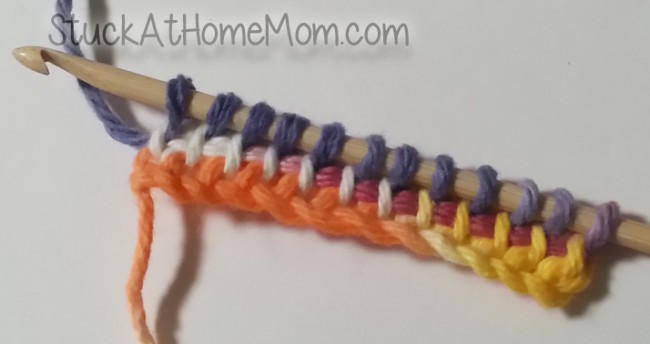
…… and you’re going to take it off the same way you did the first time.
Yarn over
Take the yarn through just the first loop. (I think of this as chaining 1, but that confuses people so forget I said anything)
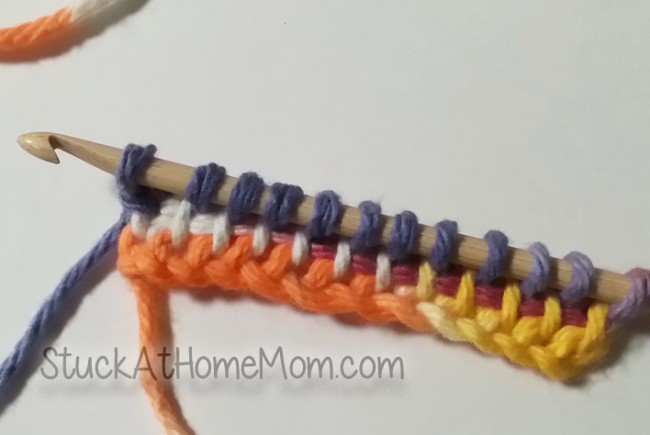
Yarn over and take the yarn through 2 loops
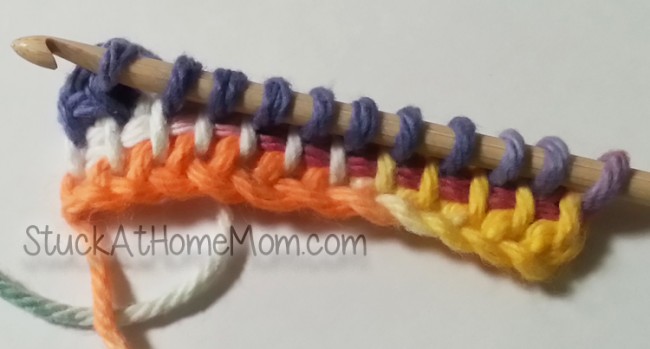
Yarn over and take the yarn through 2 more loops – You’ll notice that each time go through 2 loops you are reducing your amount of loops by only 1.
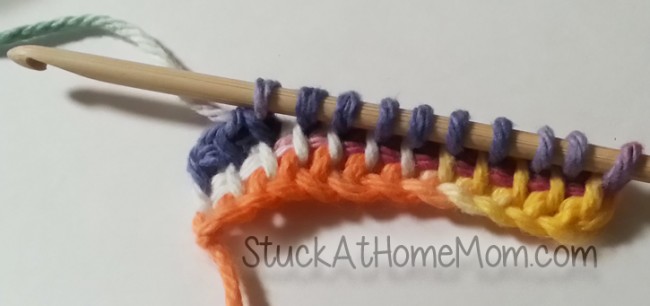
Repeat to the end of the row.
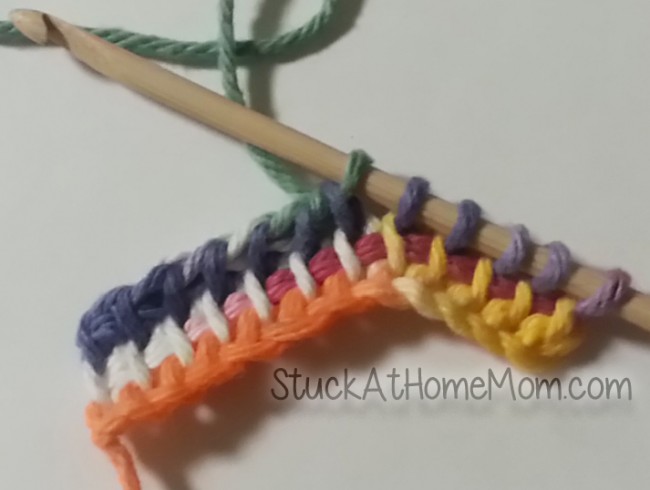
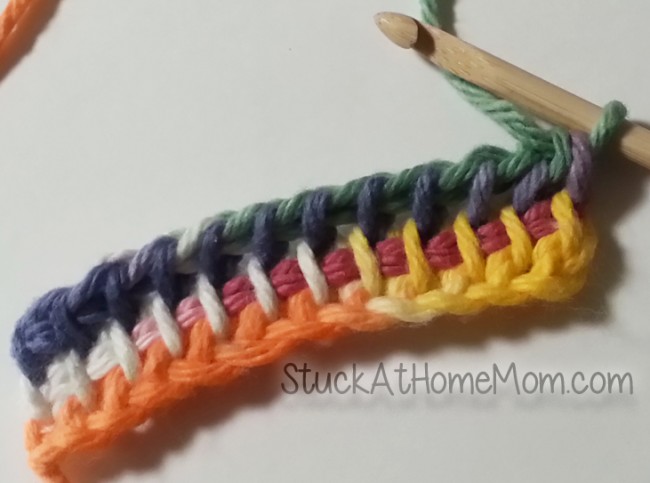
Ta Da!
Repeat that last row over and over again until your strip is the best length for your afghan.
