
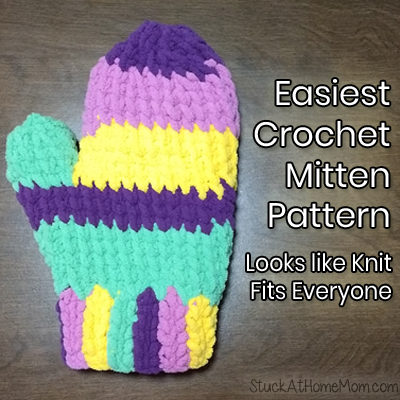
This is my Most Basic Easiest Crochet Mitten Pattern.
It looks like knit, is warm like knit and there are not any annoying holes like knit, BUT it is FAR EASIER and Faster to make using crochet. (I don’t like to knit – can you tell? lol)
I love Crocheting Mittens, I love sharing patterns – I don’t much like typing out the patterns. Please forgive the spelling errors.
Please consider making a few pairs of mittens for your local homeless shelter. Thank you.
Yarn: Bulky Stuff (This time I used: Bernat® Blanket Stripes™ Yarn)
Hook: 6.50mm
Mitten fits on either hand.
ch = chain
sc = single crochet
mslst = modified slip stitch
slst = slip stitch
Modified slip stitch: https://youtu.be/CGo6AyzSC44
Knit Stitch: https://youtu.be/rSaMvv2S9_Q
Cuff
Step 1: ch 7,
Step 2: 1 mslst in each ch, ch 1, turn
Step 3 – what fits you: repeat step 2
Crochet up the seam.
Mitten
Step 4: From the top of the seam make 2 sc sp. Then 2 sc in the top of Every Other Row around. Do NOT join
(If you look at the cuff you will see that every other row sticks out. I crochet the 2 sc in the top of the row that sticks out.)
Lay flat. Place a marker at opposite side of seam.
Step 5: 1 sc in each stitch until you reach marker. At Marker Point Only make 2 sc, continue with 1 sc in each space around. Do Not Join. Never Join. This is a Non-Joining Pattern (:
Step 6 – what fits you: Repeat Step 2 until the mitten is 1 row above where your hand meets your thumb.
Thumb hole
Step 7: Count 5 stitches on either side of the 2 sc point (do not count the 2 single crochets). Those 12 stitches will be skipped to make the thumb hole. Make 1 sc around, skipping those 12 stitches.
Remove the marker. You will no longer make the 2 sc at the marker space from this point forward.
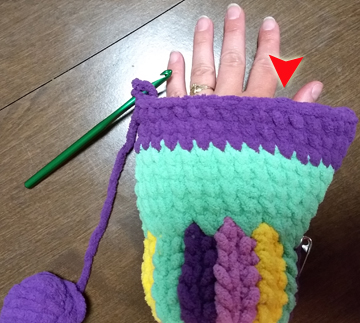
You will return to finish the thumb at the end of the mitten.
Step 8 – what fits you: 1 sc in each stitch until the mitten is one row from the top of your longest finger.
Step 9: When mitten is one row from the top of your longest finger: *1 sc X 2, dec*, round.
Repeat Step 9 until mitten is 2 rows above your longest finger, stitch top closed.
(You can continue to decrease by * 1 sc, dec * round, if you like, but I like the flatter top. )
Fasten off, weave ends.
Return to thumb
Thumb
Step 10: Slst at the first skipped stitch. 1 sc each stitch around. Do Not Join.
Continue step 10 until the row is just above the top of your thumb.
Step 11 *1 sc X 2, dec* around.
Repeat decrease round twice, then stitch closed.
Fasten off, weave ends.
Repeat all steps to make second mitten.