
WP Gallery Custom Links
Last night my blogging buddy Karen told me about a new plugin she wanted to use, but didn’t know how to use it. I figured I could read through the directions and just put the technical parts into English. Smack head on table!
WP Gallery Custom Links is a great little plugin, however I’ve yet to find actual instructions for using it. The plugin assumes that you know everything there is to know about WordPress and how it function and you don’t need something as simple as a How To. For those of you who don’t know who to use a gallery or even what a WP gallery is you’ll be lost in a sea of shortcodes and forum posts.
So I took some time and hopefully I have it all sorted.
We’ll start with Step 1 “How to install the plugin.” If you know how to install plugins, skip this and move on to Step 2 “How to use the plugin”
Installing the plugin
Note: Click on Each Image and it will Enlarge in a New Tab.
As always, make sure you have backed up your WordPress website and database before installing or updating any plugins.
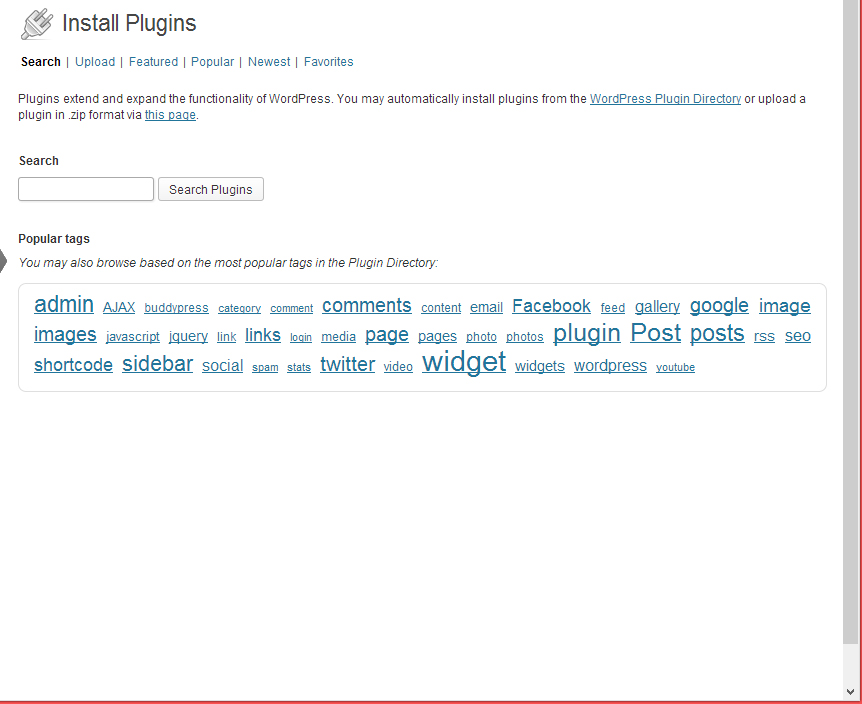
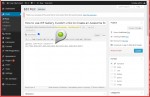
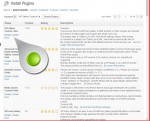
From your WP Dashboard hover over Plugins and click Add New
In the search area type: WP Gallery Custom Links
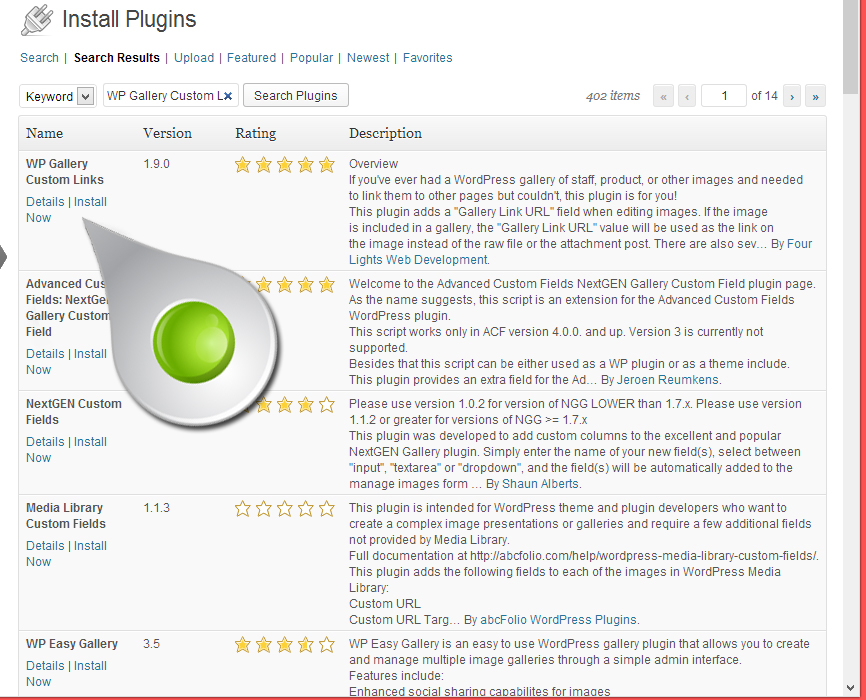
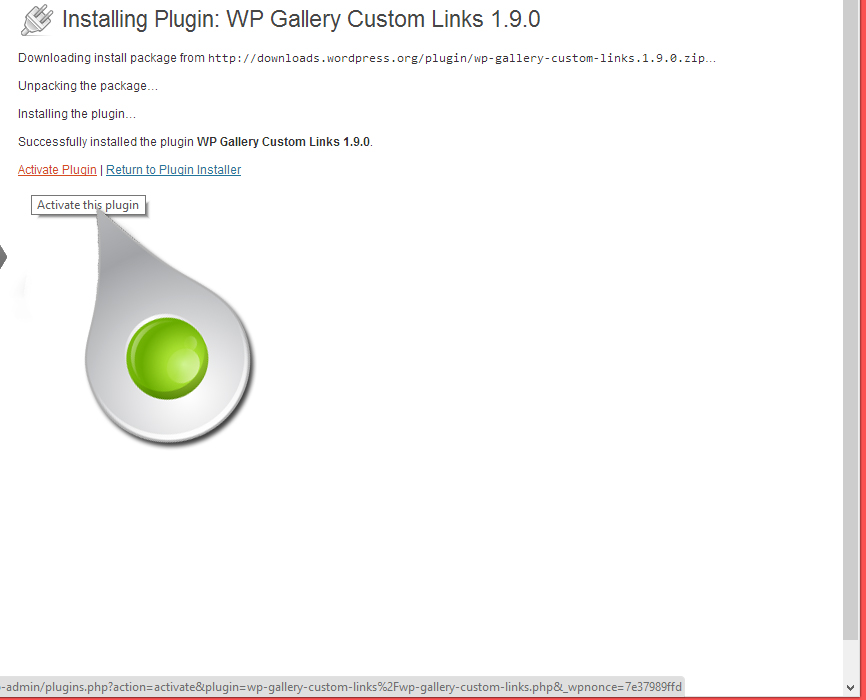
Once installed, Activate the plugin.
That’s all done, moving on.
Step 2 How to use the WP Gallery Custom Links plugin
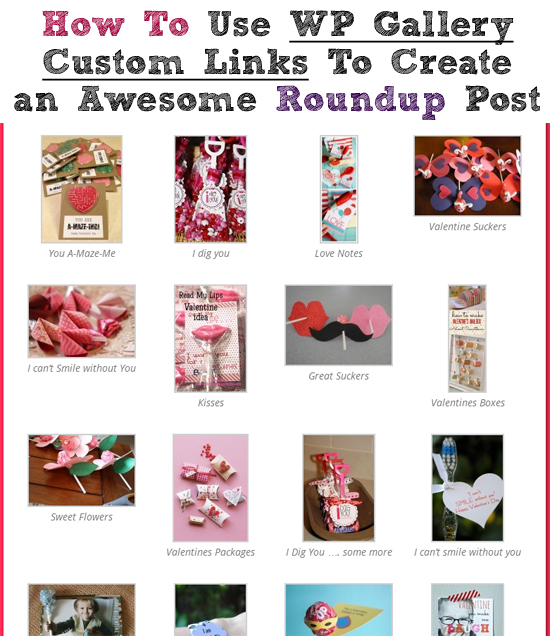
So a roundup post is when a Host Blogger asks a lot of other Bloggers for links to posts on a particular topic on their blog.
For example I may ask all of you to send me a link to Valentines Day blog posts along with an image. I take those links and images and create a post on my blog that links to all my blogger buddies blogs and call it something like 50 Valentines ideas.
Getting all the images into a grid format has been the hard part for many bloggers so WP Gallery Custom Links is attempting to make this easier by creating a plugin that sorts the images and the links for you.
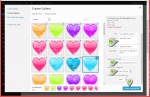
You’ll start by creating a new blog post, giving it a title and clicking Add Media
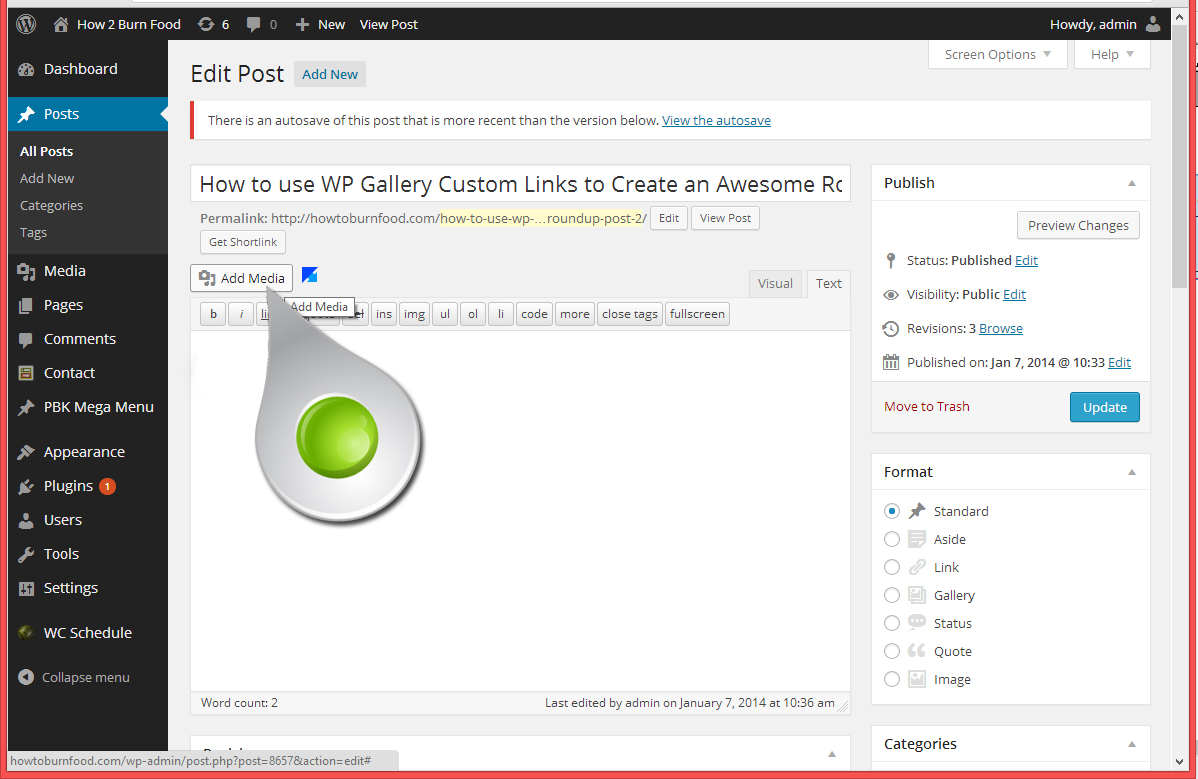
On the left click Create Gallery

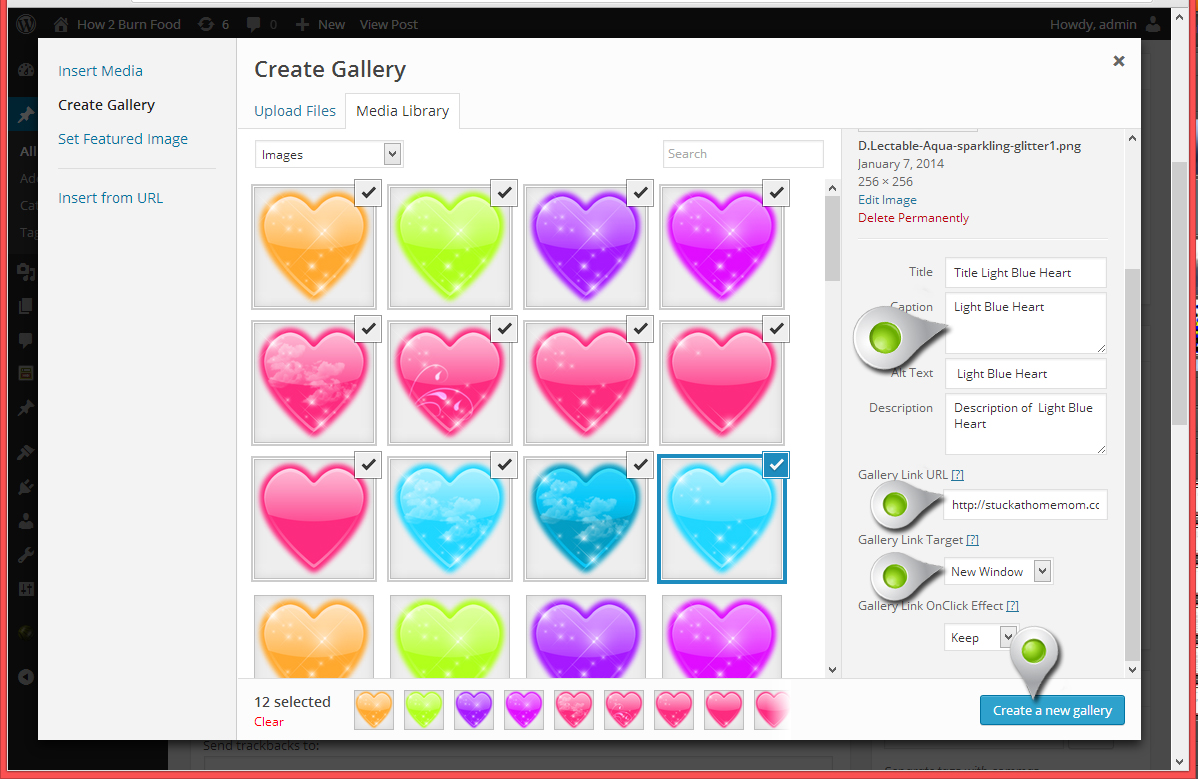
Either upload the image you want or select already uploaded images.
Click on the first image, just once. On the right you’ll see several input fields. Make sure you fill in the following fields
Caption: That will be the text which is placed under your image.
Alt Text: That is for SEO.
Gallery Link URL: If you are using this plugin for a roundup the Gallery Link URL is where you will put the link to the blog that has provided the image.
Gallery Link Target: New Window – that is so your visitors don’t leave your blog.
Then click Create a New Gallery
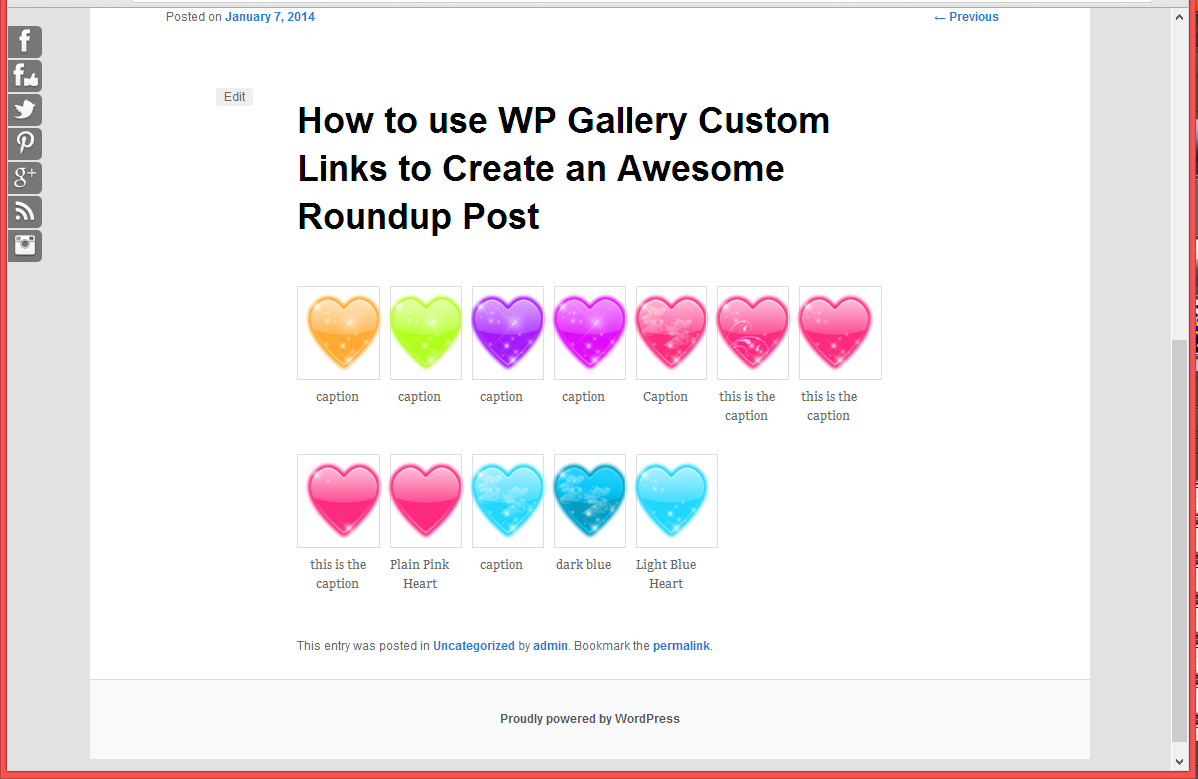
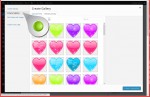
Where it reads Link to: Change that to Media File (it’s not, but that is the setting needed)
And then indicate the amount of columns you want. If you have 50 blogs joining in 5 columns would work nicely.

This can be done in either the Visual editor or the Text editor. This is the view from the Text editor, because I’m a ‘Coder’ and that’s what I use. If you’re a standard blogger you’re probably using the visual editor and that will look more like your blog post.

PLEASE NOTE: The theme used in this tutorial is Twenty Eleven. Your theme could very well make this look different. Depending on how your theme is coded you may not have thin gray boxes around the images, you may have no boarder at all or you may have a thick boarder, that all depends on your theme.
-
- Entering the images
-
- Entering the images
-
- Entering the images
-
- Entering the images
-

- Entering the images
-
- Installing the plugin
-
- Installing the plugin
-
- Installing the plugin