
I have always wanted to learn to quilt, but never had a machine large enough to join the front and the back of the quilt. Using the Quilt As You Go method you join the front and the back at the same time, then you join the squares. There are many different ways to Quilt As You Go and to join the squares, but what I am going to show you here are the basic methods. Once you learn the basics of Quilt As You Go you can quilt just about anything that you would typically quilt the traditional way.
If you learn best by video feel free to scroll to the bottom. The technique is the same, but the video shows a different way to join the squares.
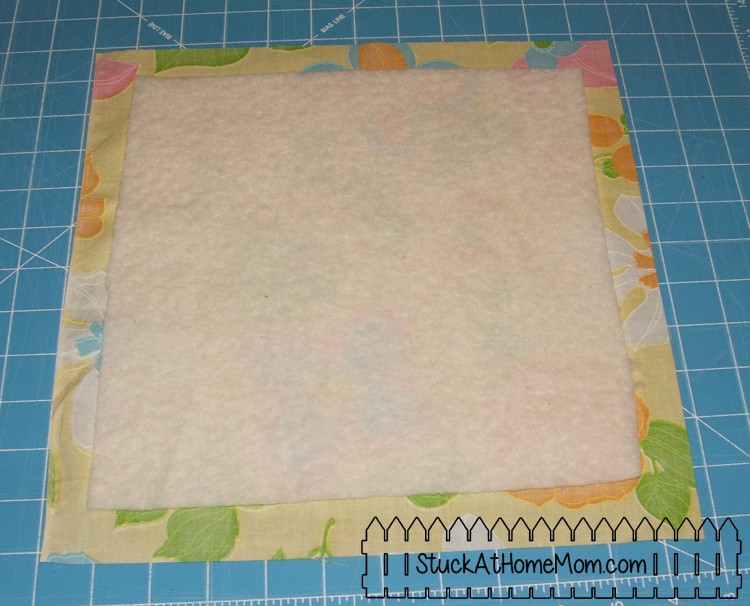
We’re starting with a 12 inch backing and 10 inch batting. Center the batting on the backing. You should be looking at the wrong side of the material.
Note: Some folks call it “batting” others call it “matting” – I switch between the 2. I also use “cotton” and “fluff” – sorry.
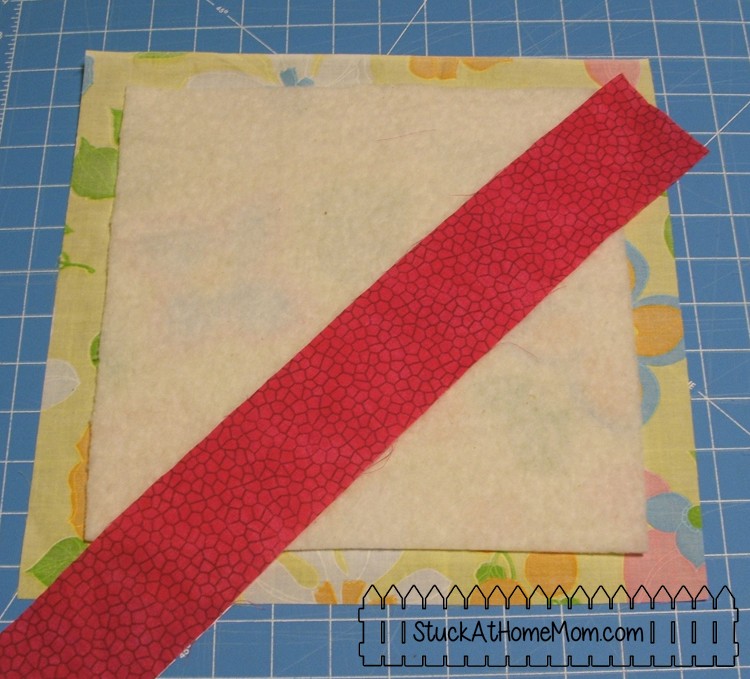
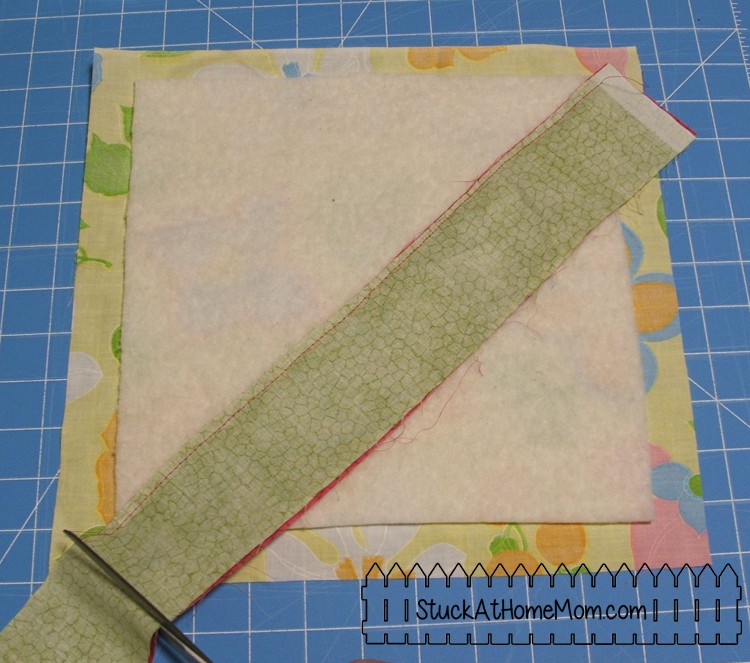
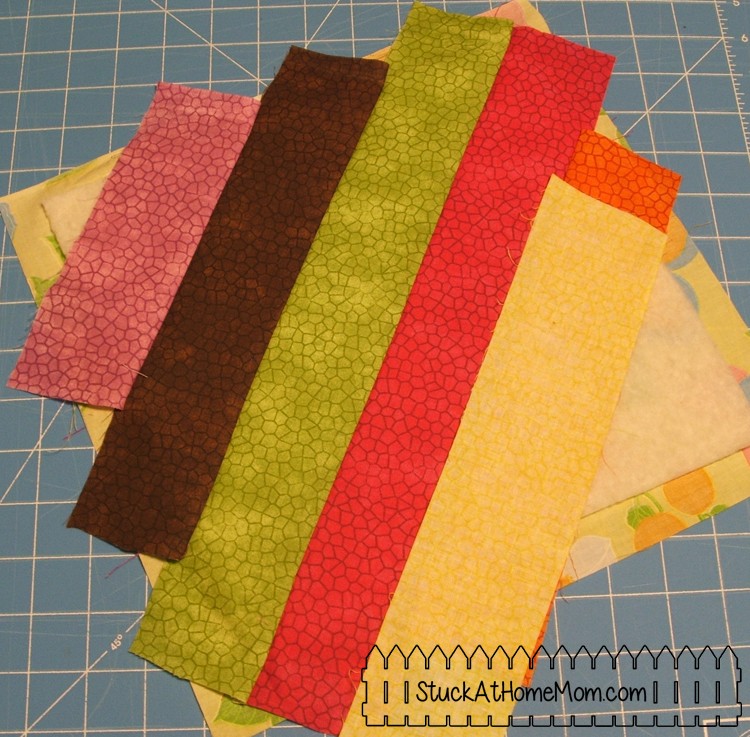
Place 1 strip right side up overlapping the center corner about a quarter inch from the center
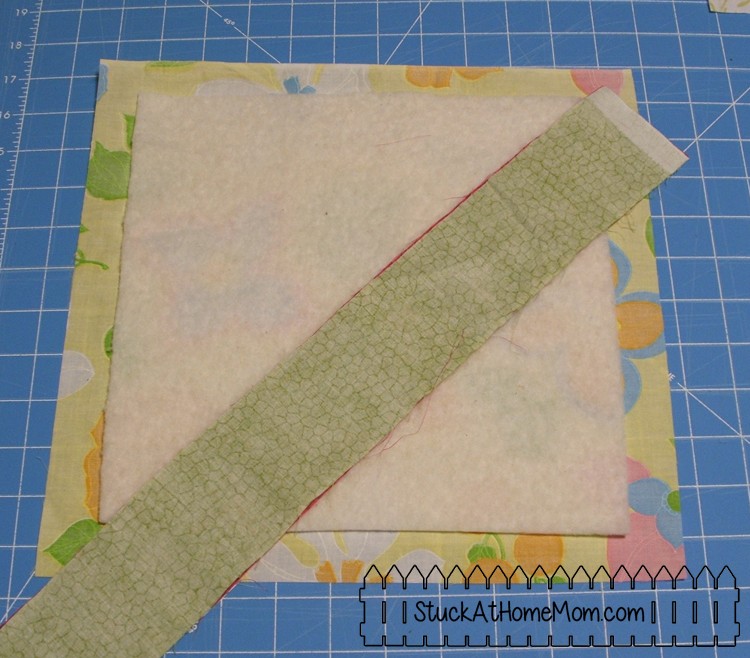
Lay a second strip over the first strip, but face down.
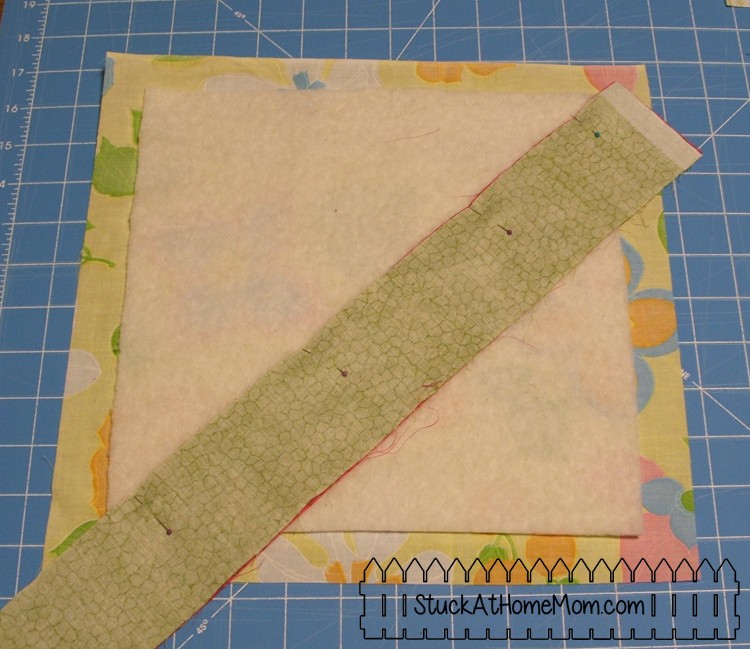
Pin both strips to the batting and material.
Sew the pieces together from the corner of the batting. Cut off the excess.
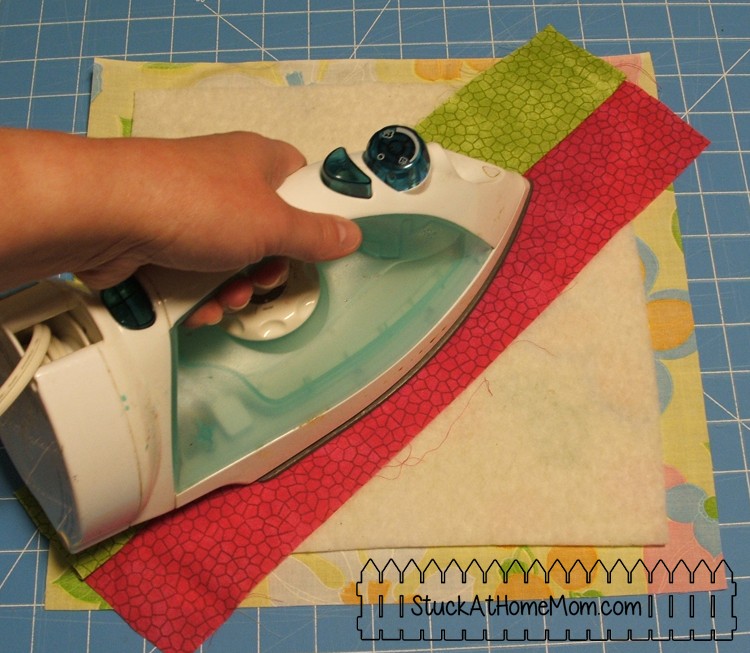
Open the folded area and iron flat
Think of the original 2 strips as rows 1. Now we begin rows 2. Rows 2 are on either side of rows 1.
Using either side, place a strip face down over one of the original 2 strips.
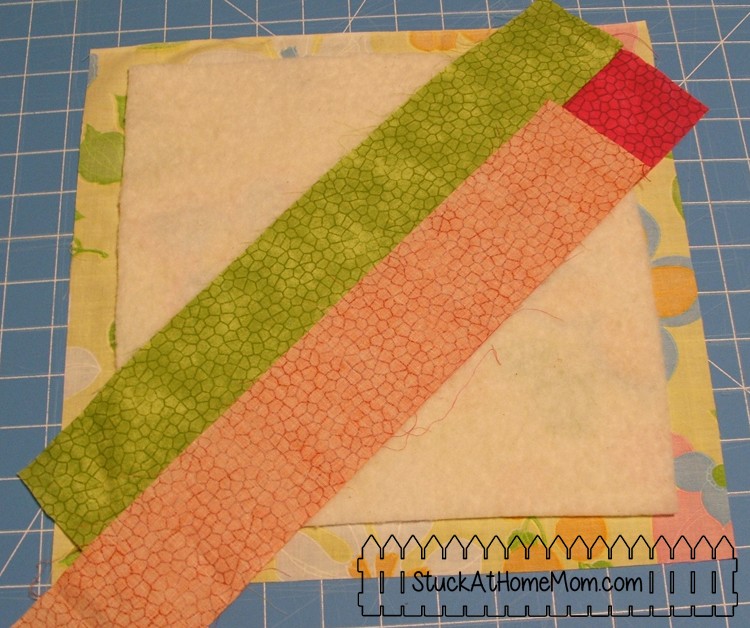
Pin down the outside edge …. see where we’re going?
Sew the outside edge.
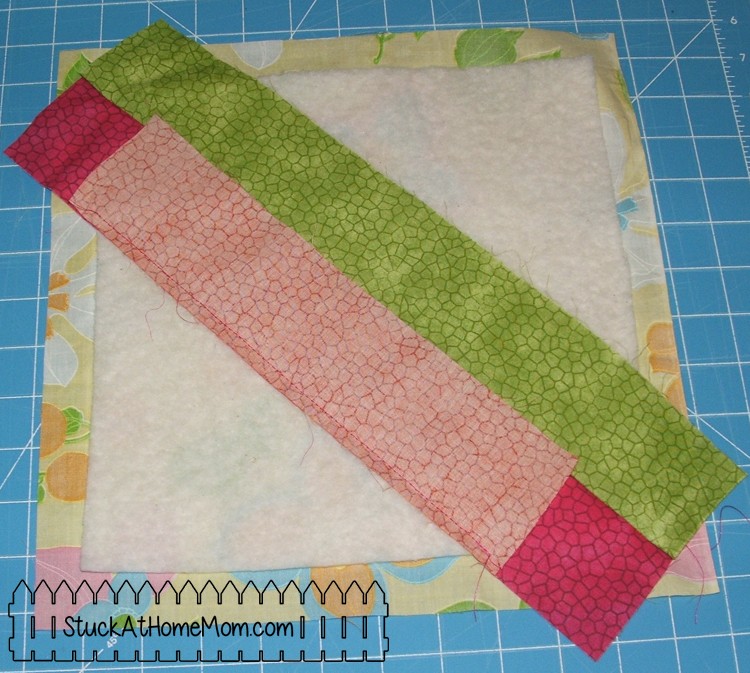
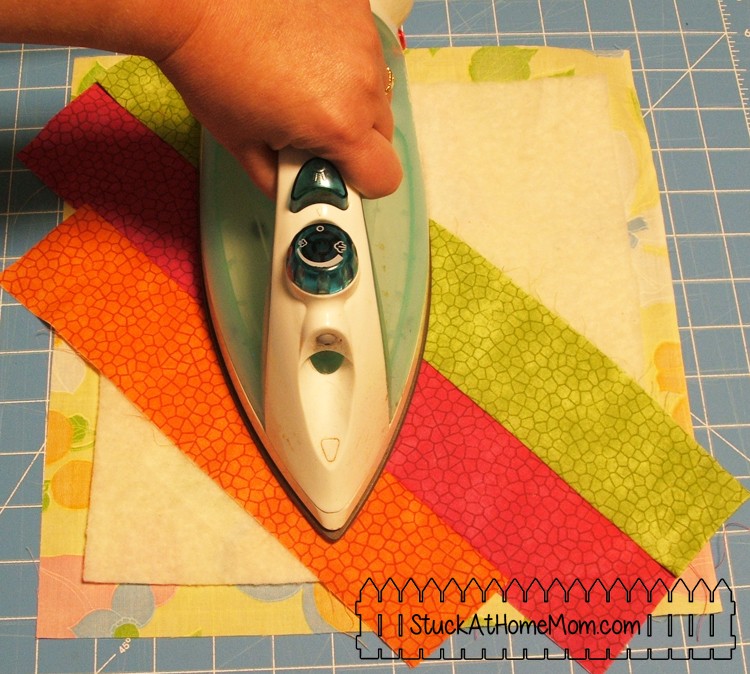
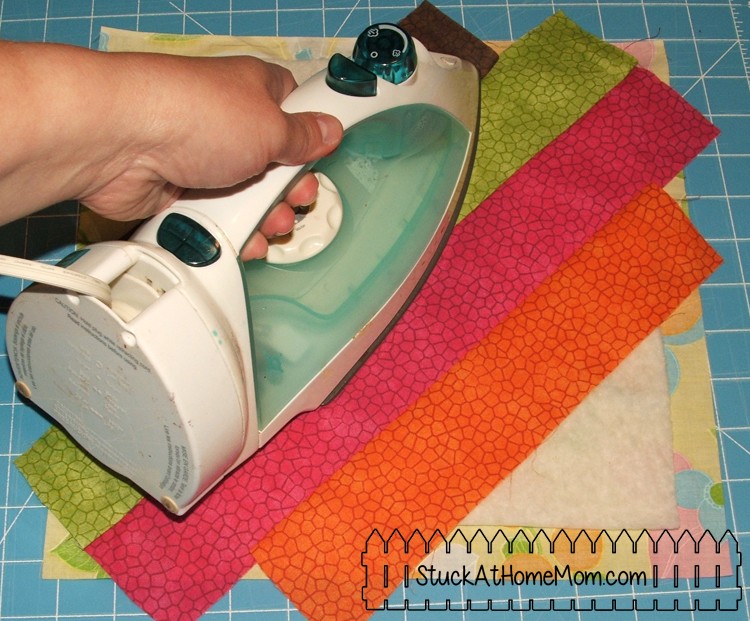
Open, lay flat and iron.
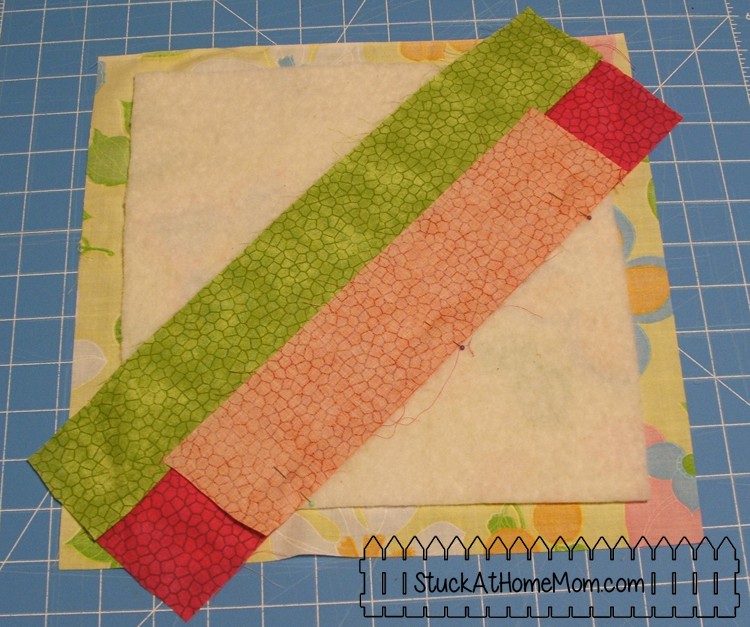
Then you’re going to repeat on the other side to complete rows 2.
Or you can continue on the same side, in this pattern it doesn’t matter.
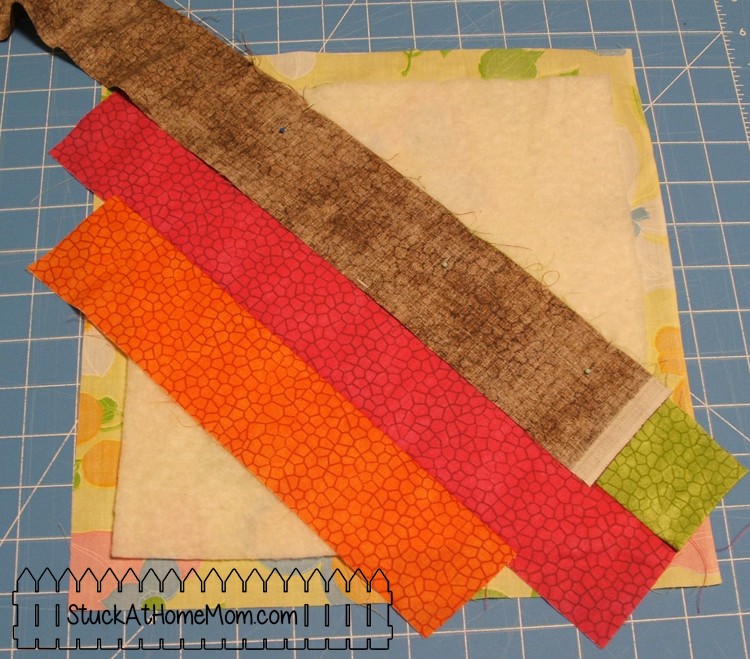
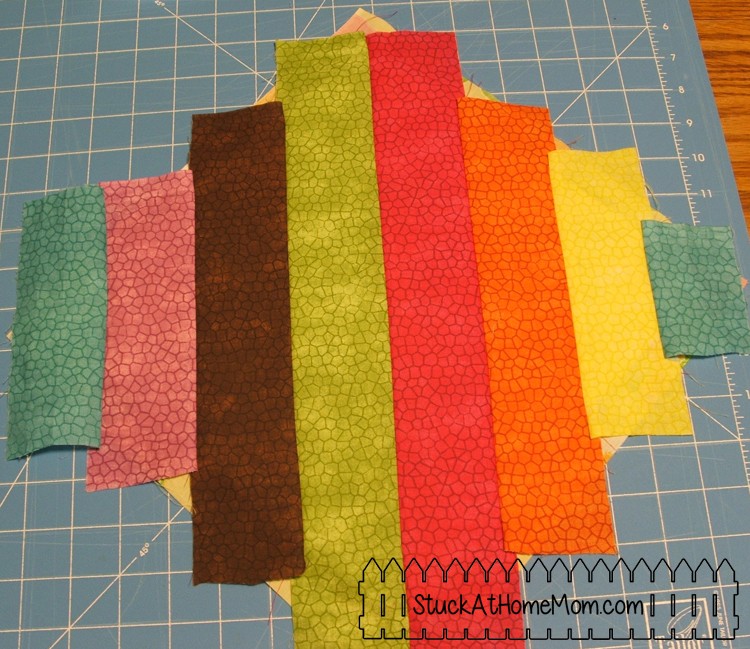
Each row of this pattern is the same. Place a strip face down. Pin it flat on the outside edge. Sew together. Open and iron flat.

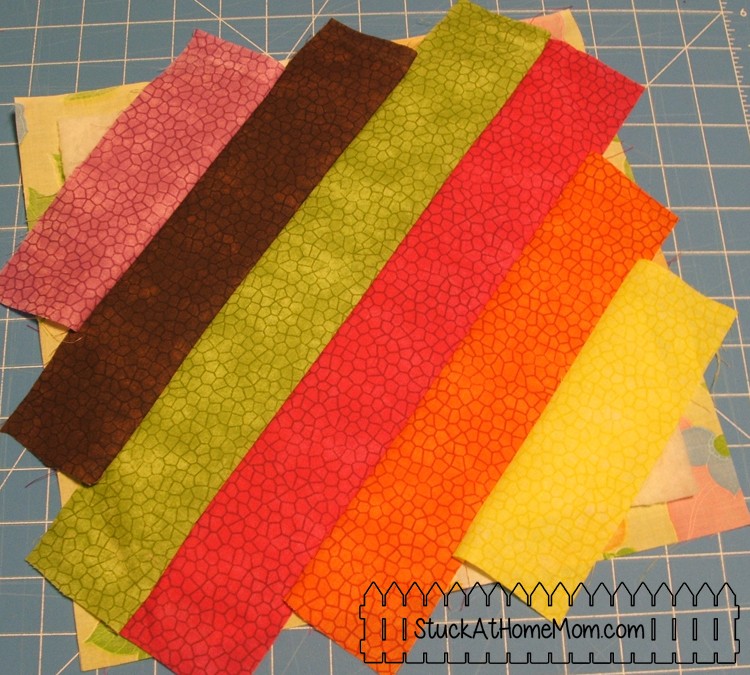
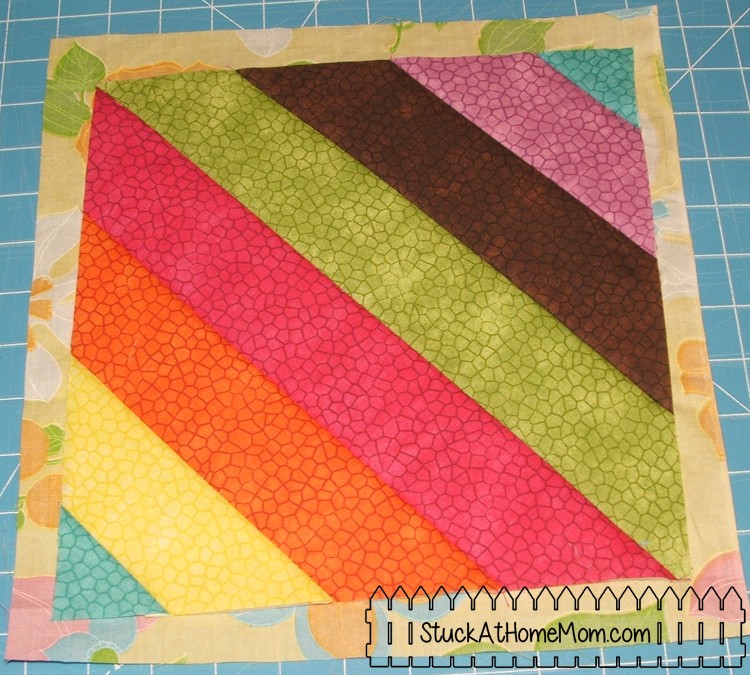
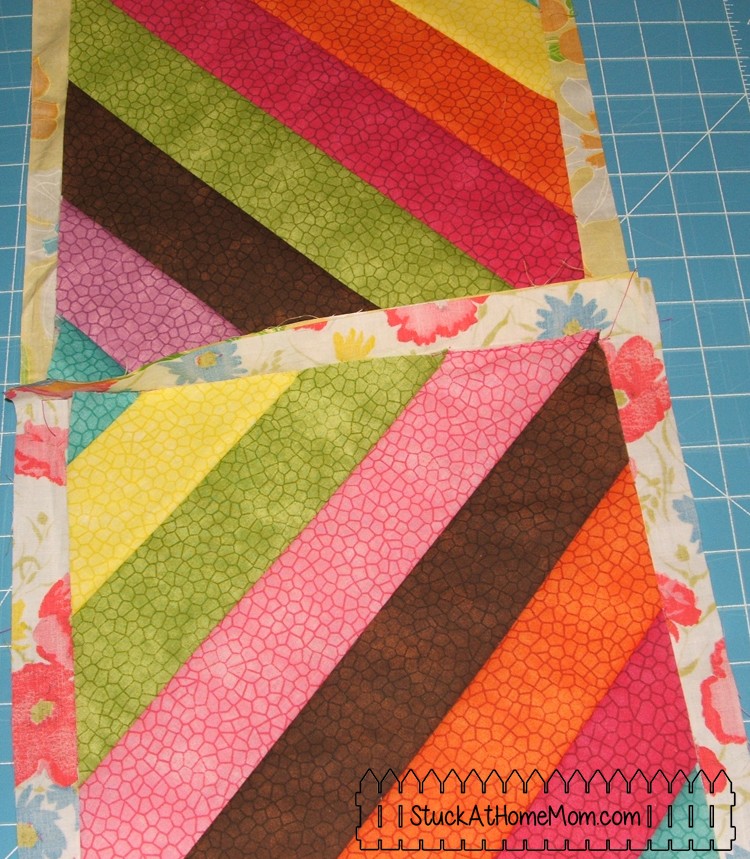
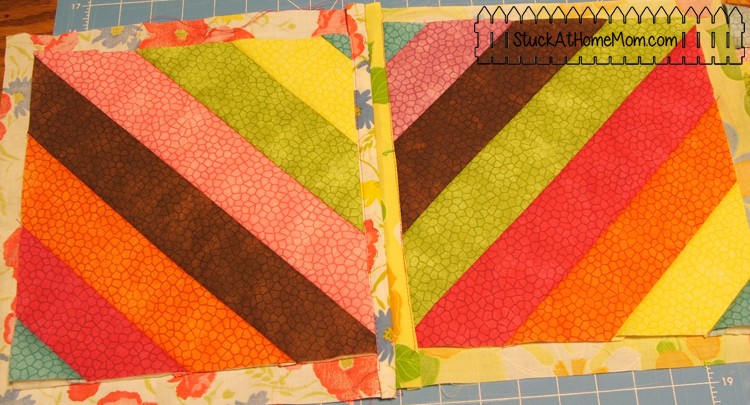
You should have something that looks like the image below. All the strips sewn on both sides except for the last row which should only be sewn on the inside, but the outside edge should not be sewn to anything.
This is so very important. Flip the square over and pin back the backing. Make sure you pin it back passed the batting. You do NOT want to accidentally cut the backing. Cutting the backing makes the square useless.
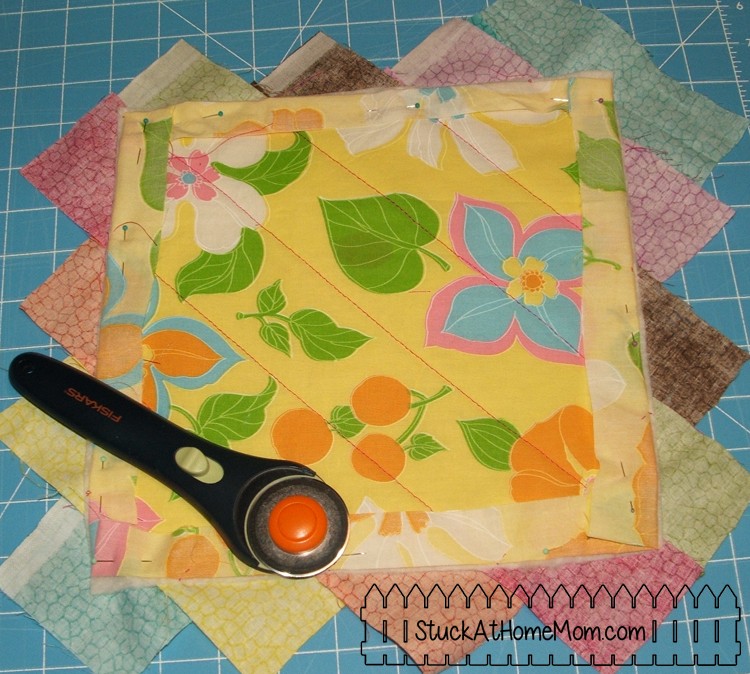
Cut off the excess from the FRONT of the square. Make sure NOT to cut off the excess from the back of the square. The excess from the back of the square is used to join the squares.
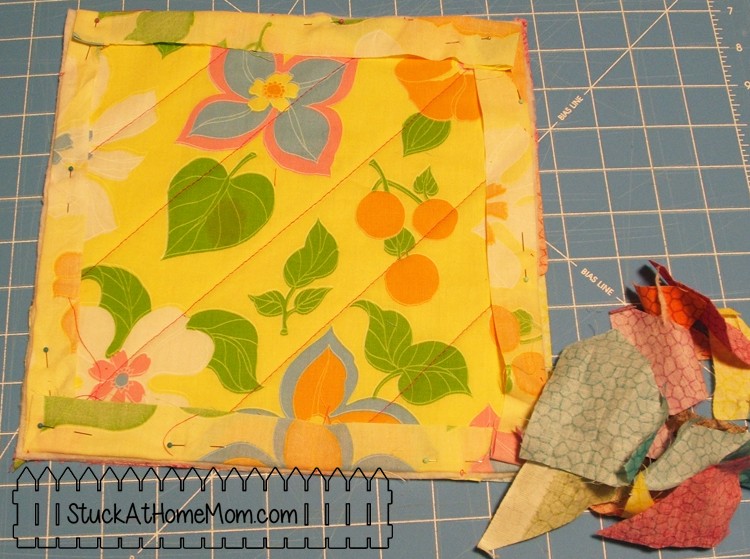
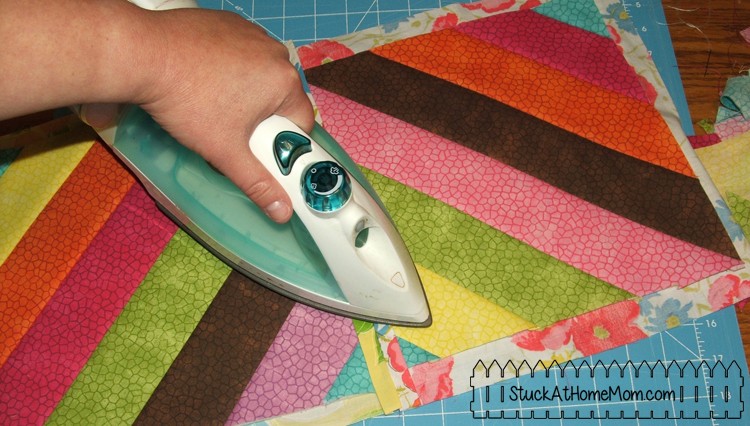
And again, once you’re done, remove the pins and iron flat – There is a lot of ironing flat in Quilt As You Go.
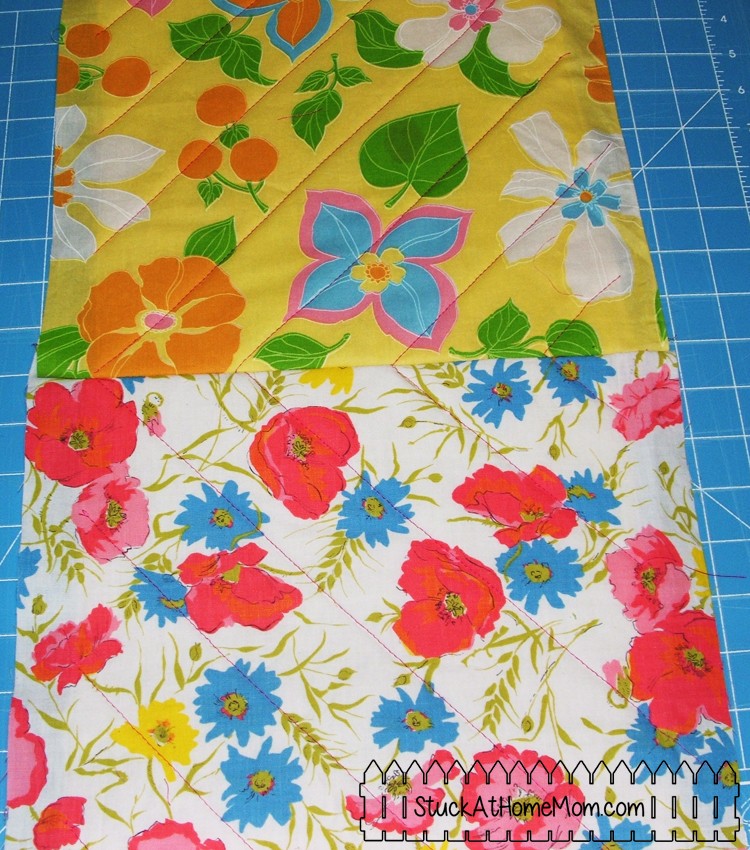
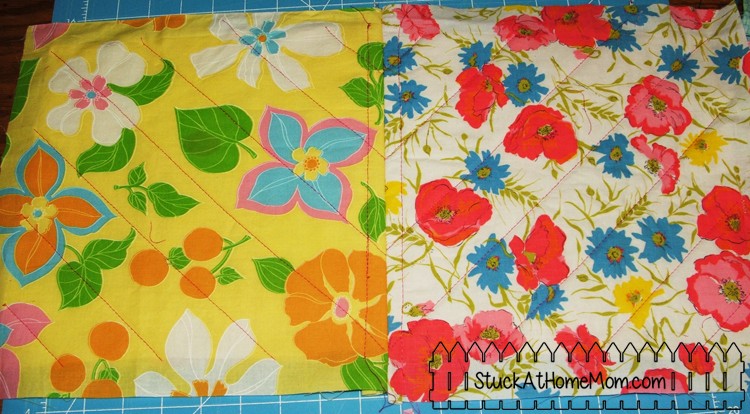
Back of the square
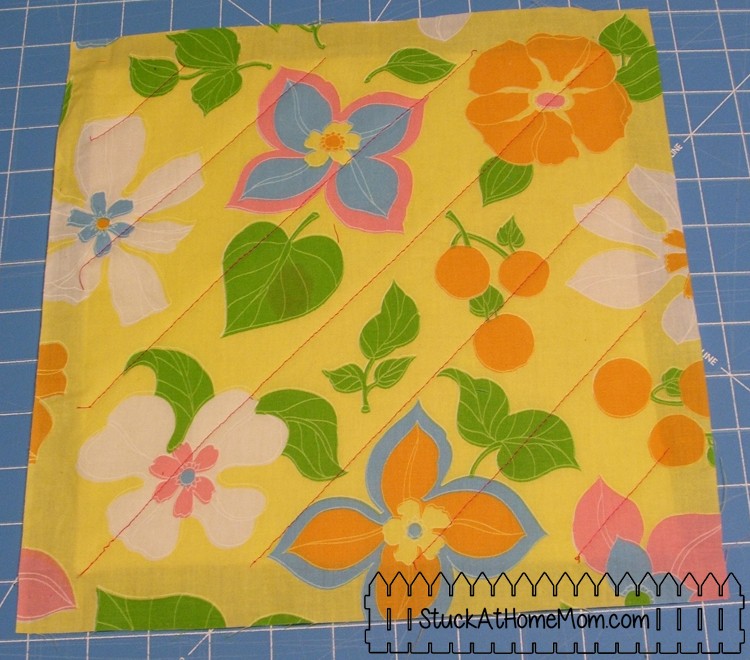
Front of the square.
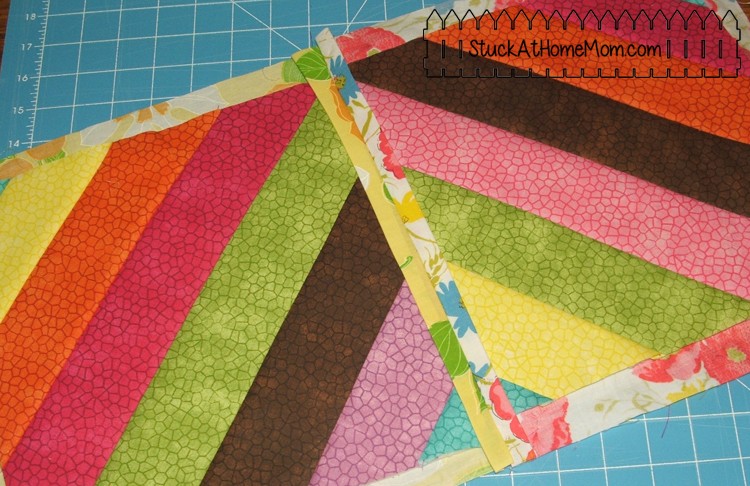
Joining the squares.
Take 2 squares and place them back to back. Make sure that the batting of the first square lines up with the batting on the second square. There aren’t any great ways to do this, it’s done by feel.
Sew the 2 pieces together sewing as close to the quilting on the front as possible without going on to the quilting. (Mistakes happen. I usually end up sewing onto the quilting a little, don’t sweat it, you’ll get better as you go.)
Front
Back
From the front, open the 2 flaps and iron flat – of course. Then fold the flaps under (in 2) to create the finished edge. Iron and pin down.
Sew down the outer edge of the finished edge.
Front
Back
That is one way to join the squares. If you watch the video it shows the basics of how to create the square (like above) but it also shows a second way to join the squares.
This is the another way to join squares. The quilting method is the same as above, but joining the individual squares is different.
Join using an Added Strip.