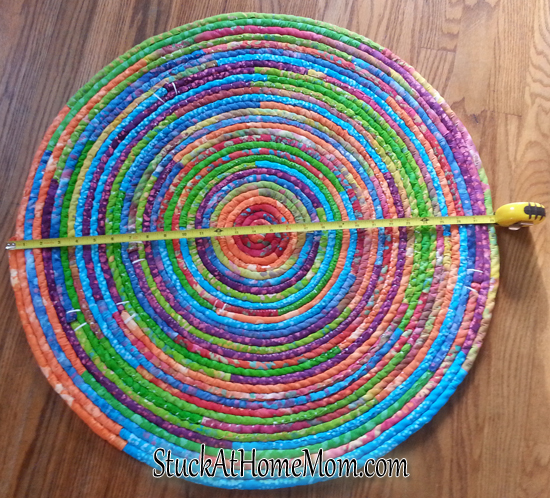
DIY Rope Rug
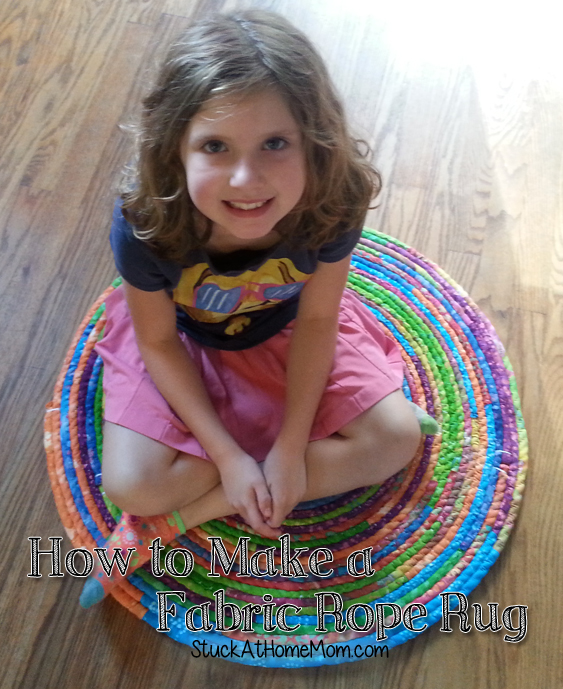
I’m still surprised at all the attention this little Rope Rug got on FaceBook. Don’t get me wrong I worked hard on it, but my friends and followers really helped to keep me motivated, some even emailing me for updates!
So like most projects, I saw this on Pinterest kind of memorized what I would need – got the stuff and started the project without ever looking at the directions. So what I made into a rug, I later found out was supposed to be a bowl. Yeah, try and figure that one out. Anywho!
So I started with 15 feet of dock rope that I purchased at WalMart for $12. However, I quickly went through that and found myself at Lowes where I purchased 50 Feet of ½ inch dock rope for about $30.
The quilting pieces I purchased at WalMart for around $10 and I needed 2 packages to complete the rug.
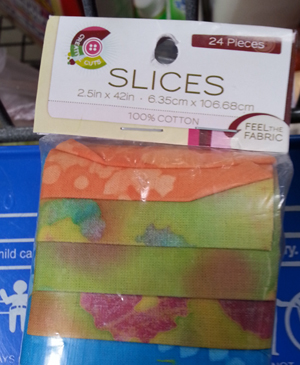
Now don’t do what I did when it comes to sewing this together – I used crocheting string! You know, the stuff that’s used for doilies! BAD IDEA! Go to a craft store and they will find you heavy thread that will hold up. As usual I was so excited about getting started that I wasn’t really thinking about what I was using.
Also, pick up one of those half circle needles – Seriously!
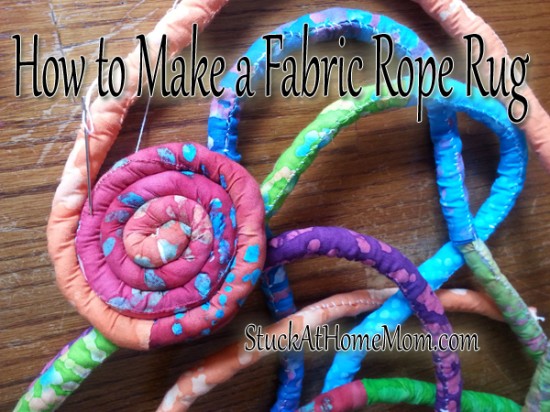
The first part was relatively easy, but a bit time consuming – sewing the fabric around the rope. I just laid the rope on the fabric, pinned it tight and started sewing it together. Because I was using crocheting doily thread I always started the ends of the fabric with a few stitches in one spot. Then just worked my way across stitch by stitch.
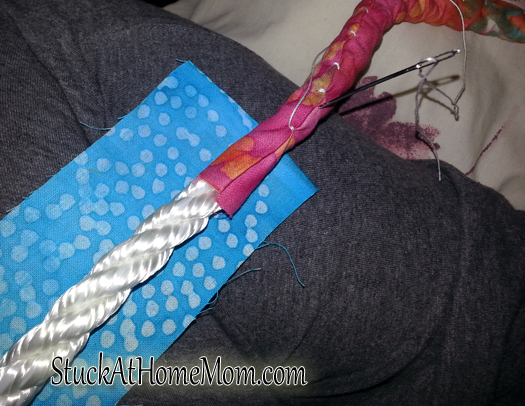

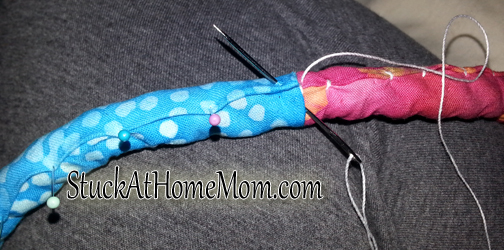
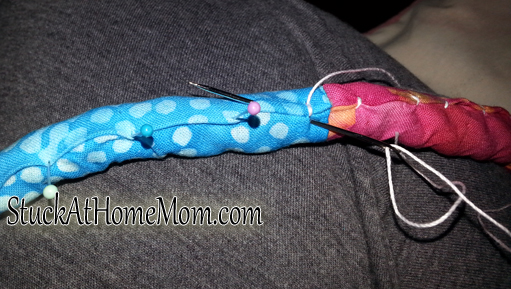
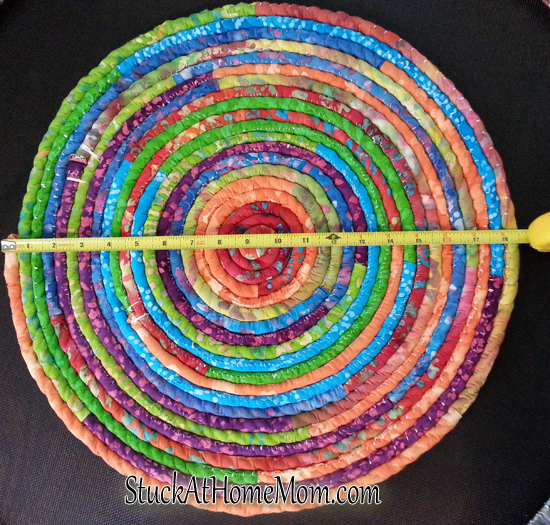
Once I had all 15 feet of rope sewn into the fabric it was time to start stitching it into a circle. Honestly, in the beginning I was just happy it stayed together! But once I got going I started doing a criss-cross pattern.
The first image looks confusing, but just do what you have to to keep it together (:
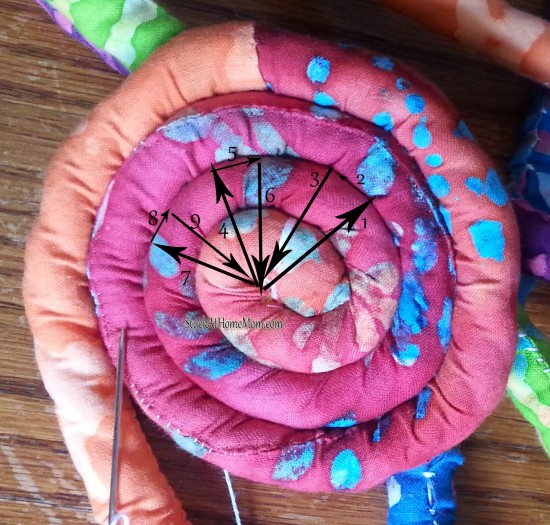
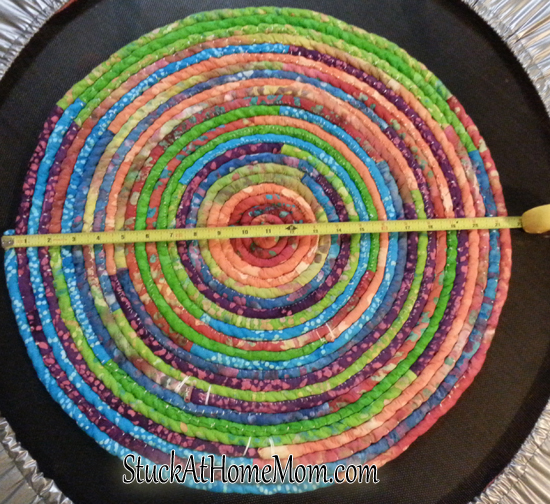
Once you get going you’ll see what I mean about the crisscross sewing.
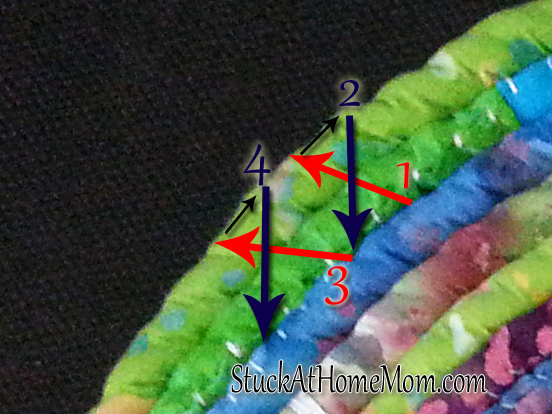
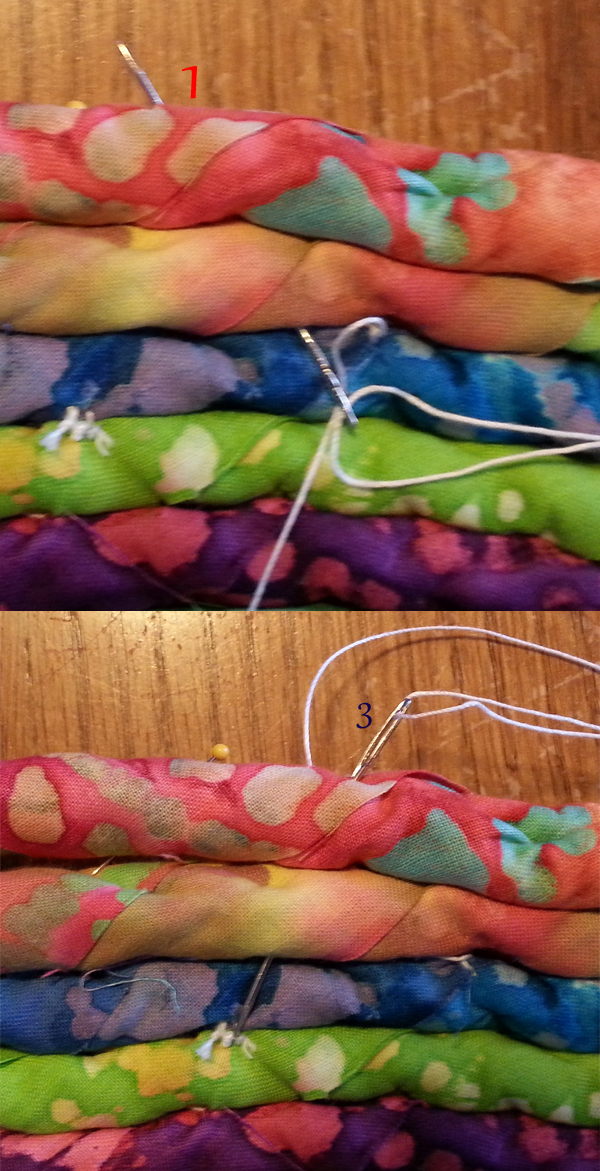
I am Positive there are better ways to sew rope rugs, but this seemed the strongest way to keep it together.
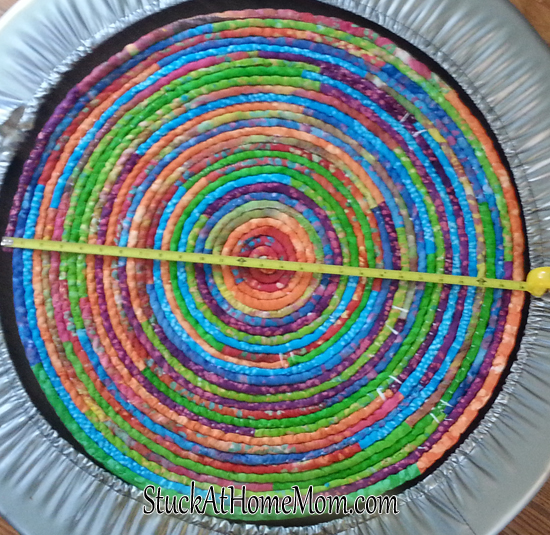
Each time I ran out of rope, I just tied it off and started some more length. Once it got big enough to sit on I felt it was finished! lol
It’s now sitting beside my daughters bed – which is the area with the least amount of traffic that I could come up with!
Now that I have a pretty good idea of what I’m doing I’ve started an oval rope rug. This rug is wrapped fabric, so it’s going faster, but using more fabric. And this time I know I’m going to make a post out of it so I’m taking pictures as I go.
Feel free to post suggestions!
