
I’m using the Baby’s First Year Calendar.
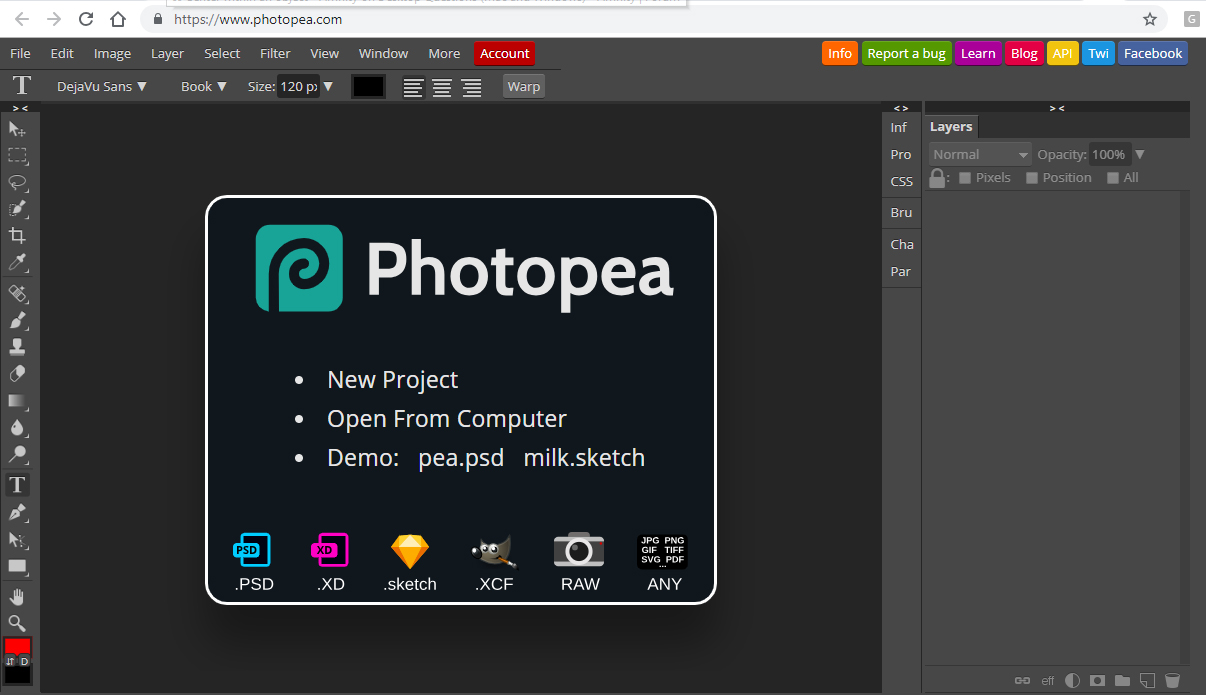
Start by opening photopea.com PhotoPea is free (they have a paid version, but you don’t need it.)
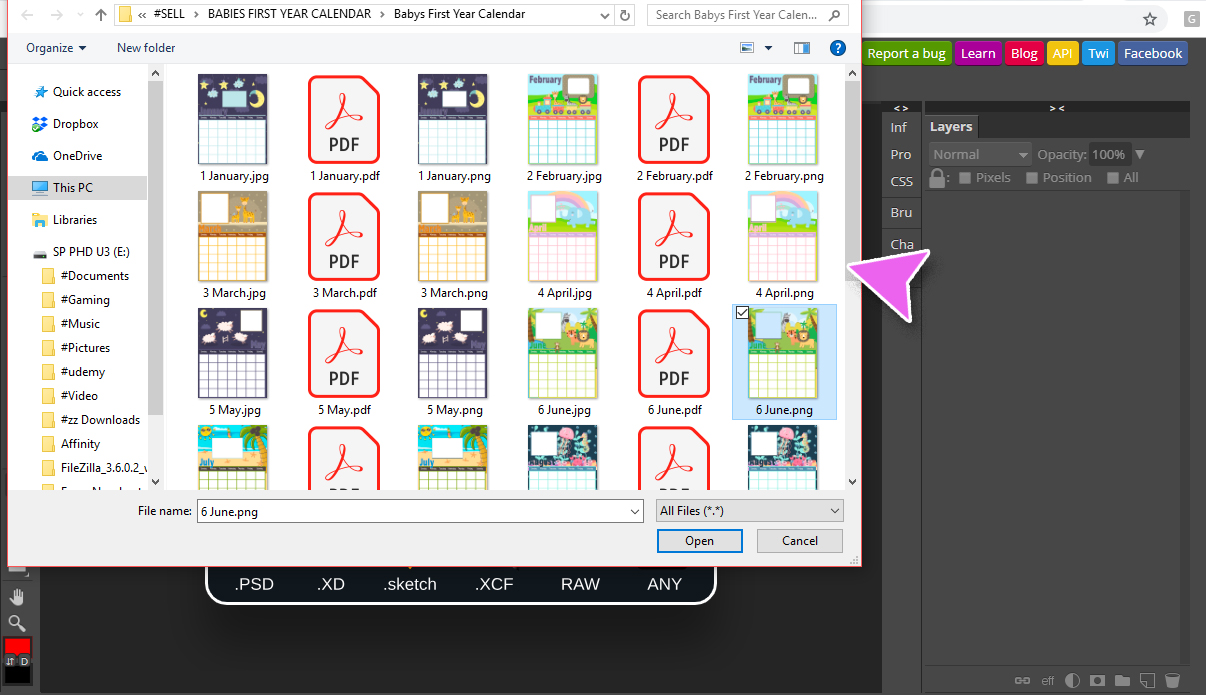
Open the calendar template you want to use. File > Open

Select the template and click Open
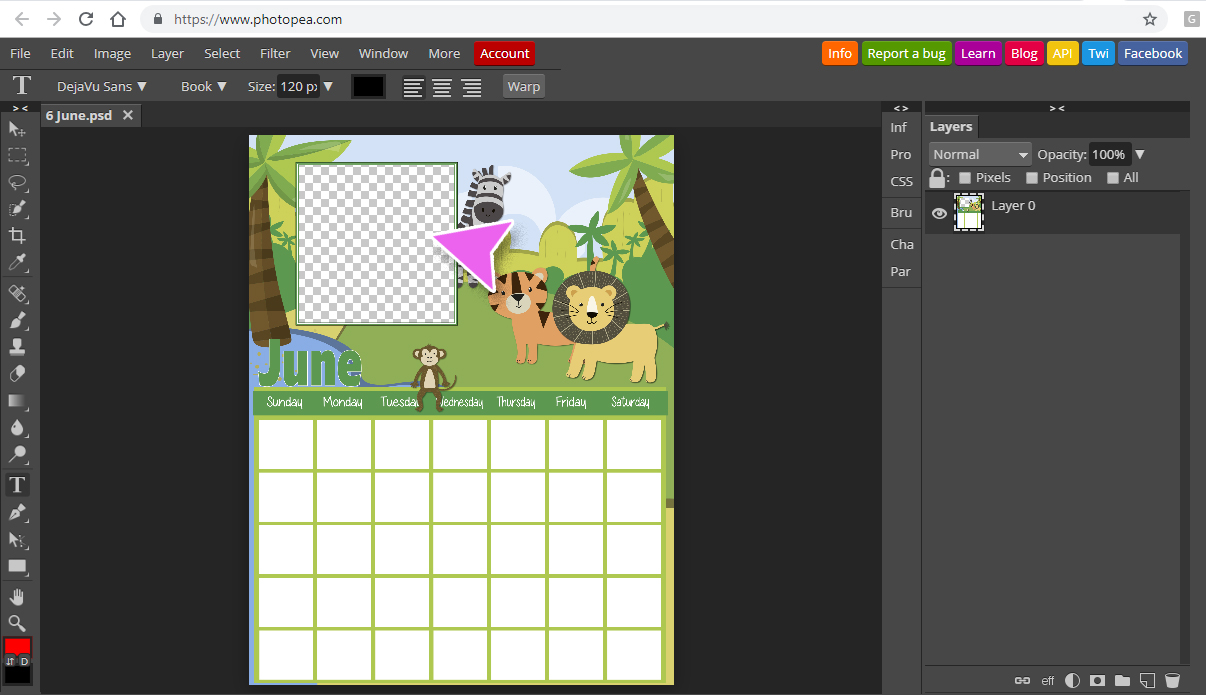
See that big open area? That’s where the image will go.
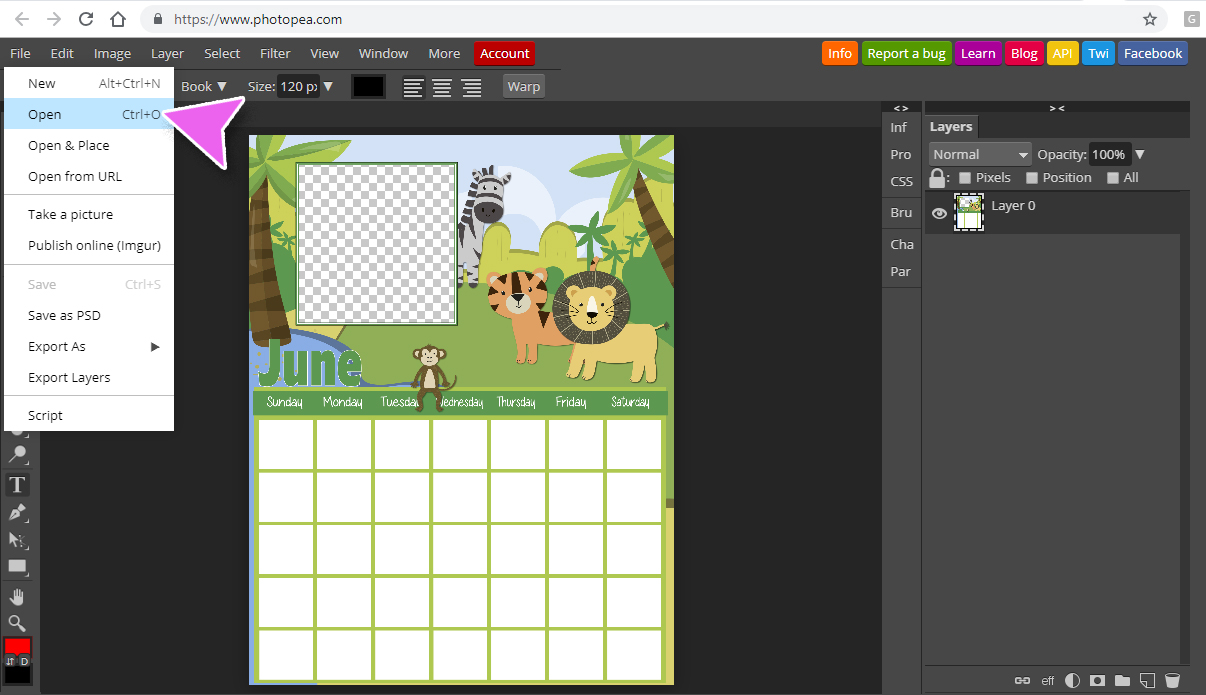
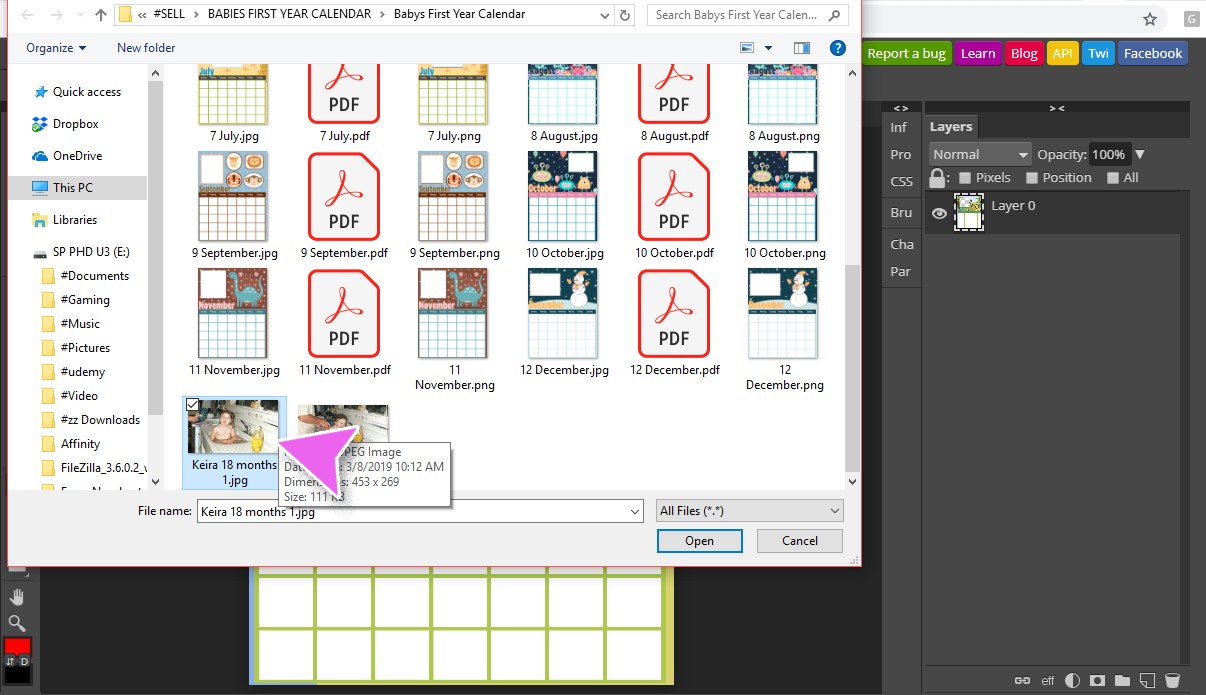
Now open the photo you want to put in the calendar. The process is the same as before.
Click File > Open
Click on the photo you want to use and click Open
Make sure Transform Controls is checked. Click on the image to unsure that the image is selected. You need the image selected so you can copy it to the other tab.
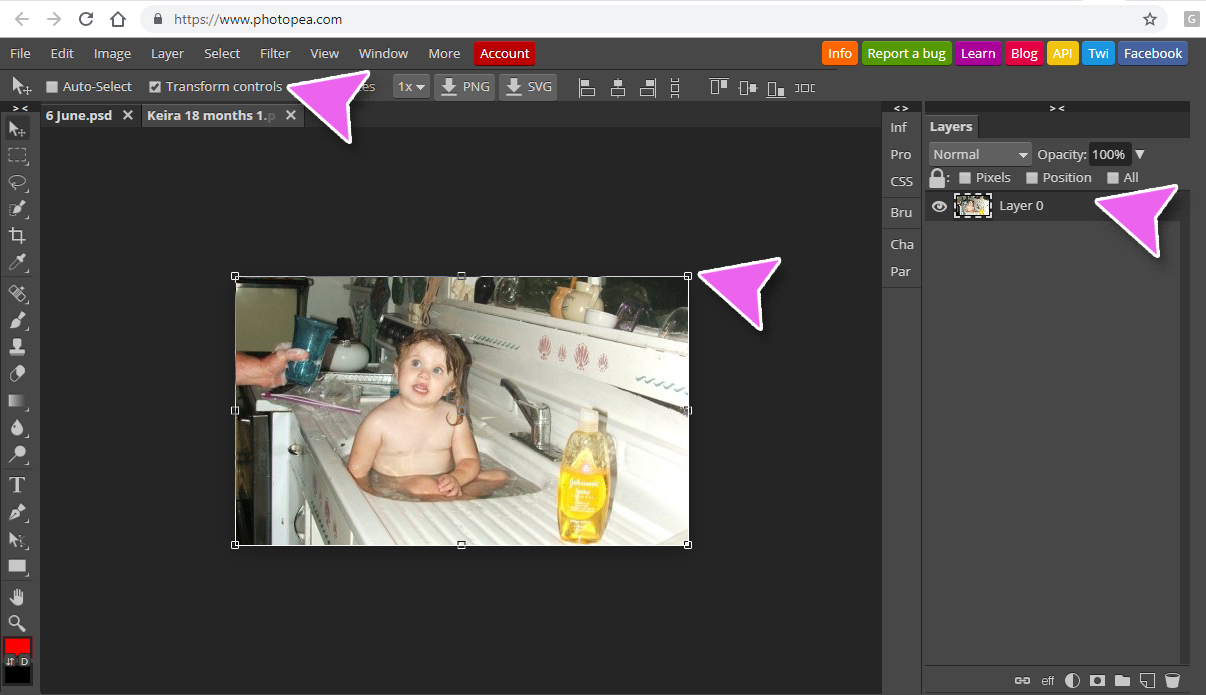
With the image selected Click Edit > Copy

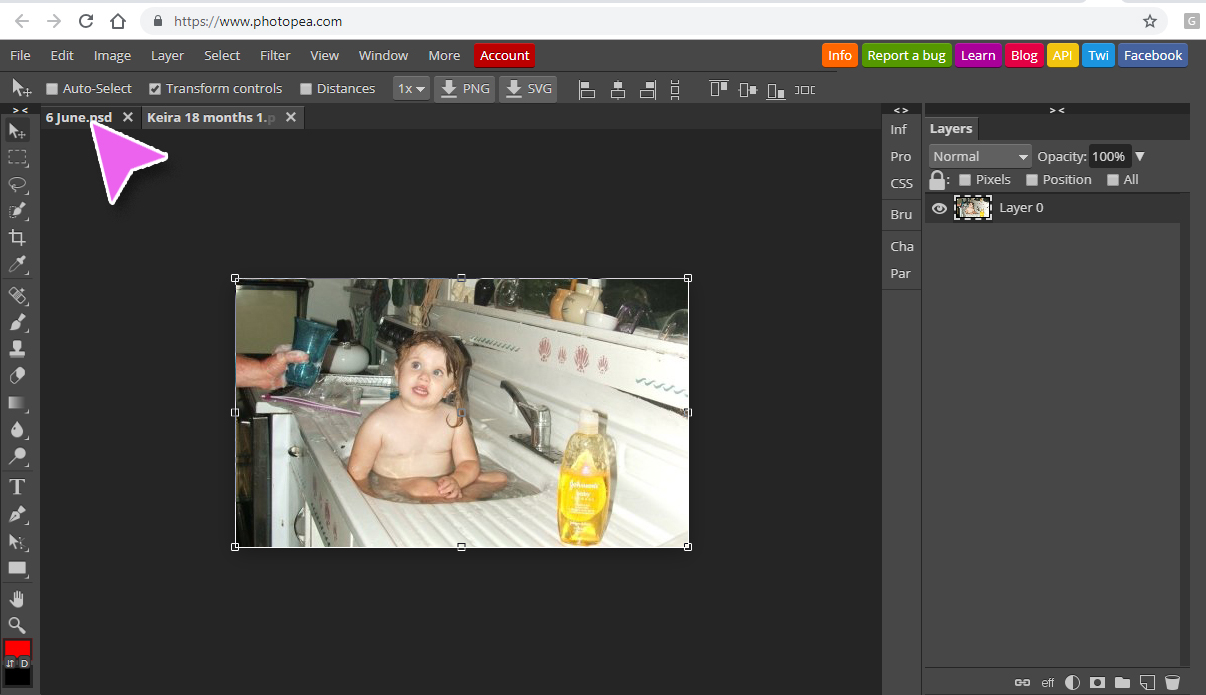
Click on the Original tab.
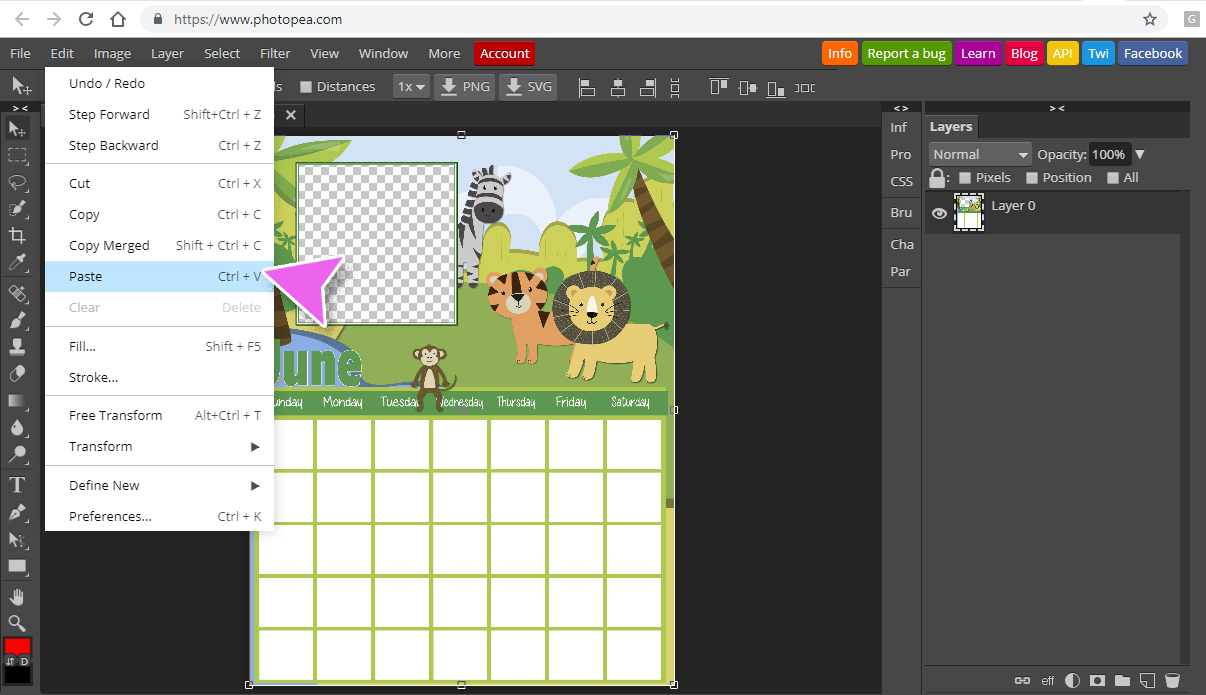
Click Edit > Paste
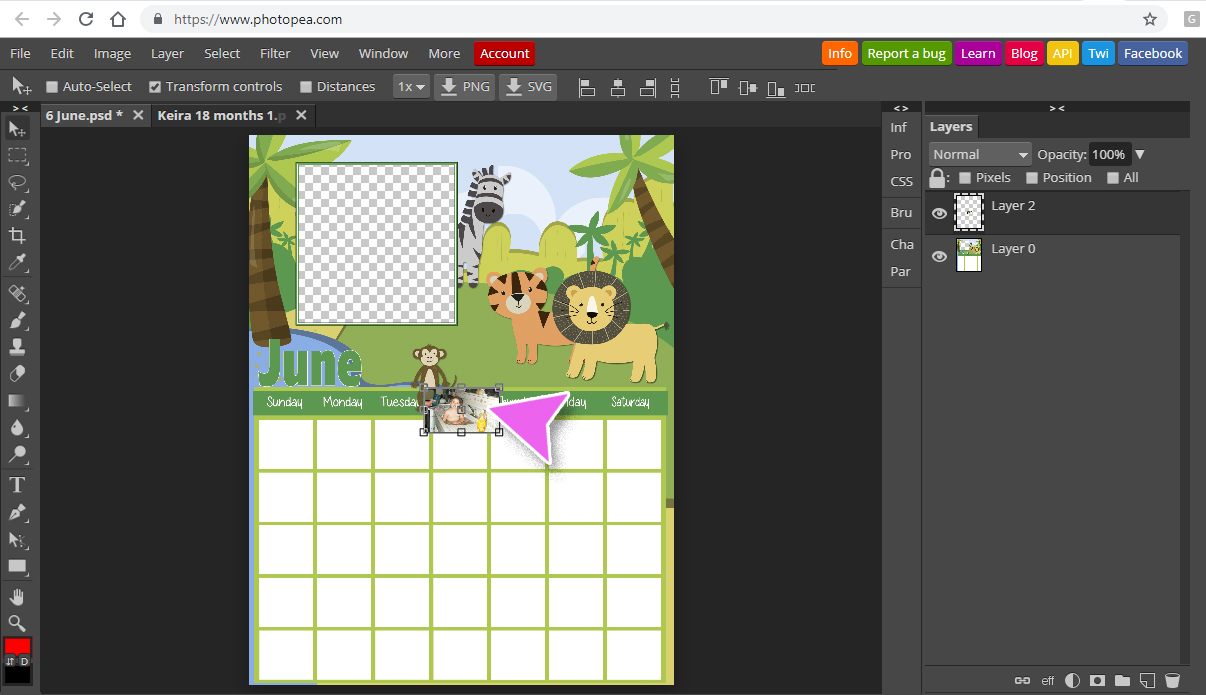
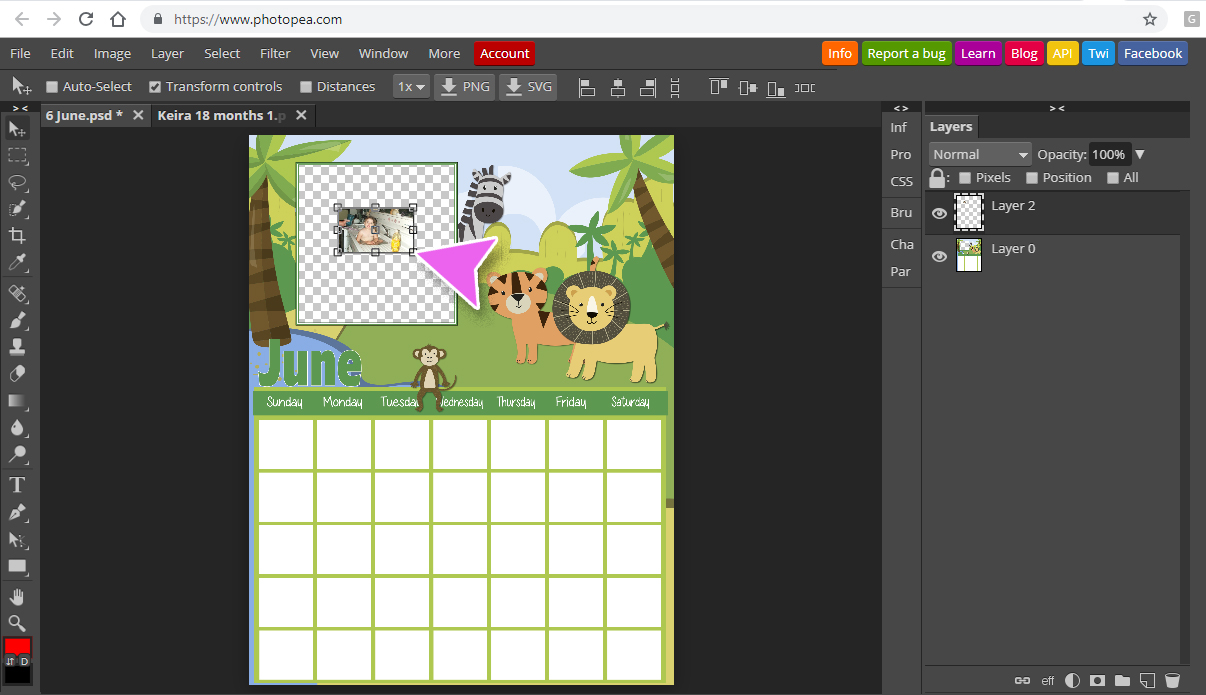
Click on the image you want in the big empty space and drag it to the empty area.
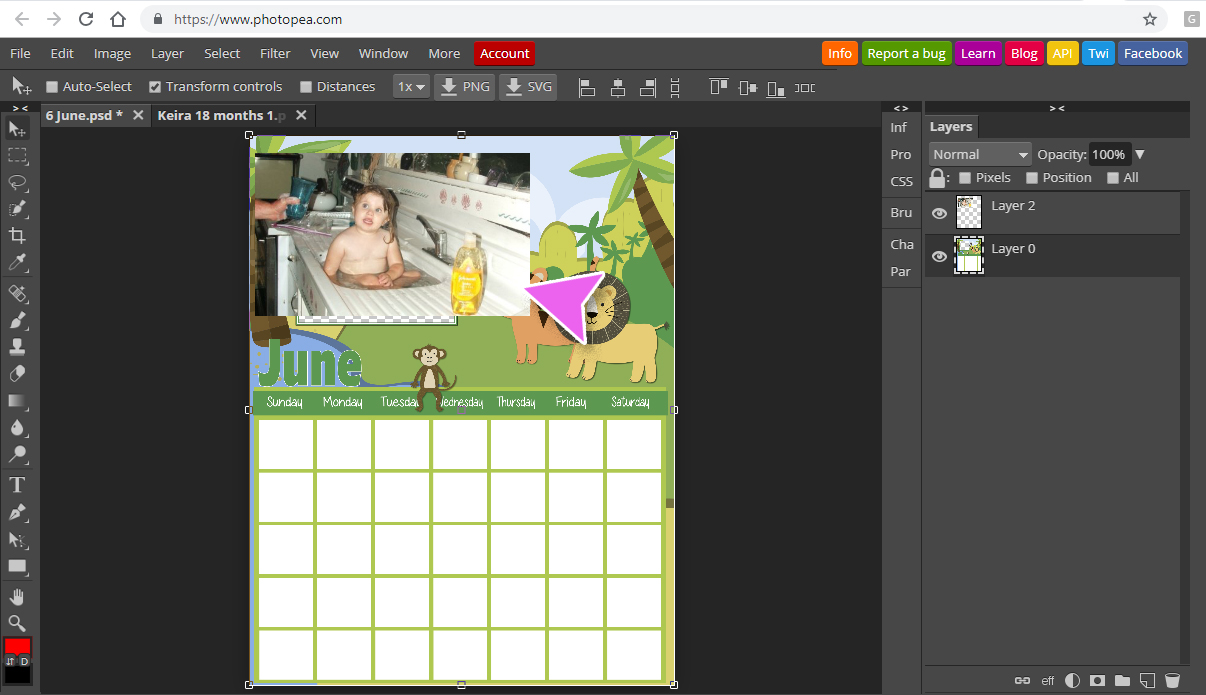
HOLD DOWN SHIFT – Click one of the corner squares and drag the corner of the image to enlarge.
Enlarge the image to the best size.
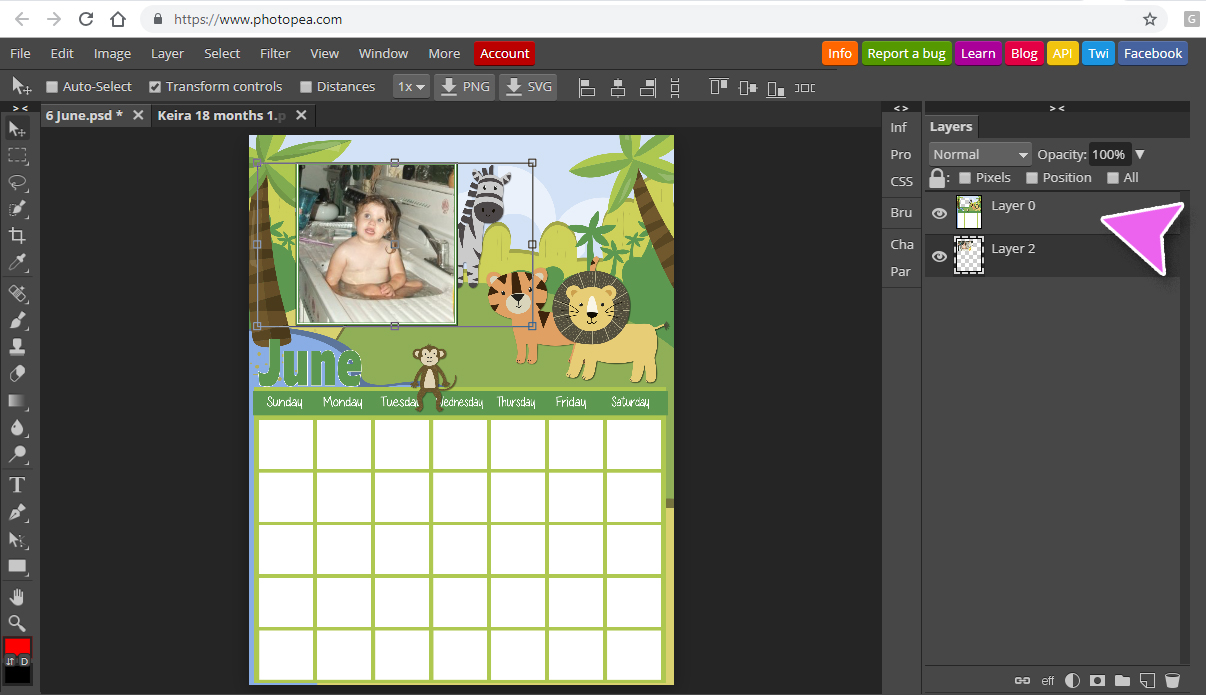
On the right you will see the layers panel. Click on the bottom later (which should be the calendar template) and drag it above the layer with the photo.
Now click File and export (save) the file to your hard drive for printing.