How to move your Google Friend Connect Followers from Blogger to WordPress (self-hosted)
Sorry, this Will work with WordPress.ORG (WordPress – Self Hosted), but not wp.com (blogtitle.wordpress.com).
Warning! This is the technique I and Fellow Coders use to move GFC from Blogger to WordPress for our Clients. It has worked for me EVERY TIME.
Note: I have been told by Fellow Coders that they use this same technique, but from time to time it has not only failed but has wiped out the GFC followers list.
That being said, it is the Only way we move GFC and the Only way we know of to properly do so.
You’ve been warned.
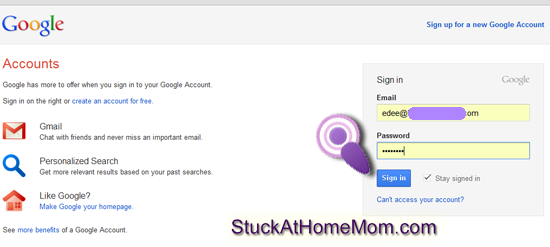
1) Log into your Google Account.
You will need to use the email address you used for your Blogger account.
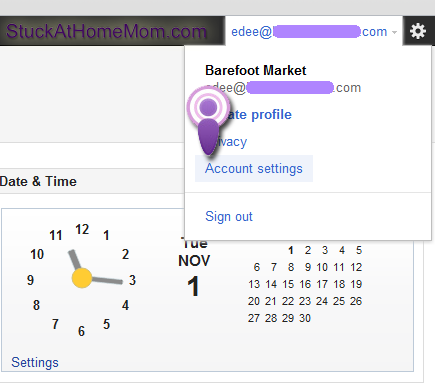
2) Once you have logged in, click your email address on the right side of your screen.
This will cause a drop down menu, click “Account settings”
3) In account settings click Google Friend Connect
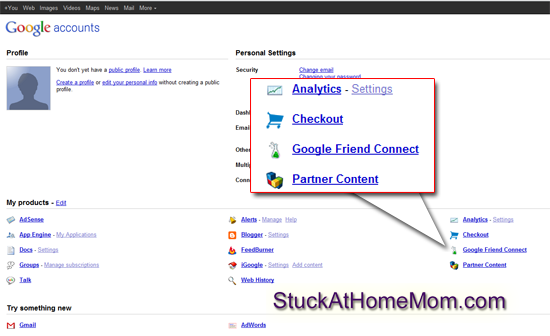
4) In Google Friend Connect you will see a list of all your Blogger blogs, click the blog name attached to the members you want to move.
For most of you that will be fairly easy, most people have 1 blog and that will be the only blog listed.
As you can see, I test out many blogs, so I have many listed.
Once you have selected your blog you will see your blog name and the number of followers.
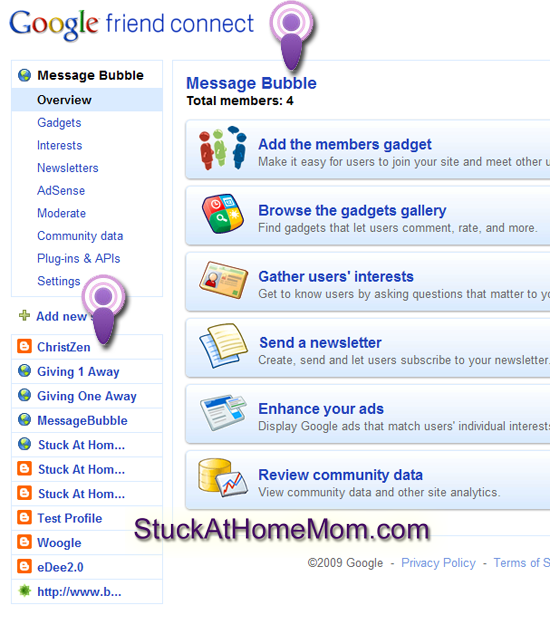
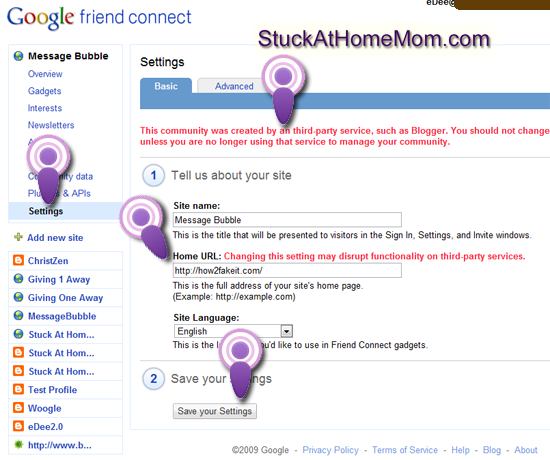
5) At this point click Settings on the left.
Once you click Settings you are going to get a warning – Read the Warning and consider it heavily.
There is no turning back after this point, it either works or it doesn’t.
Where it reads: “Home URL” change that to YOUR NEW WordPress Blog address/domain. Do NOT copy what is in the box in the picture below.
As you can see I’m testing this on my test site, so I entered my test domain.
Then click “Save your settings”
This is where we learn if it worked or not.
6) Click Gadgets, then Members
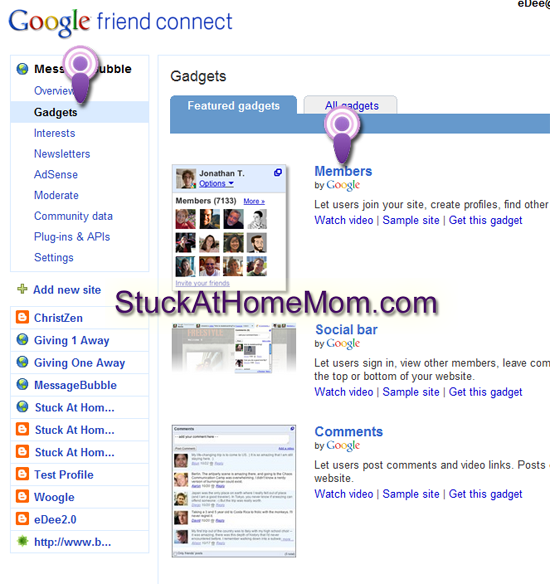
7) If it worked you’ll see your members listed in the box.
Enter the size you want the GFC box to appear on your site.
I’m going to put this in a footer sidebar that’s a little over 200pix, so I set the Width to 200.
Next pick the colors – use colors that complement your blog‘s theme.
When you have finished click Generate code.
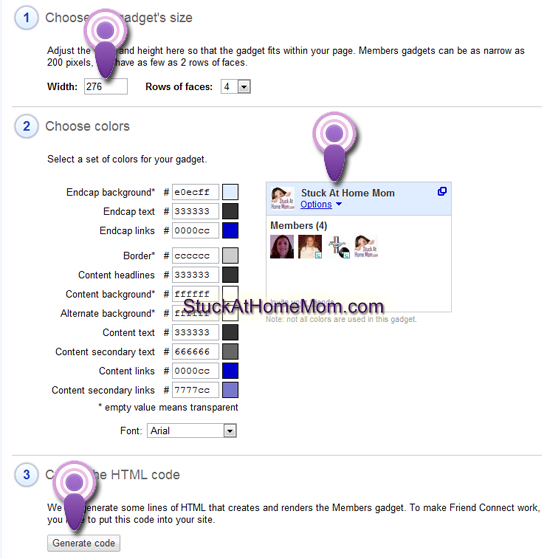
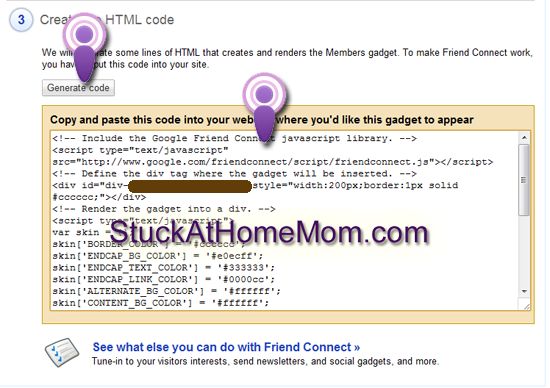
8 ) Once you have clicked Generate code, the code will appear in a box below.
Copy that code. (I usually paste it into NotePad for safe keeping, just in case the phone rings or I get distracted and have to leave the computer for a minute)
9) Go to your WordPress blog and login.
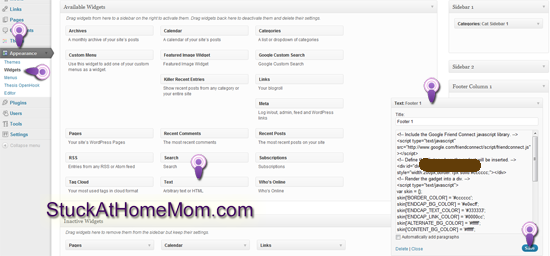
Go to Appearance > Widgets.
In Widgets, drag a Text widget to the sidebar where you wish your GFC box to live.
Paste the GFC code you got from the GFC box into the Text Widget in your WordPress blog.
Click Save.
10) View your blog.
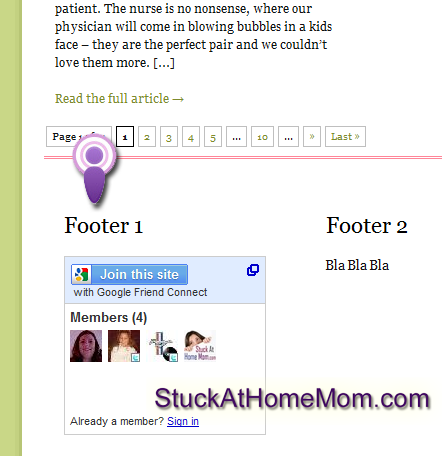
If you have done it correctly your GFC box should be in your sidebar with all your followers showing up.
If you don’t see it immediately Refresh your Homepage. Depending on your hosting and your browser you may have to refresh several times before you see it. If you are using IE you may even have to reboot your computer before you see changes to your home page.
