[fbshare]
Remove your SD memory card from your camera and place it into your memory card slot on your Laptop.
Click on the folder icon on your desktop. (Brownie, yours is on the right) 
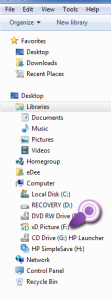
On the left hand side of the window double click on the SD card icon – this will have a drive letter beside it. The drive letter may change each time you place the SD card in the slot.
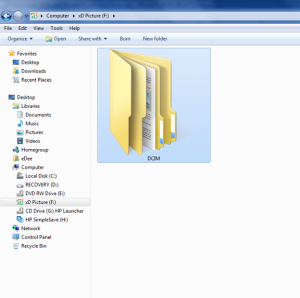
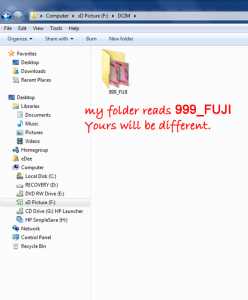
Many times you will see another folder marked DCIM Double click on that folder, then the next folder until you see PHOTOs.
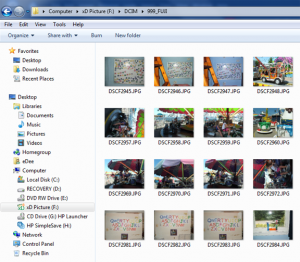
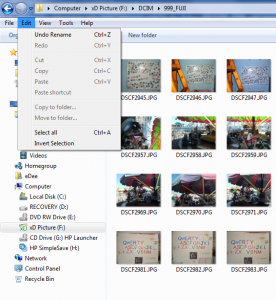
You should now see all the images which are on your Memory Card.
There are several ways to select all of your photos, but since this tutorial is for beginners I’m going to start with the easiest to explain.
While looking at your pictures, click Edit > Select All.
That will highlight all your images.
Click Edit > Copy
Now your photos are being held in your computers memory and you need to put them in a folder so you can view them again.
On the left hand side of the window click Pictures.
(For my MIL, I have created a folder called Brownies Pictures. Brownie Double click on Brownies Pictures)
Once you have opened the Pictures window click Edit > Paste.
All your pictures should appear in that window successfully moved FROM your memory card TO your hard drive.
Now you have to remove your Memory Card from your laptop without damaging the card.
To do this click on the little UP arrow ^ on the bottom right hand side of your desk top.
Click on the little icon that looks like a USB cable with a green check mark beside it (see image below! lol)
Click on the name of your Memory Card
NOTE: the message will probably say EJECT CARD or some such thing, that is what you want to happen, you want to remove or eject the card.
Once the computer tells you that you may remove the card go ahead and pull it out of the memory card slot of your laptop.
DO NOT remove your memory card unless your computer tells you it is ok to do so.

