
How to Layer and Size images in GIMP
I’m not a big fan of GIMP, mainly because “ease” wasn’t taken into consideration when building the software. I prefer PhotoShop or Illustrator, but GIMP is FREE and Adobe is extremely expensive …… so today we’re using GIMP!
The tutorial is written for those using the Photo Calendar Bookmarks free printable. But it doesn’t really matter what you’re using, this tutorial is about Layering and Resizing the layers and images in GIMP.
Follow the images. Click on any image in this tutorial to enlarge. The images will open in a new tab so you won’t loose your place.
If you haven’t already Download and install GIMP.
Open GIMP

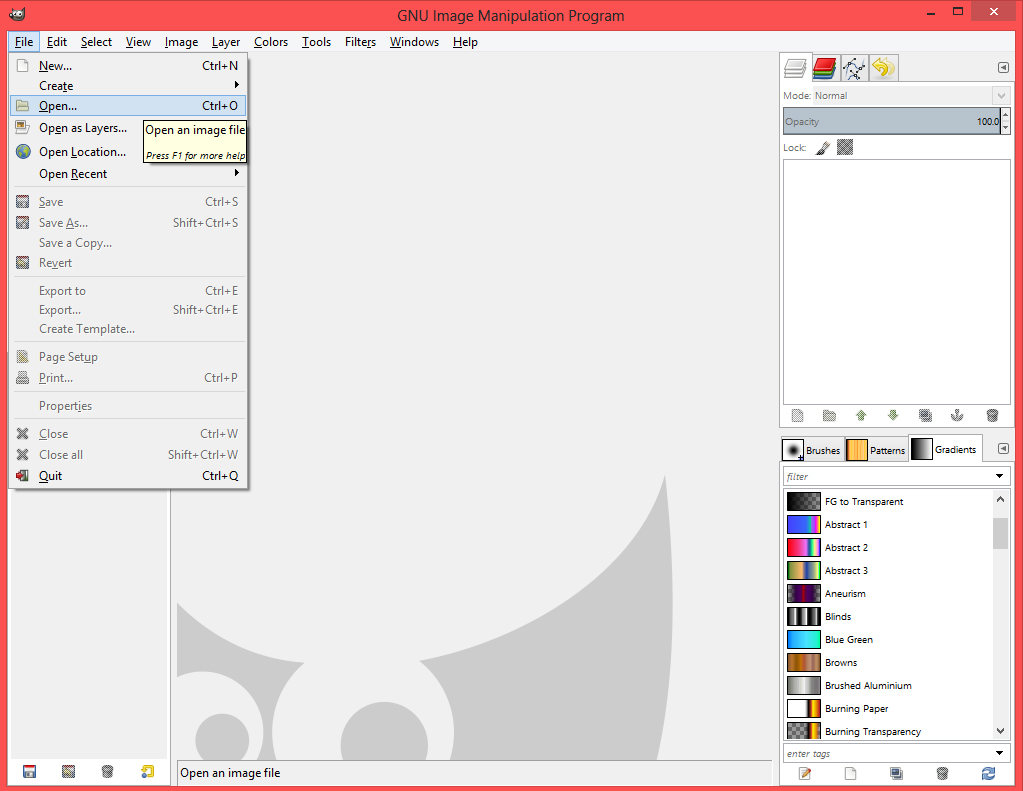
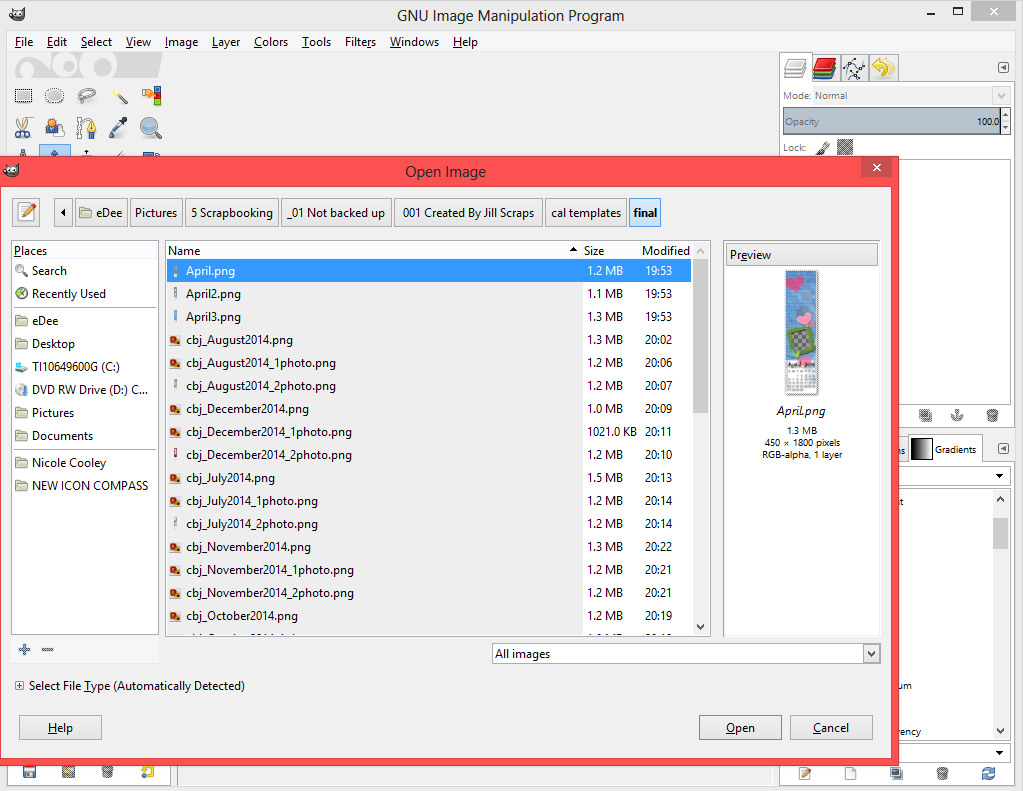
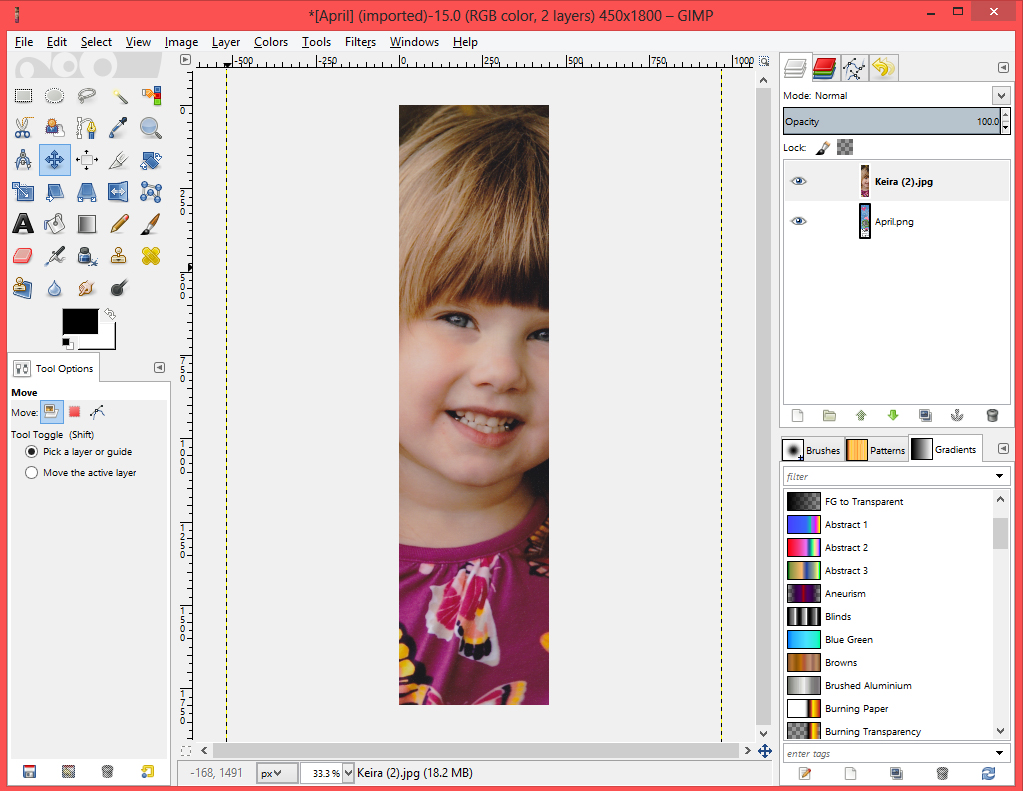
Click File > Open and navigate to the area where you have stored the image you plan to use for your first layer. In our case it will be a bookmark calender template that will be released 12/14/13
Click on the images you want to use
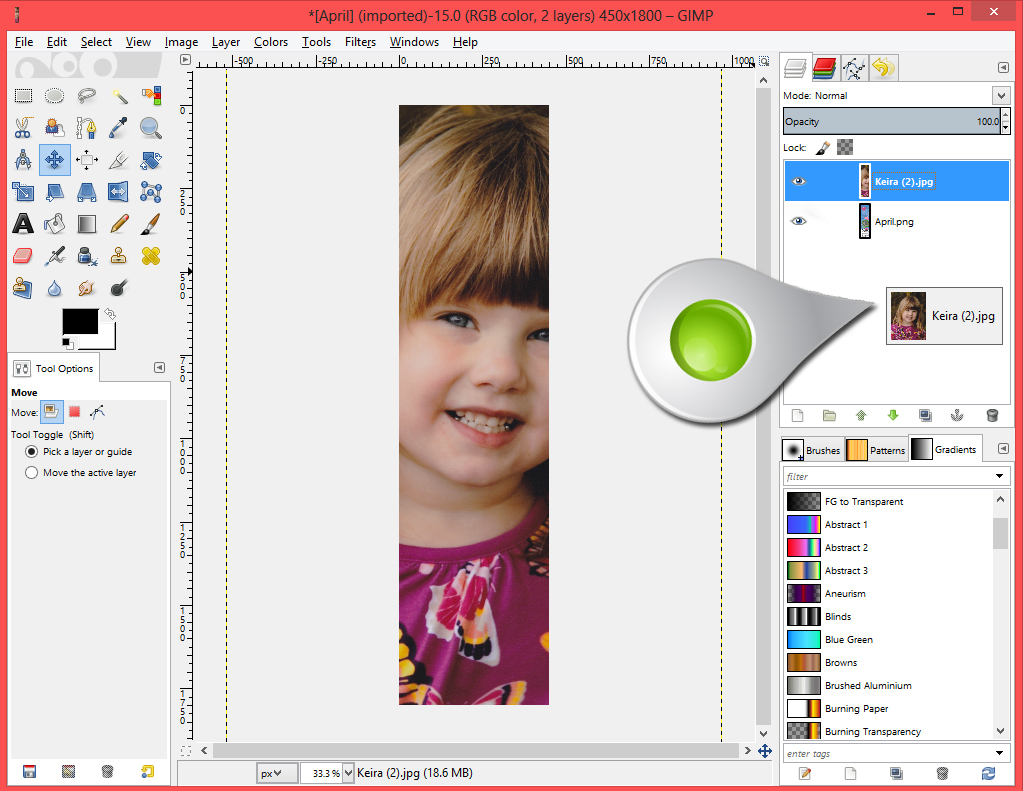
Now you need to open the next layer Click: File > Open as Layers…
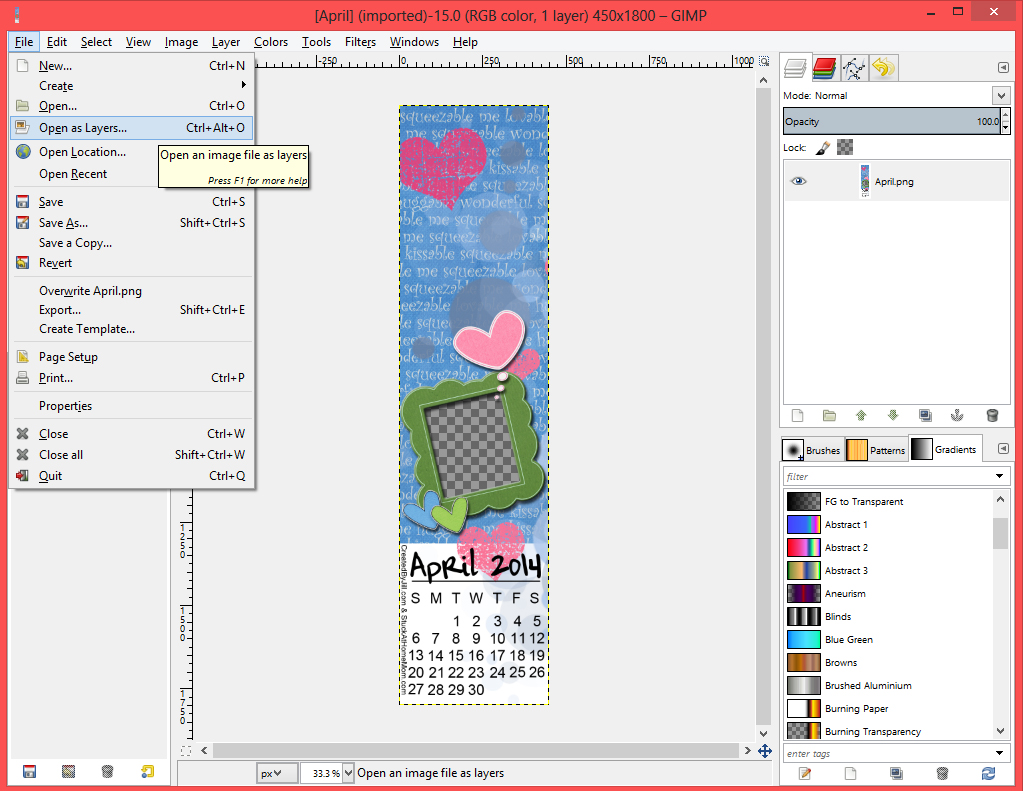
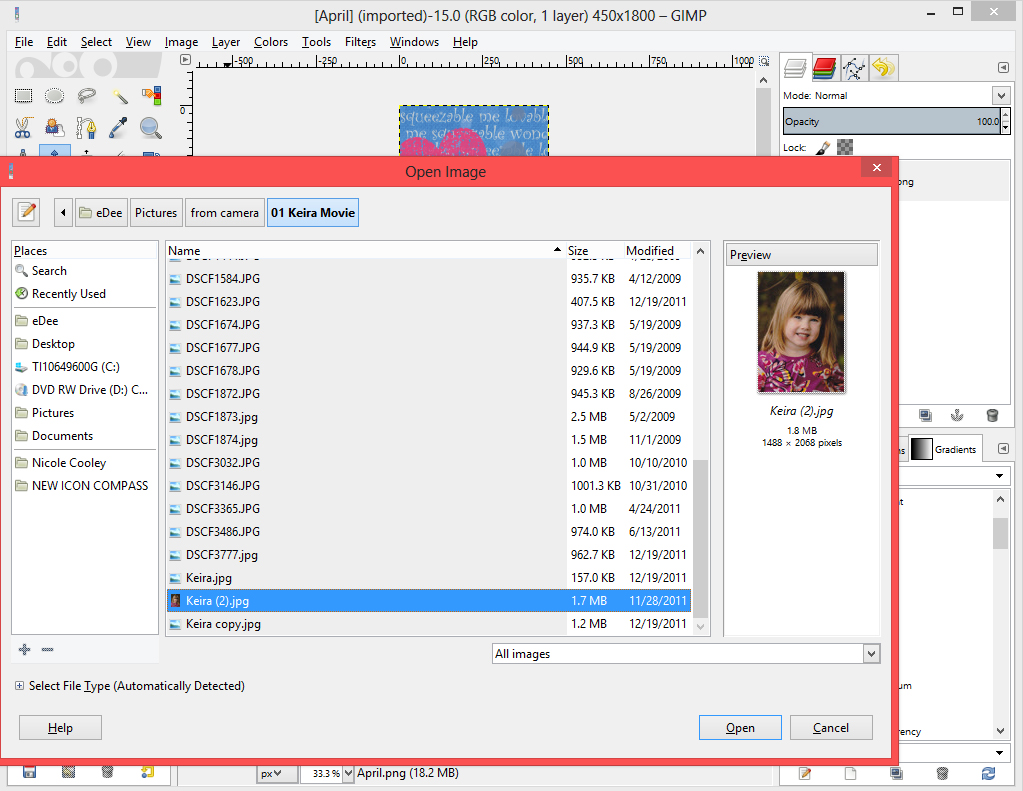
Navigate to the image you want to put into the frame or the image you want as the second layer.
Now as you can see the second layer is larger than the first so it needs to be sized. This is also the layer you want in the back and not the front. But I did it this way to show you how to move the layer from the front to the back. Or in this case it looks more like from the top to the bottom.
Grab the top layer from your layers panel on the right. You do that by clicking on the top layer and dragging it down just below the layer on the bottom. You’ll know when you have it correct because you’ll see a line under the the bottom image. That line isn’t shown here because on this laptop it takes 3 hands to click, drag and get a screen shot. Just drag the top layer down just below the bottom layer and you’ll see that line, then release the click.
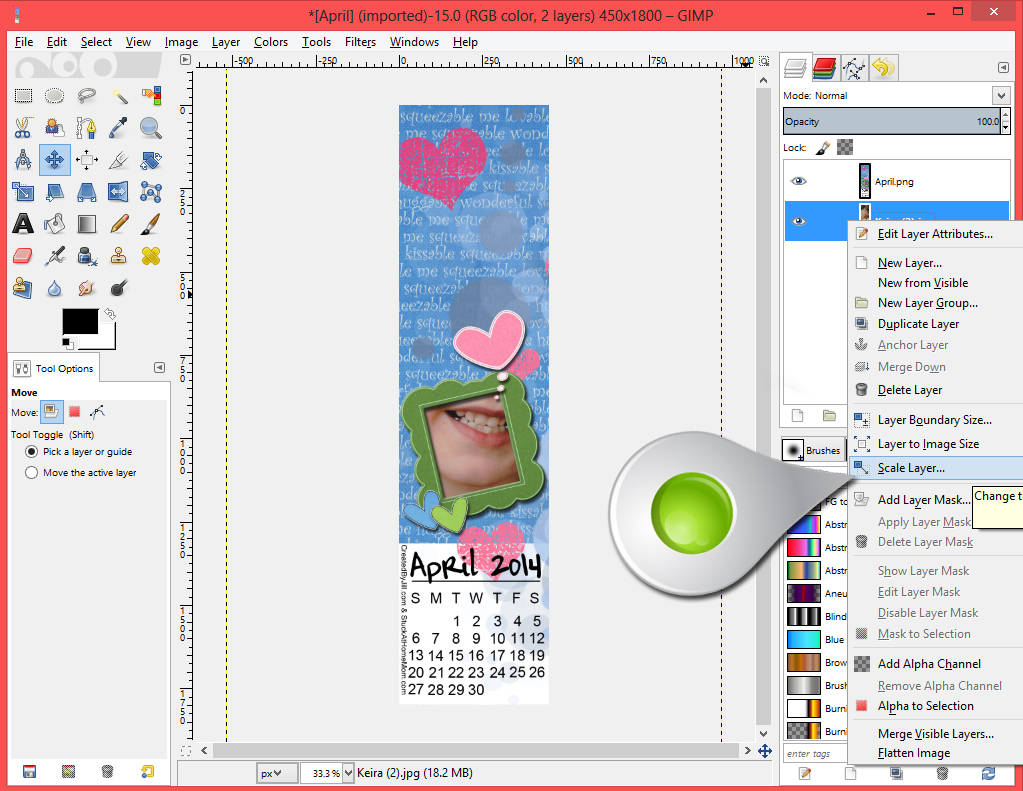
Now you can see my daughter’s beautiful face is under the bookmark template, but it’s still far to large – all you see are her teeth.
Right click on the bottom layer, which in this case is the image of my daughter. Left click Scale Layer….
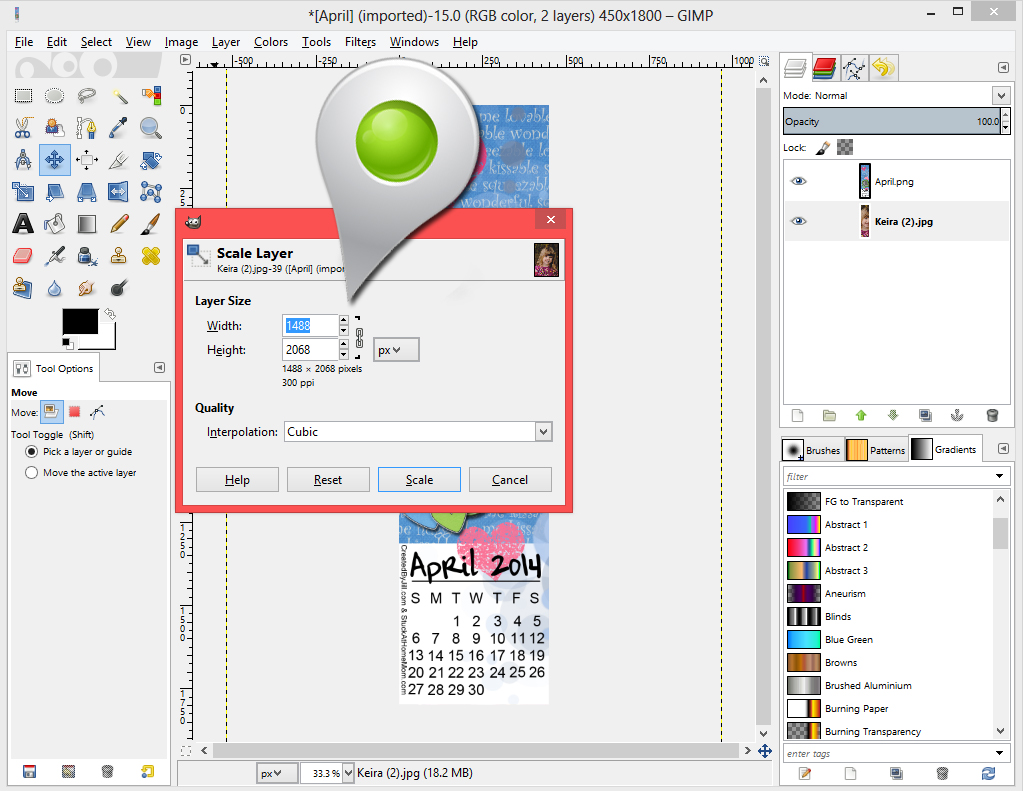
This is what I mean by “‘ease’ wasn’t taken into consideration when building the software” In PhotoShop you just click on the corner of the image and drag the image to the correct size, but in GIMP you must guess what size you want the image. In this case a width of 300 worked and the height automatically adjusts to keep the picture the correct dimension. You’ll have to play around with it until you find the correct size for your image.
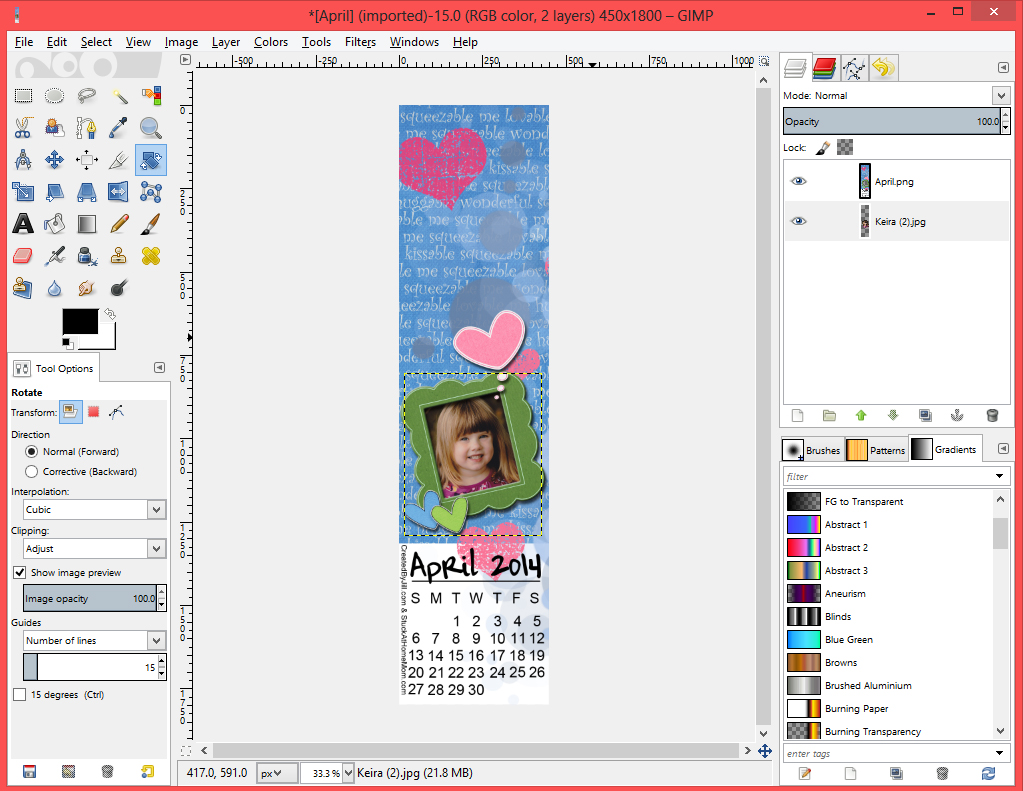
Now we have the image the right size, but the frame is tipped to the left so I want the image of my daughter to be tipped also. Again EASE – not built into GIMP. In PhotoShop you just click the edge and turn the image to the correct tilt, but here you must first click on the Rotate Tool.

Once you click on the Rotate Tool it will pop up and Block your image. So drag the Rotate box up so you can see your image. Click on the image and rotate it using the mouse. It’s simple, you’ll see what I mean as soon as you try it.

Once you have the image rotated to the correct tilt, click Rotate in the Rotate box.

And there you go!
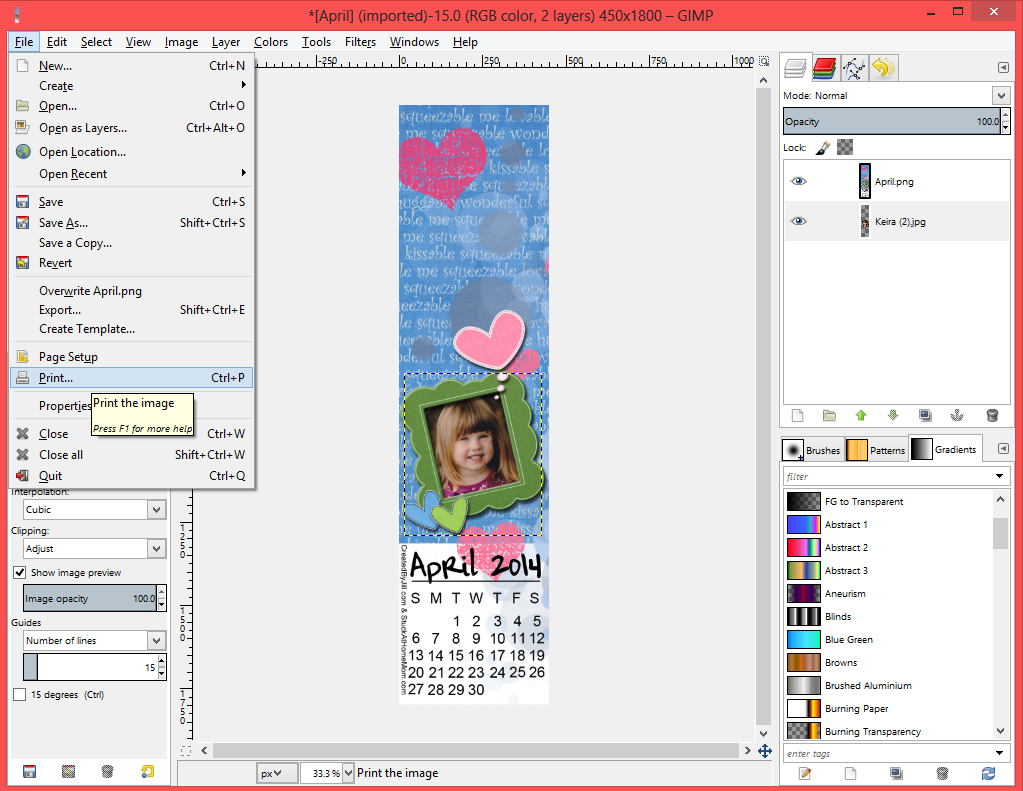
Time to print! Click File > Print and your on your way.
Now you may want to print more than one on a sheet of paper. Great idea, but it’s outside of the scope of this tutorial. BUT that are a crap ton of Great!! GIMP tutorials on YouTube! And those Tutorials will make you into a GIMP Pro! Then you can write tutorials and I can learn to use this software! lol
The Photo Bookmark Templates should be released 12/14/13 or 12/15/13 depending on the snow storm and if we lose power!