First, you must know where your pictures are on your hard drive.
Open the folder that contains the pictures you want to copy from your hard drive and store on the flash drive.
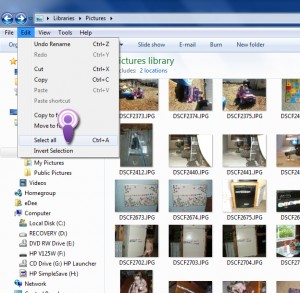
It should look something like this:

I’m going to assume that you want to copy ALL of the pictures from this folder onto the flash drive {If you do not, there will be a later tutorial on how to move just a few images.}
With the folder open, click Edit > Select all
{You can also hold down your CTRL key and strike the A key at the same time}
After you click Select all you will see all your images highlighted. The pictures MUST stay highlighted for this to work.
Next click Edit > Copy
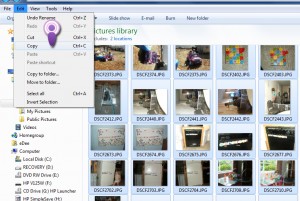
Your images are now copied to the imaginary “clip board”
Now you need to open your “My Computer” or “Computer” folder – depending on your version of Windows.
It Windows 7 it looks like this {it looks similar in other versions of Windows}
Plug the Flash Drive into your USB port. When you do another drive will appear in the “Computer” window. That drive is the flash drive. The letter indicating the drive may be F, but it could be anything from D – Z, so take note of the drive letter when you plug in the flash drive.
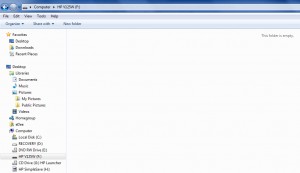
Double click on the flash drive

As you can see, my Flash Drive is empty, there maybe files on your flash drive. If so, don’t worry about them.
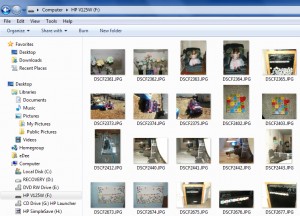
Click Edit > Paste
{NOTE: Do NOT click paste short cut}
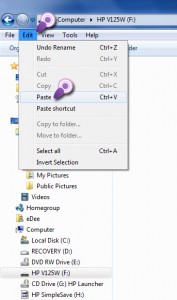
A copy of the images you selected earlier are now pasted onto the Flash Drive.
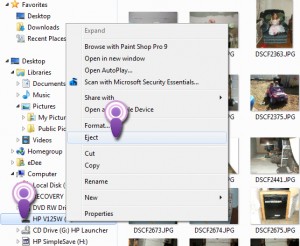
RIGHT Click on the drive letter on the left hand column. LEFT click “Eject”
A message will pop up – normally on the right of your monitor – that you may remove the flash drive. Pull the flash drive out of the USB port and you’re done!
If you have any problems, please post a comment {or if you know me, email me!}

